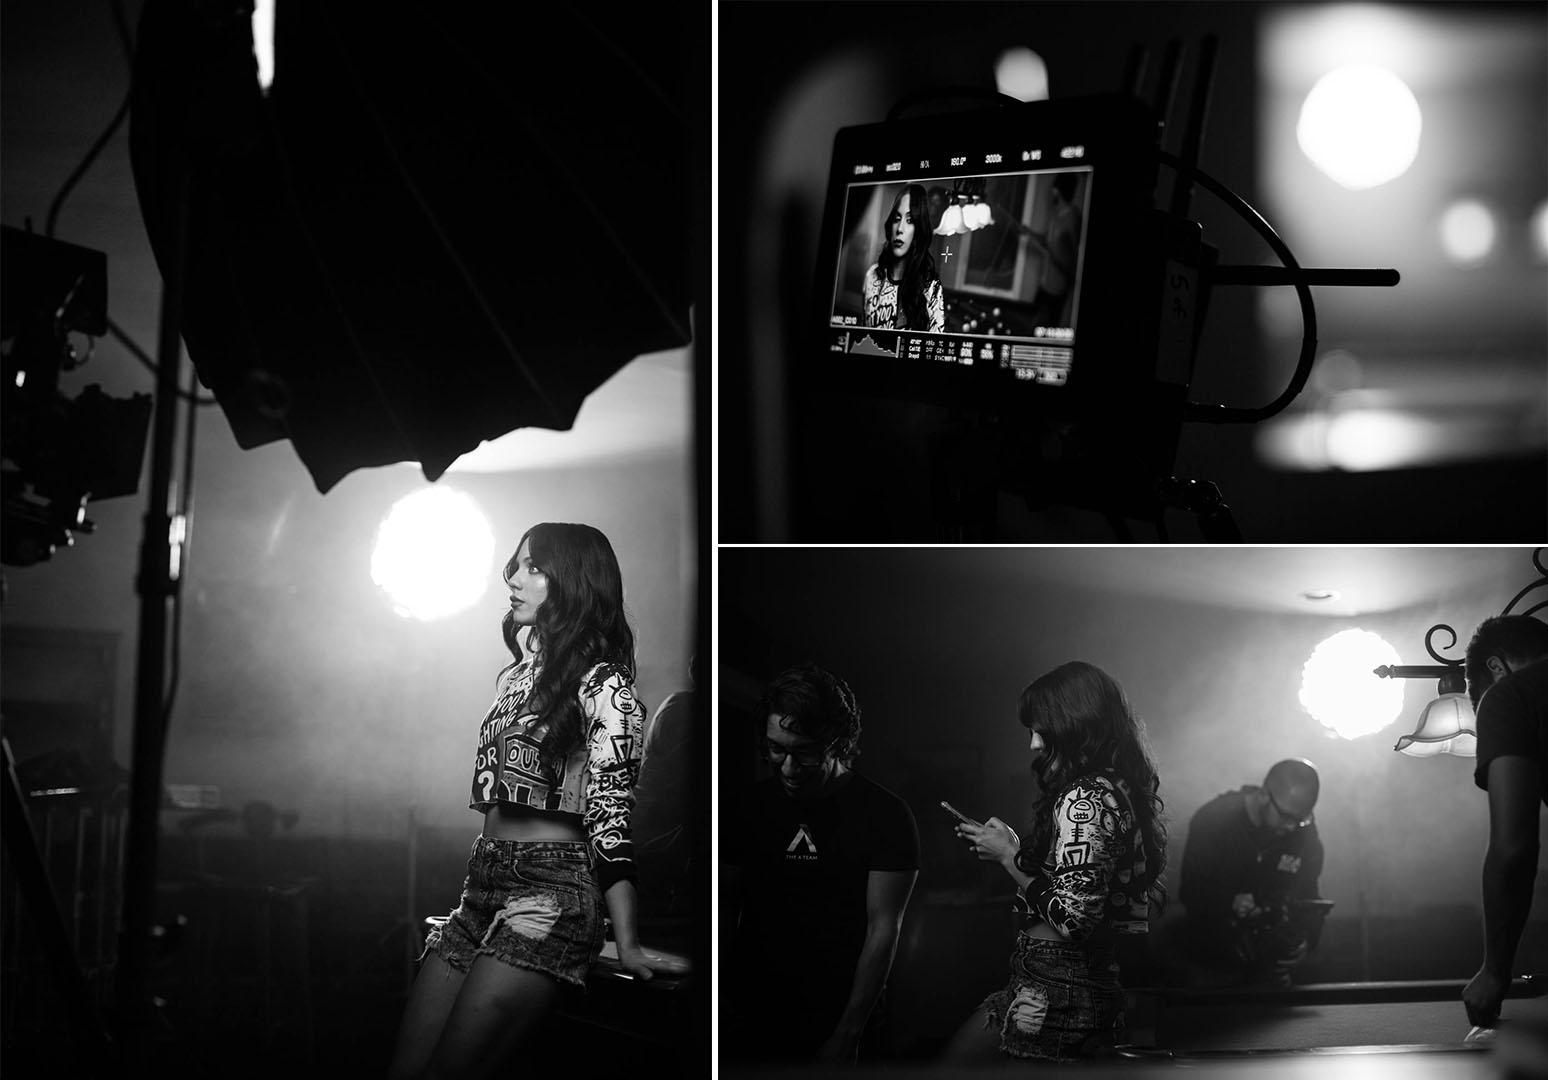
Smoke & Haze – Creating Cinematic Depth
The word “Cinematic” gets thrown around a lot lately. “Cinematic” is a pretty broad term, but lets focus on just one element for now – the image. Let’s talk about what makes an image “Cinematic”. Is it the lighting, lens, composition, movement? What does the word “Cinematic” mean? Well, to me it means it has depth and emotion. In this series I’m going to focus on how smoke and haze creates depth in an image, how to get it, and why it’s so important.
 One of my most favorite ways of not only creating depth, but diffusion, is with smoke & haze. Hazing a scene Introduces an element into your image that literally adds texture, and creates physical depth. Objects in the foreground that have less haze between the lens and the object will have more contrast than an object in the background that’s being washed out by the thicker amount of haze. Like looking at a distant mountain, the further away an object is the less contrast and more washed out it’ll appear. This technique is especially useful when shooting digital because our digital sensors are capturing the image on a flat plane whereas film is an actual 3-dimensional capture medium with physical depth, so whatever you can do to create or add physical depth to your scene – do it.
Here’s some times I’ve used smoke or Haze to elevate scenes, each in their own way.
THE GREATEST GAME
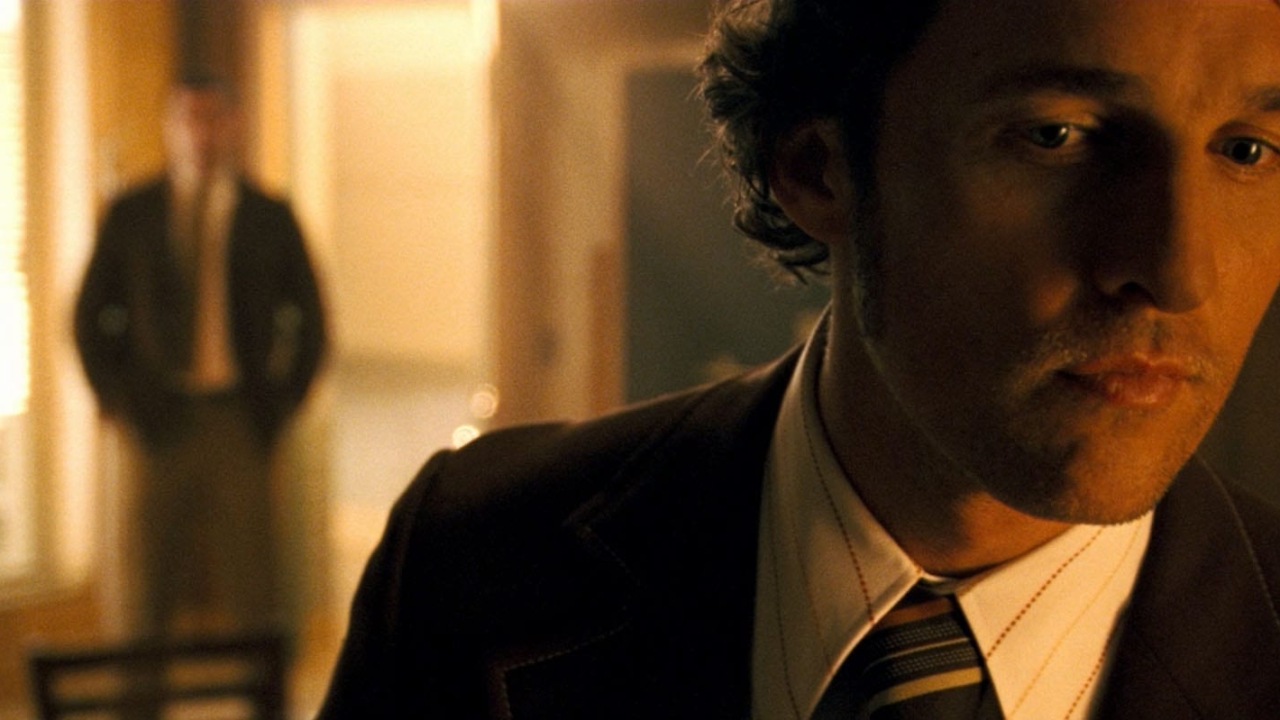
Smoking day interiors is one of my favorite things to do. This morning breakfast scene doesn’t reveal shafts, but it creates that gauze. Remember, always be obsessed with subtleties. Those subtleties stack up and help to create that “Cinematic” experience we’re all so eager to create.
The texture was perfect for our intro to young Francis and notice the light on the mom. She becomes the guiding light in Francis’ journey. Shooting through thick smoke and strong backlight gave her an ethereal presence.
ACT OF VALOR
The reason Act of Valor seems so filmic, and not like HD, is because I diffused all of the interiors and most night exteriors with smoke or haze. It wasn’t just a 35mm sized sensor and adding grain in post. It was the texture of smoke that helped us cross cut seamlessly from 35mm motion picture film and the 5D. Using the smoke in the Costa Rican compound, gave it that realistic feel. It also helped take the edge off of the HD capture and added a natural texture that was not 5D noise but a type of diffusion. Just this simple organic tool can really help push your story forward, and that’s what it is all about. Story.
TERMINATOR SALVATION
My vision for this film was that the world was always smoldering, never having been put out from SkyNet’s extermination. So the use of smoke was everywhere in this film. The mood that it infused was one of neglect, uncertainty and determination, which I felt was perfect for this world that McG had created. The resistance would rise to fight, and like a burning ember, it can be stomped on, blown up, but the smoke, the resistance, will remain smoldering. Maybe I am thinking a little too deeply, but this is how I think when I make a decision. It cannot be there just because it looks good. It has to help tell the story and transport the audience into an uncomfortable world that is unstable and on edge. The mine field was one of my favorite sequences to shoot. Lighting 25 acres at night, with smoke, fire, bombs and debris flying. Yeah!
WE ARE MARSHALL
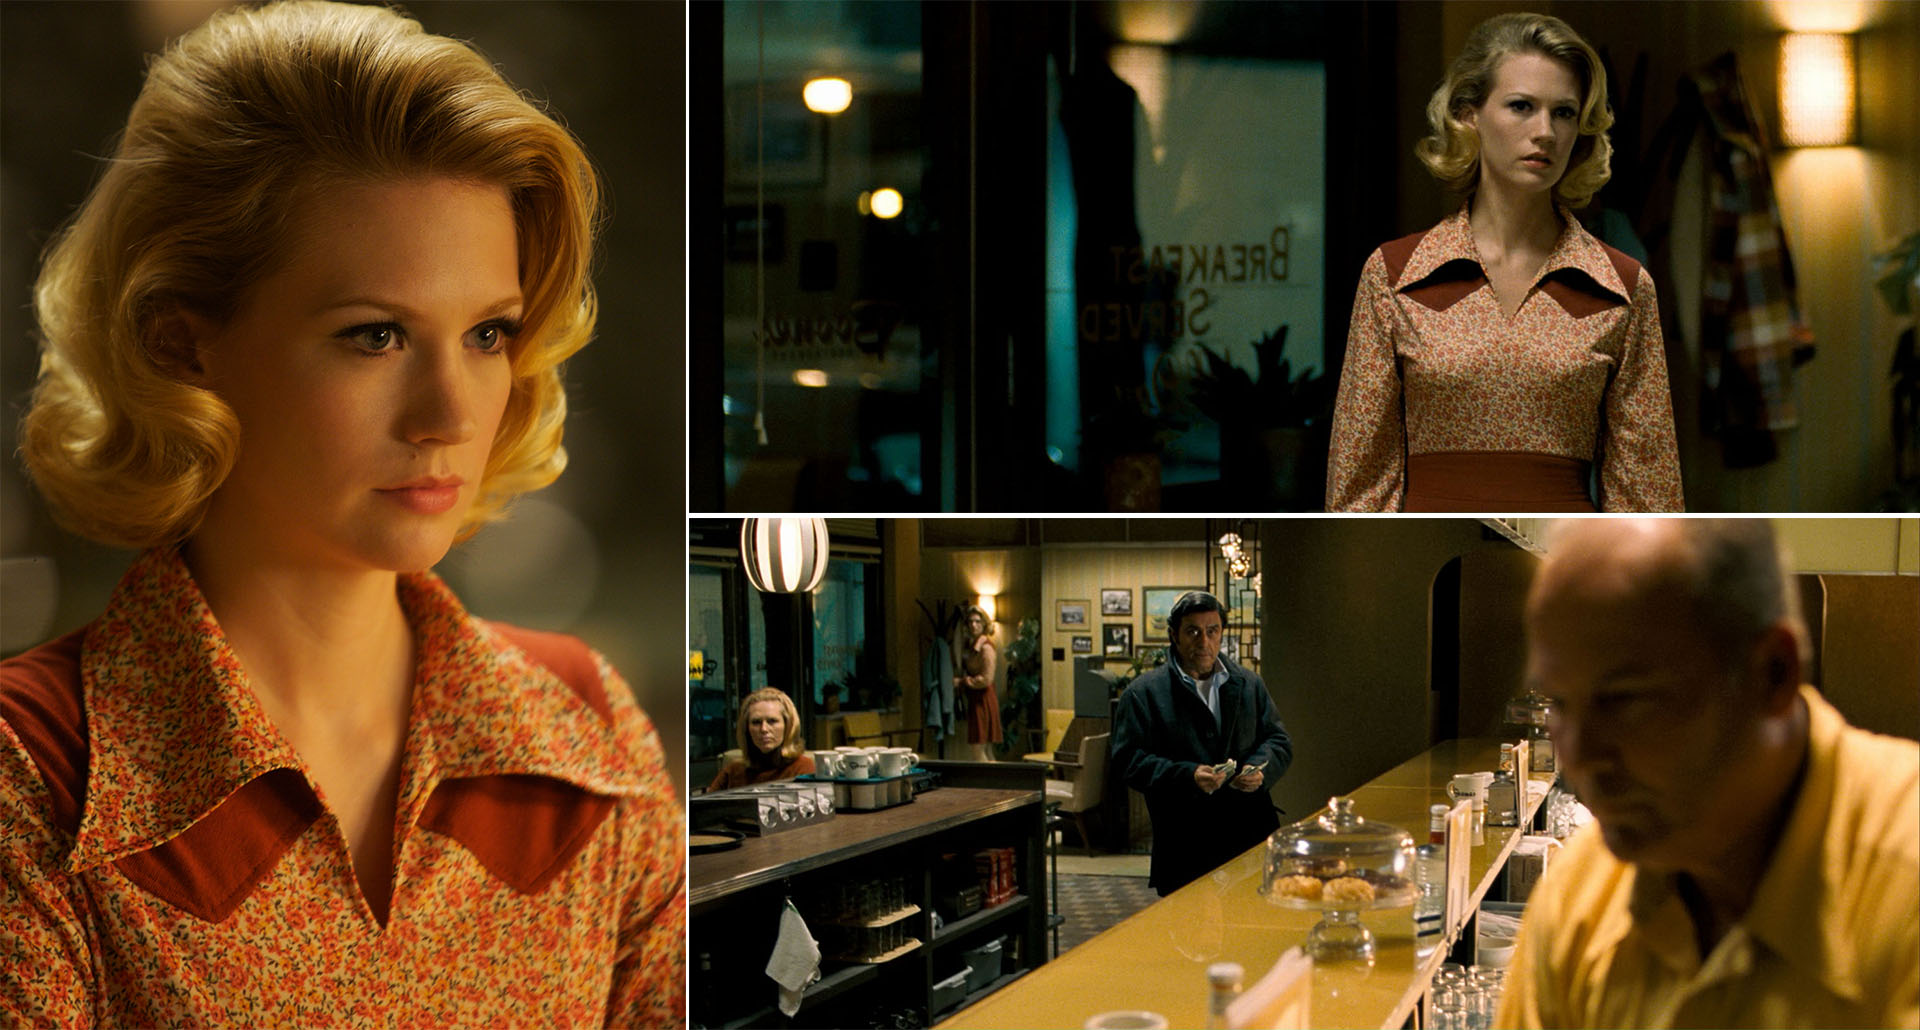
The diner scene was one of my favorite locations on this film directed by McG. There’s a reality that is conveyed when you have the limitations of a real location. You cannot just blow the wall out to get the camera in the right place! You have to embrace the limitations.
SHOOTING TIPS FOR SMOKE
I always try to make it a priority to shoot our female cast’s close-ups early. It is just good practice to build that into your daily schedule. There we were at 3 am, in the diner scene of We Are Marshall, a pivotal and emotional scene, and it’s January Jones’s close up.
She had just done several emotional scenes prior and was exhausted. She had to look alive, luminescent, stunning. I turned to my EFX team to up our smoke level and use it as my diffuser, instead of pulling out any kind of glass diffusion. We shot the medium with a little heavier smoke level, then kept that consistency when I went to the longer lens. By using the longer lens and the heavier smoke levels, it softened her face and gave her this inner beauty. The compression of the glass compresses the smoke and makes it look thicker.
That is why when you use smoke you cannot do wides and tights at the same time. Your wide shot needs thicker smoke levels, but your longer lens work needs lighter. January Jones is one beautiful woman, and that night, I thought we knocked her close-ups out of the park! Her expression when she realizes her husband was in that plane – that’s cinematic.
THE OLD STANDARD
For the longest time the diffusion I used to go to time and time again, was smoke. This is a very powerful tool. Remember, having the patience is key, because it will take some very subtle efforts to get the right consistency with your smoke or haze and it will take even more patience to work at keeping it at that consistency. How long that haze stays in the air can make or break or day. That’s why my old go to smoke/diffusion used to be the DF-50 by Reel EFX.
This is a fairly inexpensive machine and can smoke a very large area. It looks small, but it packs a wallop. This hangs for hours and gives you that consistent level. But this is mineral oil based, and SAG contracts no longer permit this type of smoke. So what to use when you have actors in the scene?
THE NEW SMOKE ON THE BLOCK
This V-Hazer from Rosco gives me smooth, evenly dispersed haze that has a relatively long hang time considering it’s a water based hazer. And because the fluid it uses is water based, it’s totally good to use with SAG actors, and doesn’t leave behind of that oily residue you might get with the mineral based DF-50. This baby’s quiet too! It’s really become my go to hazer for shooting inside, and honestly this Rosco V-Hazer packs a punch (and it ought to for eating 900 watts), so much so that I’ve even been using it outside with really surprisingly good results.
(Going over where I want the light to go with my Key Grip Dietmar)
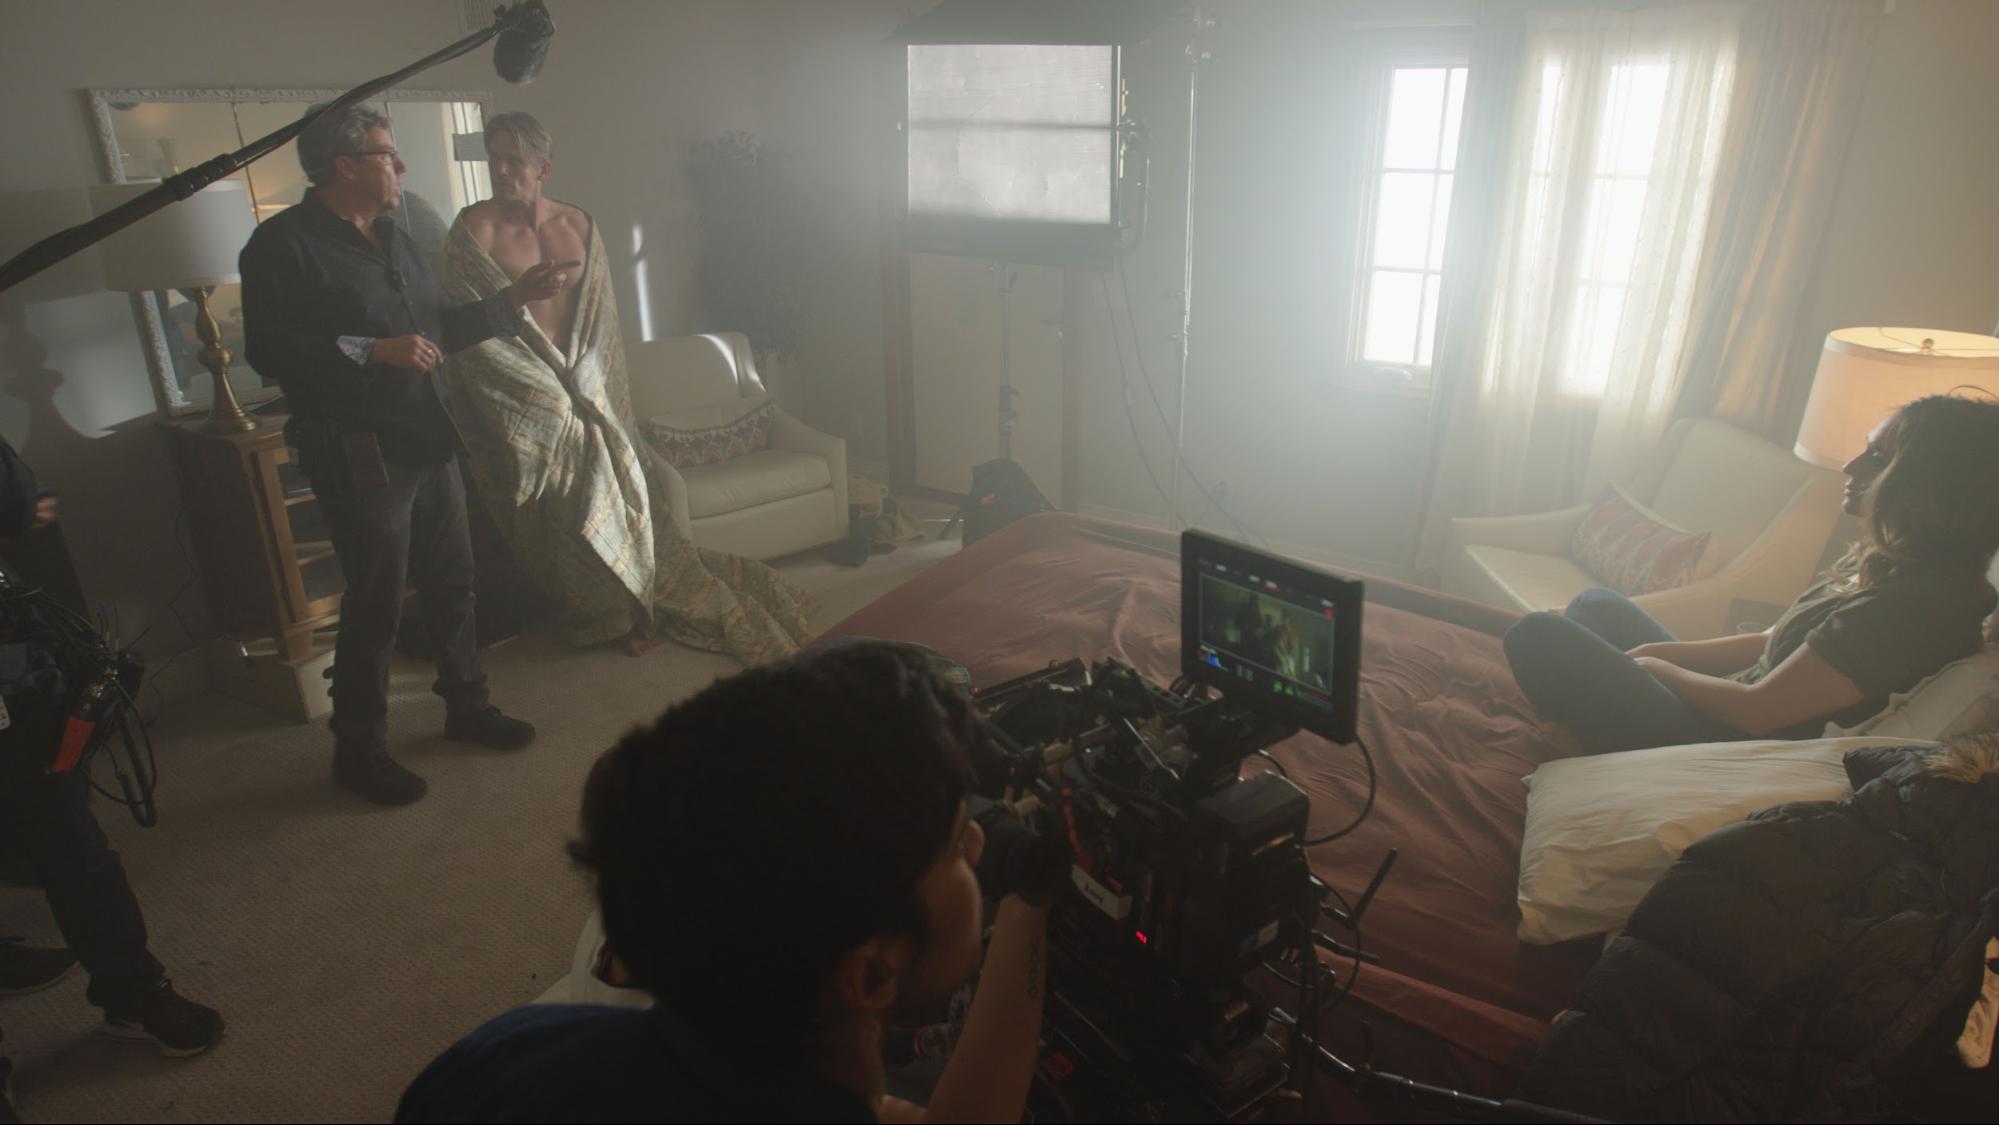
(Recreating for The Inner Circle the Deadfall motel room scene)
There’s a plethora of ways to control the V-Hazer too. You’ve got built in DMX and Multi-Link to run up to 4 machines from a single remote, and you can daisy chain Remote control of any combination of the Vapour, Vapour Plus or V-Hazer via daisy-chain of 3-pin XLR is possible.
APPLYING THE KNOWLEDGE
Here’s some examples of people taking the knowledge I’ve shared and applied it in their own work, then went out and helped spread the word on how amazing using smoke and haze can be!
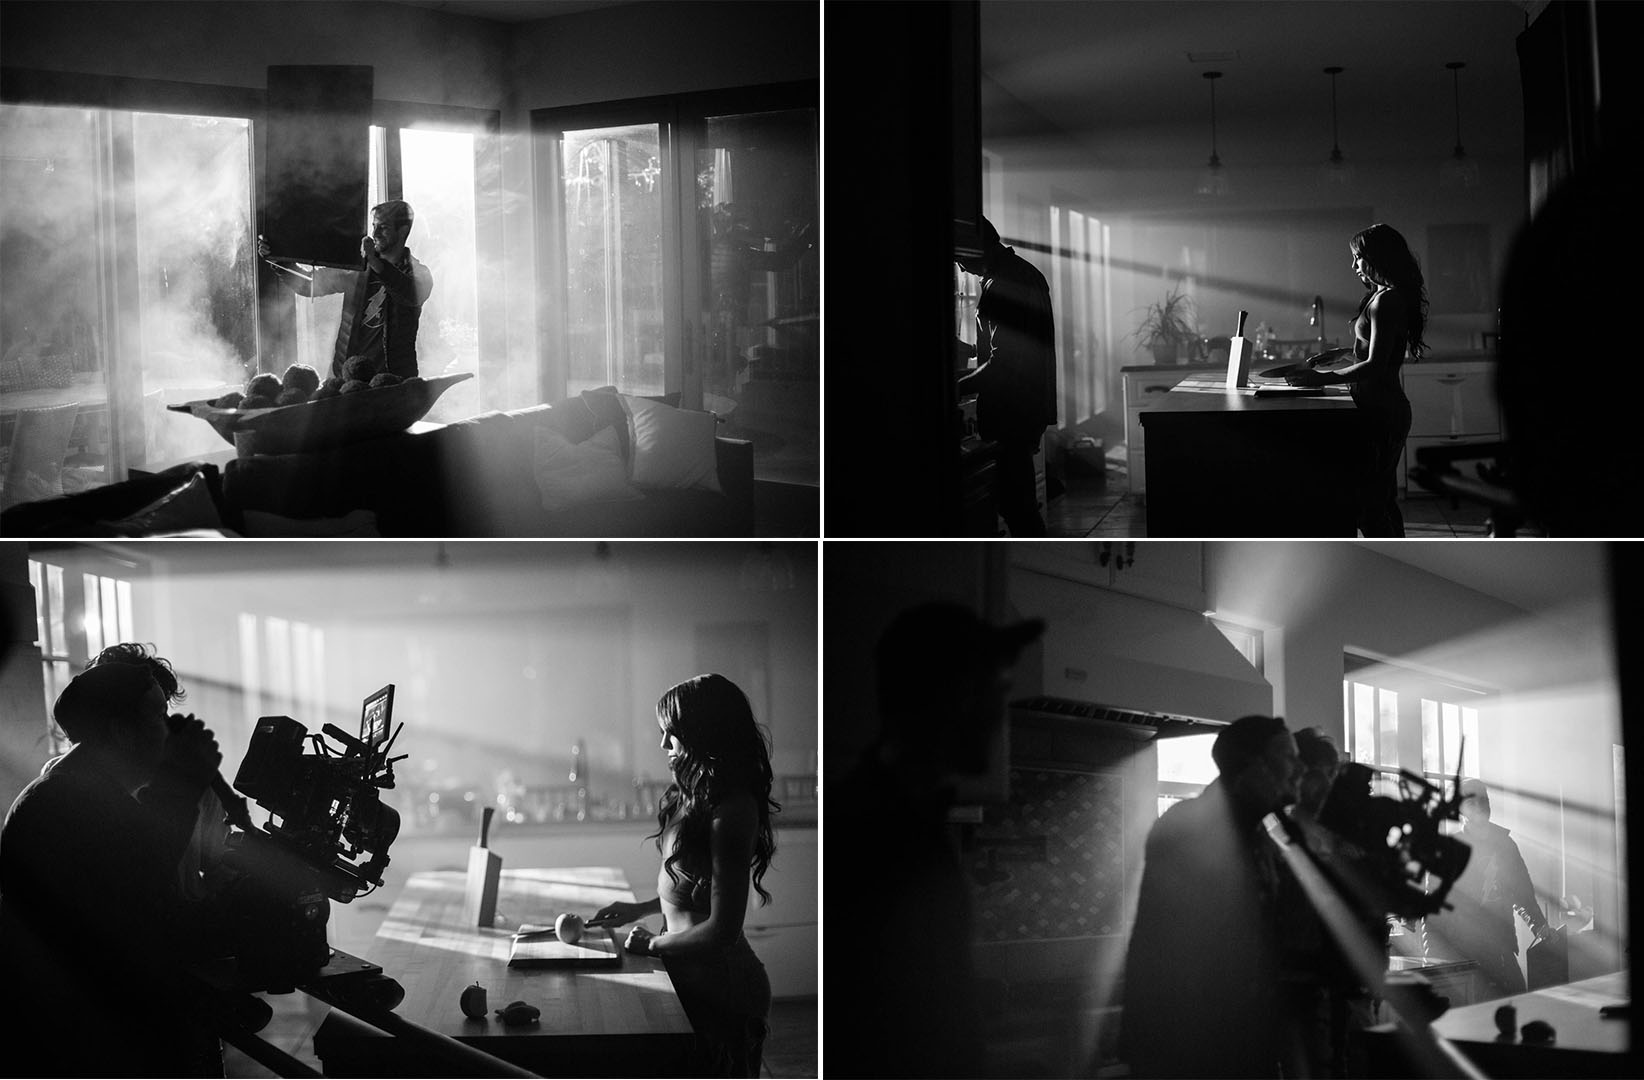
Aputure recently came over to the Hurlbut Visuals Clubhouse
You can see the A-Team continuing to apply these smoke & Haze techniques throughout their latest tutorials here:
We see the world in 3d so anything the helps to create that illusion of 3d within our 2d canvas is crucial for your storytelling, as it allows your audience to believe the world they’re seeing and get lost in it’s beauty. Try using some smoke and haze next time you shoot, and show off some of your favorite setups with smoke or haze in the comments below!
Peace,
Shane
