The Power of Shaping Hard Light
I wanted to continue my instruction on shaping light techniques with using specific grip equipment that will take your look and ability to market yourself to a higher level. In upcoming articles, I will be going through how powerful grip gear can assist your storytelling. Also, it is important to understand that you do not have to buy all these things. Rental companies have these for a dime a dozen. Sometimes a very simple inexpensive piece of gear can make the difference. Today we’re taking a look at shaping hard light.
Hard Light
I have been discussing the power of bounce light within the Inner Circle, and I covered it in detail on the Illumination Experience Tour. In this post, we will go into how I use hard light to illuminate a room, creating hot spots, contrast and depth.
Creating Depth and Dimension
I might seem like a broken record on how important light control is, but I will continue to say it because I believe in this concept so strongly. Shaping light can add a 3D quality to your image. In this video, I will show you how you can create a window pattern in your background to create that depth. This cannot be done with just firing a light through some pieces of tape. It has to be controlled and manicured so that the contrast and shadow are obtained in a way that gives you that wonderful three dimensional quality.
Building the Window Pattern
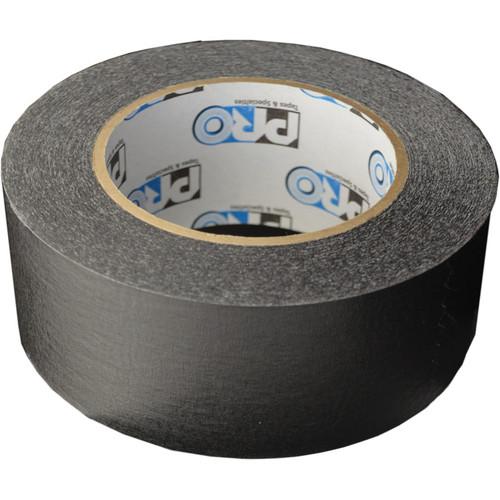
I like to use 1” wide black paper tape or 2” black paper tape depending on how big your window patterns want to be. For this example we will use 2” wide.
The other thing that is required is a 4 x 4 empty frame. This gives you the ability to apply the tape in an organized way.
Here is the lighting schematic for our shoot.

More In Depth Learning
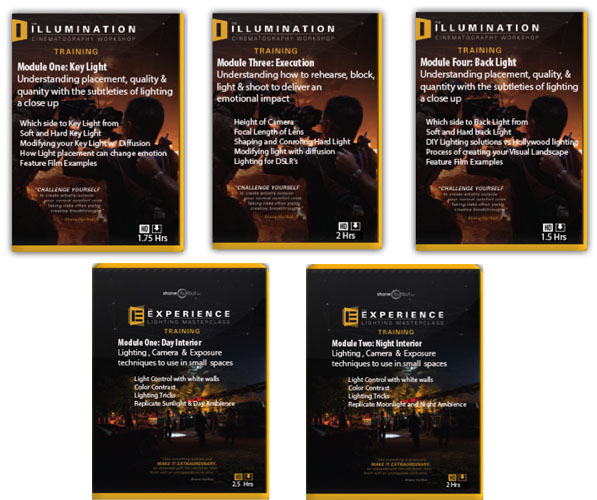
If you would like to learn more about light control, flagging, shaping and light quality and quantity, I have broken down the Illumination Experience Workshop and Master Class HD downloads into specific modules that zero in on shaping light, creating contrast, light placement to create depth and dimension. They would be as follows:
Workshop: Module One, Three and Four
Master Class: Module One and Two
All videos were edited on HP Z840 workstations using HP Z24x DreamColor monitors.
TECHNICAL SPECS
16:9
1080p
Custom Picture Profile:
“SIC Cine1”
Cameras:
Monitors:
Lighting:

Grip:


Shooting Location: Revolution Cinema Rentals








Wouldn’t it be easier and faster to just use a Dedolight with projector attachment and a gobo?
Frank – Not everyone can afford to go for Top of the line – this technique works perfect for those who are doing low to no budget projects and need this kind of lighting…
Great post on this, Shane.
I’ve read John Alton’s book about different gobo creations from back in the 40’s n’ 50’s, a time where these techniques were most prominent (the 80’s as well, I think). Your imagination is your only limit in this area :-)
Also for those on mobile budgets, this technique can also be applied to the Digital Juice flag set as well.
I was disappointed to see the grip set the bottomer lefty loosy with the small leg forward, and glad to see you (‘Let me see this for a minute’) Correct it!
When it comes to setting flags, ‘Easier and faster’ is relative. If you have the skills, there is no better option to get the exact shape and effect you are looking for than with a few c-stands and flags.
Haha! Yes, we have to keep our team sharp!