How To Hide the Cut in a Oner

Today we are examining the secret art behind hiding the cut in a oner. I’ve had to do this multiple times in my career, most notably in Terminator Salvation.
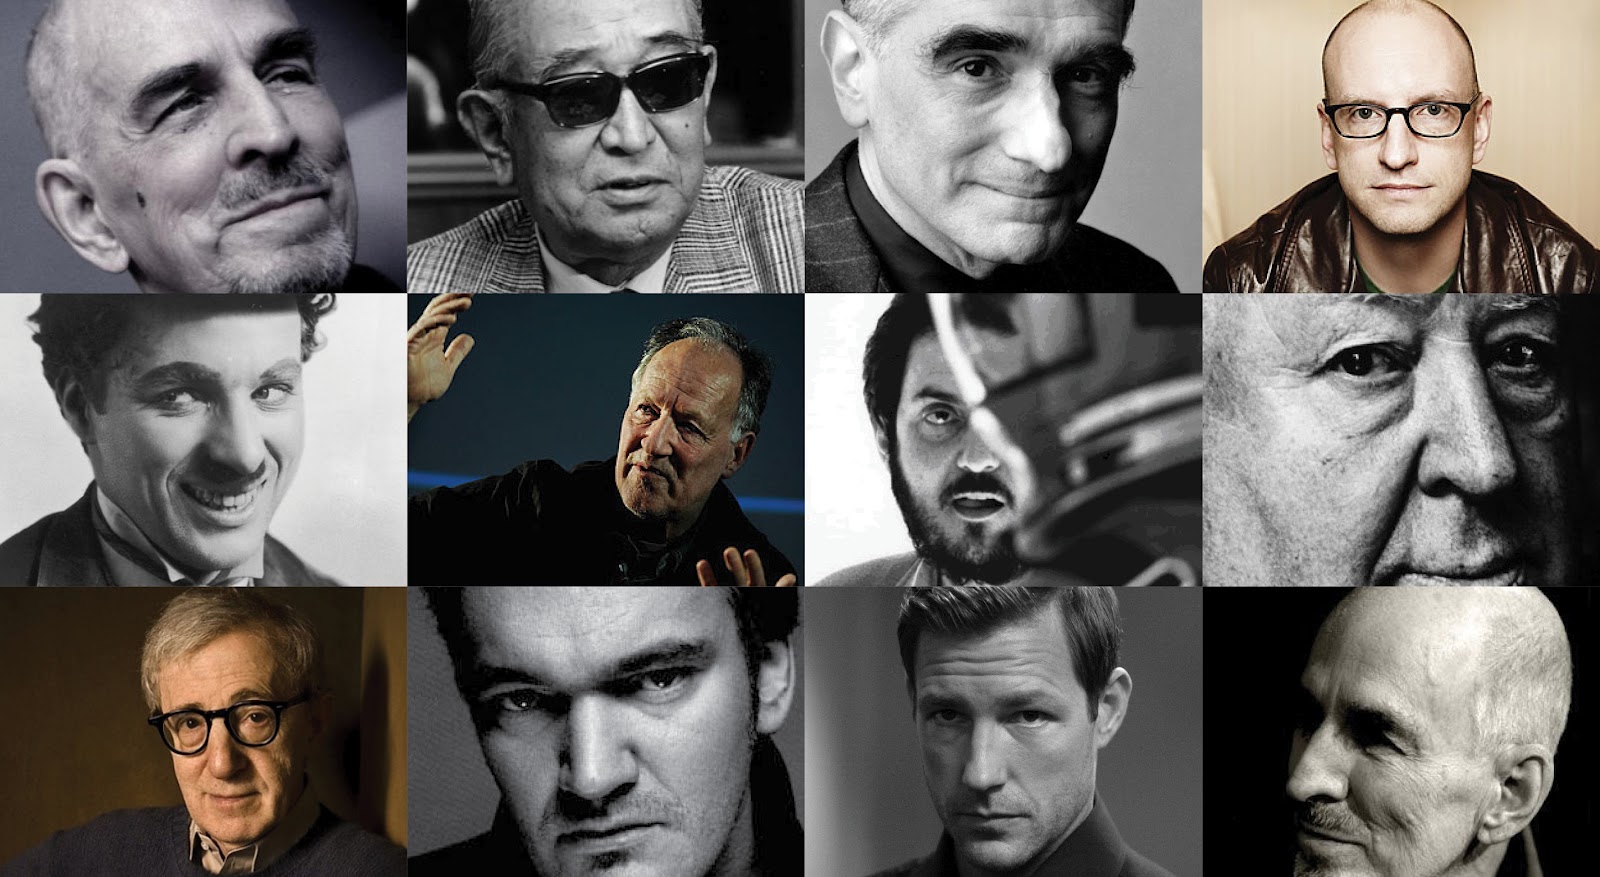
Image from Movie Plexus’ 80 Best Filmmakers of All Time
We need to consume the world around us – photography, movies, music, paintings. So much of that can be transferred to our craft and if you don’t stop to look at the world, it can go unseen.
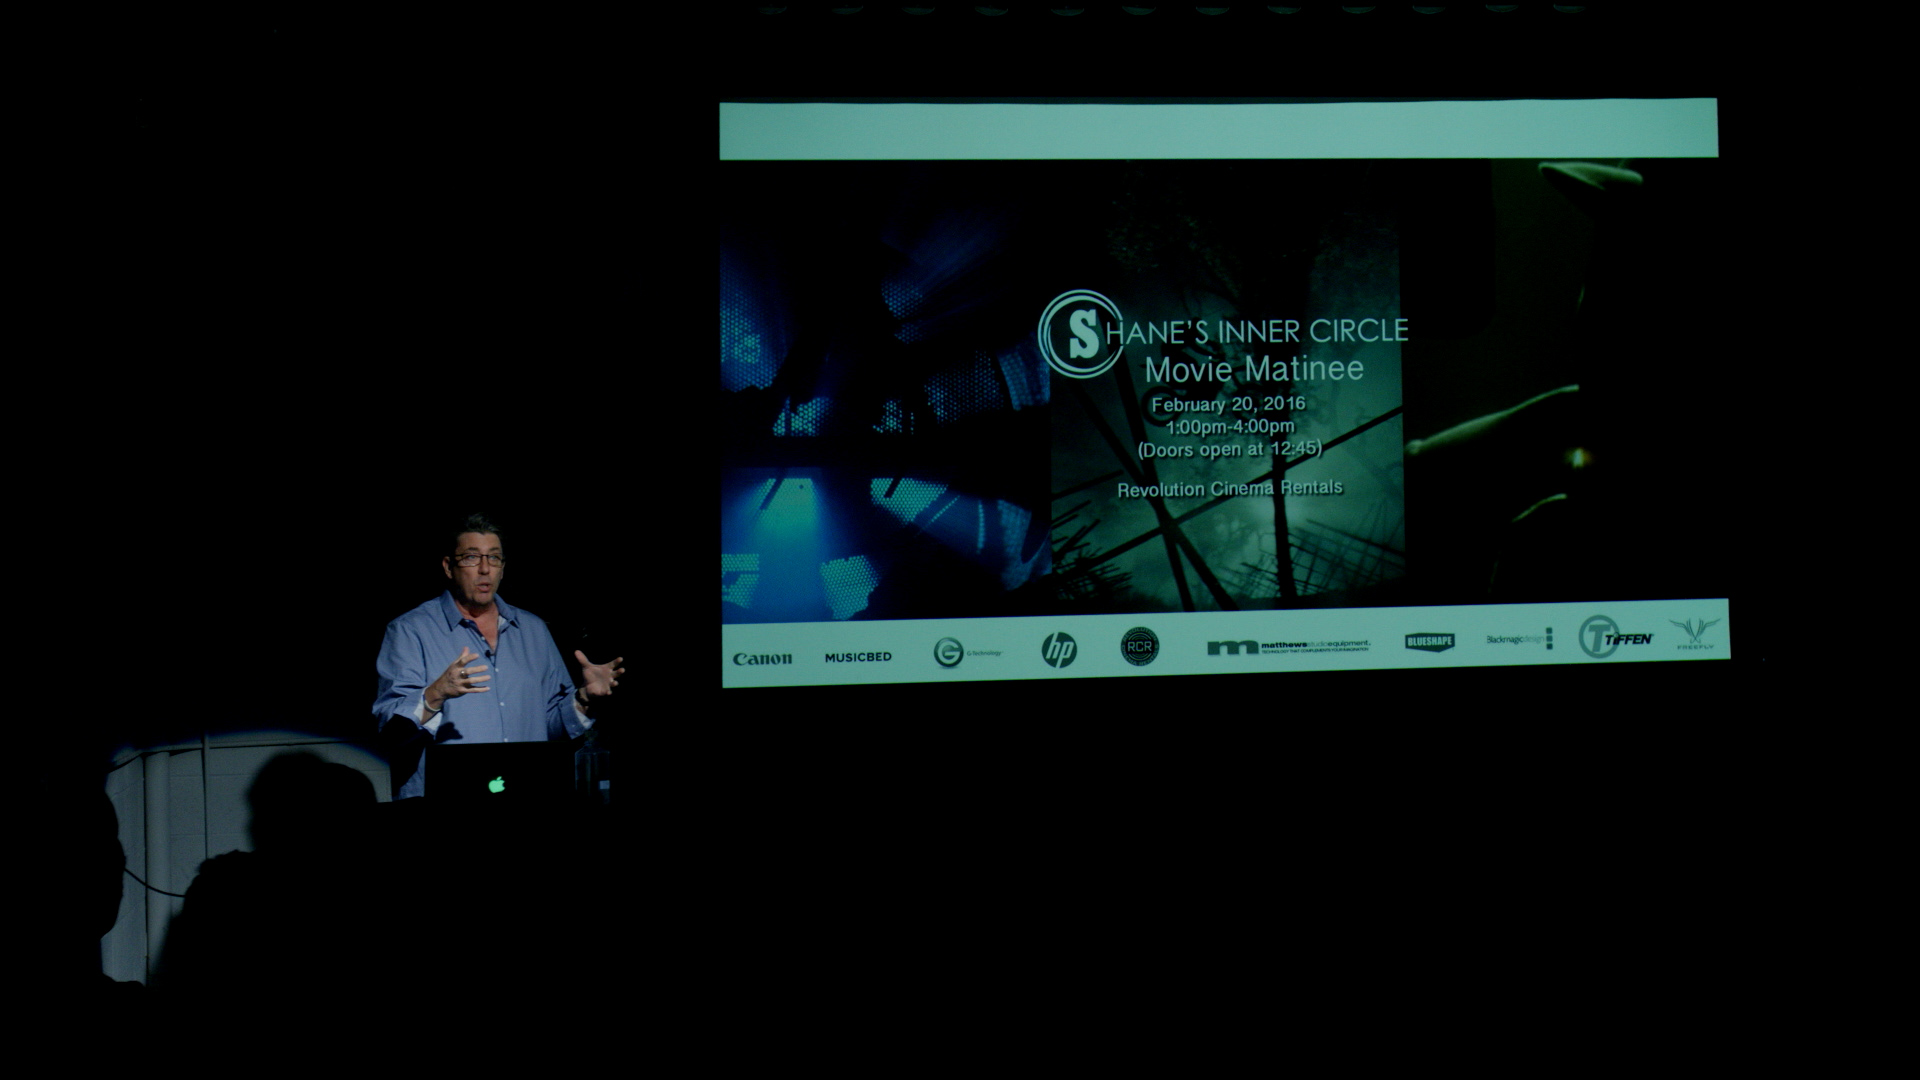
Shane Hurlbut, ASC at the 2016 Shane’s Inner Circle (SIC) Movie Matinee
Today I’m going to do that and break down a few of my movies for you to get a better understanding of “why” I made these decisions. Decisions are 90% of our jobs as filmmakers, directors, cinematographers, or whatever role you might be in. Making a movie is a series of decisions that need to be seamlessly strung together.
Go out there and watch some movies!
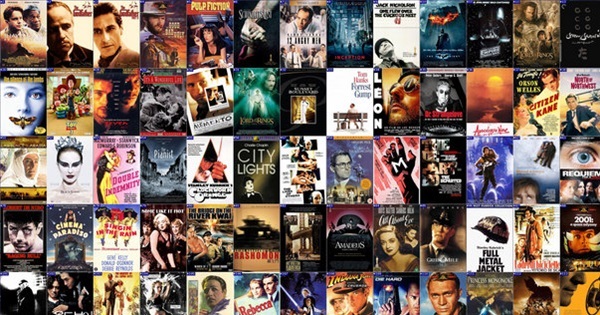
Some of the movies that inspired me on my way up were:
- Seven Samurai by Akira Kurosawa
- 12 Angry Men by Sidney Lumet
- The Shining by Stanley Kubrick
- Raging Bull by Martin Scorsese
- Point Break by Kathryn Bigelow
- Bullitt by Peter Yates
The list could go on forever! Go out there and enjoy the cinema of the world. Don’t stick to just Hollywood cinema. Check out what other countries and cultures have to offer! It’s important to digest, give yourself ideas, and analyze. Be well-rounded and don’t dismiss something for not knowing about it. That is my first tip before we get into it.
How do you seamlessly stitch a one-shot sequence together using multiple shots?

Shane Hurlbut, ASC at the 2016 SIC Movie Matinee
This is a great question because not many cinematographers break it down. The biggest thing that I learned is that you should try to do as much in camera as possible. Personally, I’m not a big visuals effects guy. It’s great what we can do in the 21st century, but unfortunately, it’s a bit boring.
The scene that best represents this in Terminator Salvation is when we do what looks like, “One Single Shot”, but really is, “6 Hookup Shots.” So take a moment to think about this! I string 6 shots together to make it look like one seamless shot.
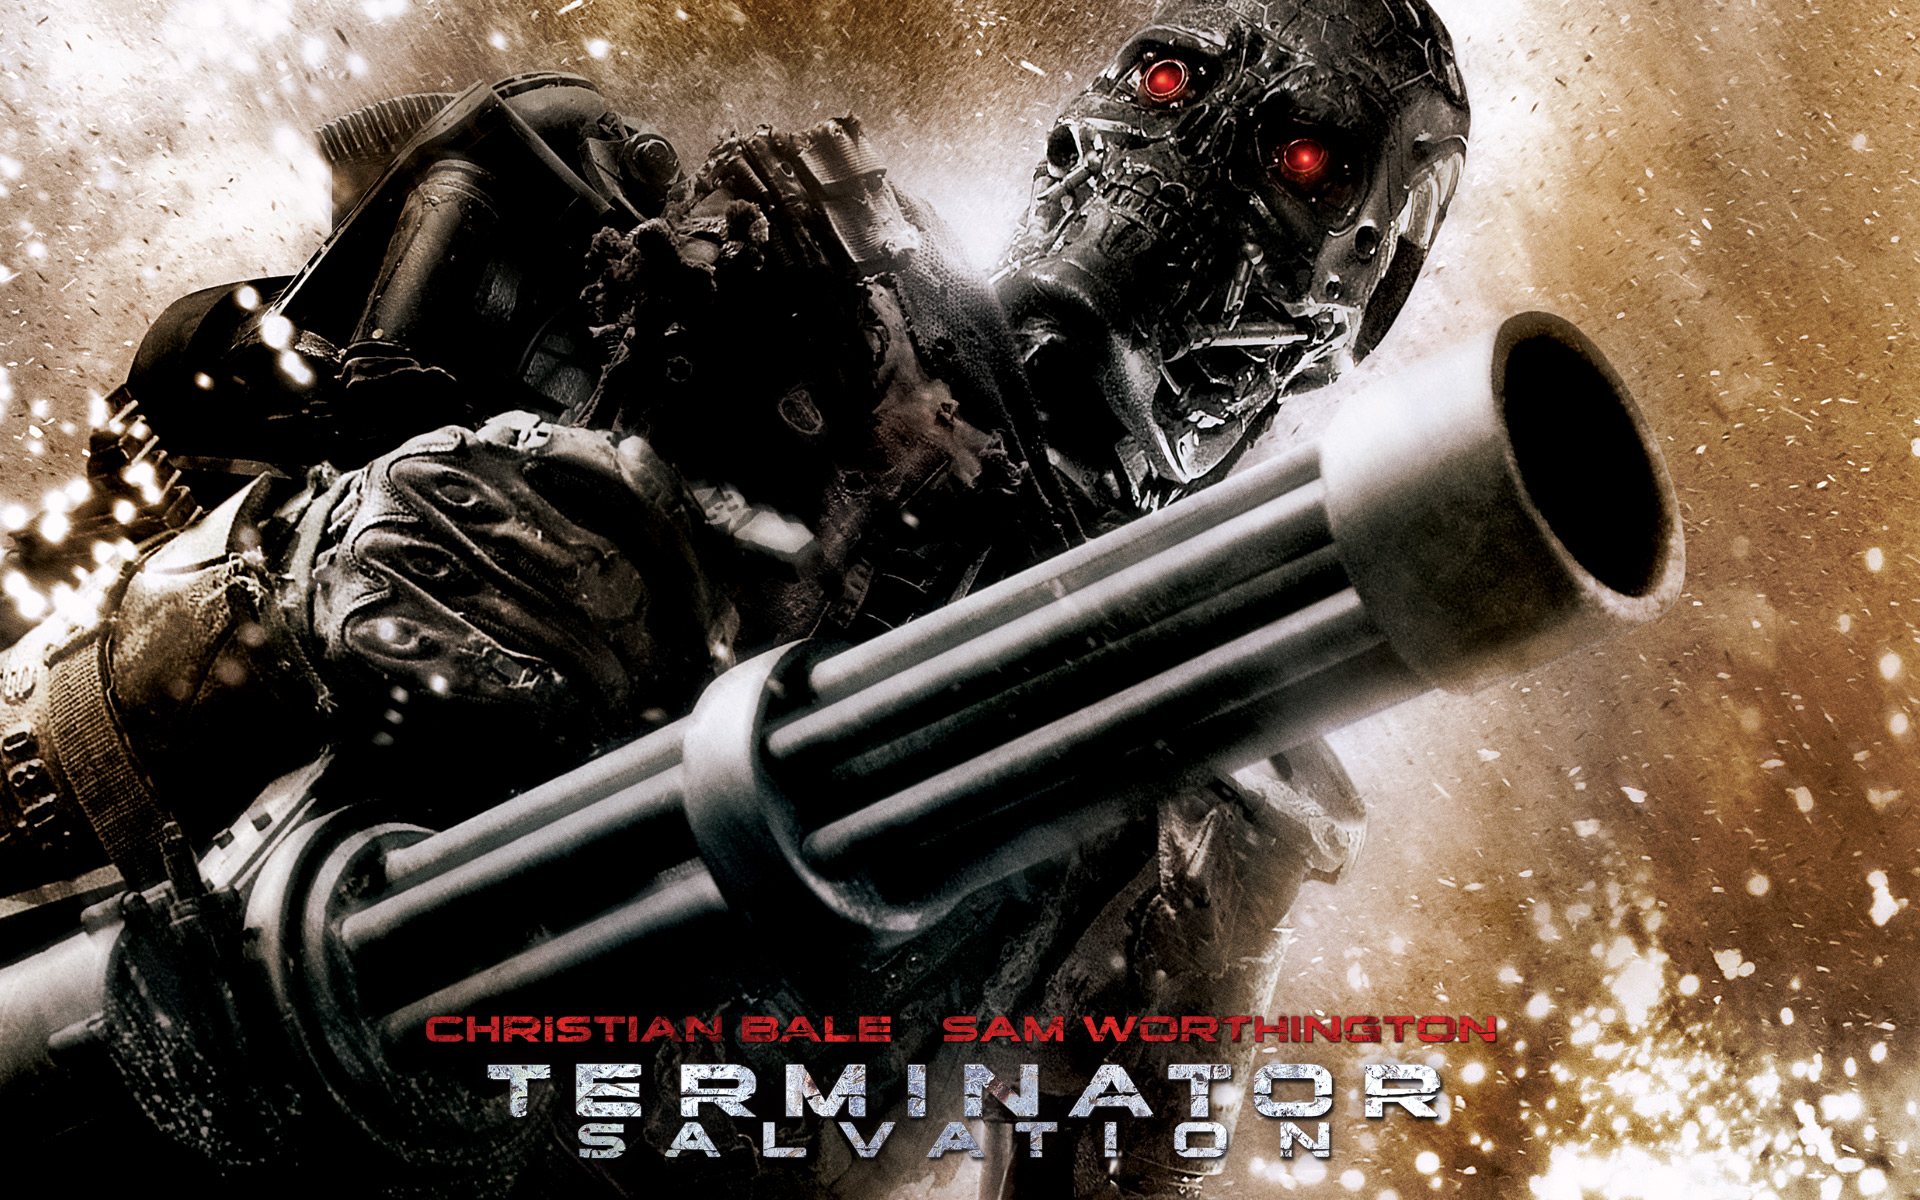
Terminator Salvation (2009) directed by McG and produced by Warner Bros and Columbia Pictures
What is a hookup? It’s when you have individual shots that are passed from one camera to the next to be pieced into that “Oner.” This was done in movies like Children of Men, The Revenant, Birdman, and Gravity. Hmmm… it seems like Emmanuel “Chivo” Lubezki really likes to do this as well!

You can hide edit points in pans. Editing did a good job by retaining the landscape in the pan
For this production, we hid most of our cuts in whip pans, or subtle editing points in the action. Using techniques like these will create a seamless one-shot sequence and the audience will never pick up on it! Next time you want to do something elaborate but can’t get it into one shot, try this. It can save time and simplify moving the camera from point A to point B.
Let’s take a moment to break down the whip pan and how it works. A whip pan essentially is quickly turning the camera left or right blurring the image in your frame. By doing this you can hide an edit within a pan. You’d want to end a shot on a whip pan and start a shot on a whip pan. Once you have those two components, you can splice them together for what should look like a seamless motion.
Things to consider:
- Avoid different color backgrounds when trying to hide an edit. It’s hard for an audience not to pick up a complete location change. Review your background and whip pan into a neutral environment.
- Make sure light levels are right. Sometimes it can be jarring when you can clearly see that it was shot at two different locations, different times of day, etc…
- Make sure to get the speed right in your whip pan. If you go too slow we’ll be able to see the edit and the background won’t blur enough.
So in this shot, John Connor climbs out of the crater to find an enemy ship taking off with human prisoners on it. He gets in a helicopter to pursue the ship and ultimately gets blown out of the sky due to a massive explosion.
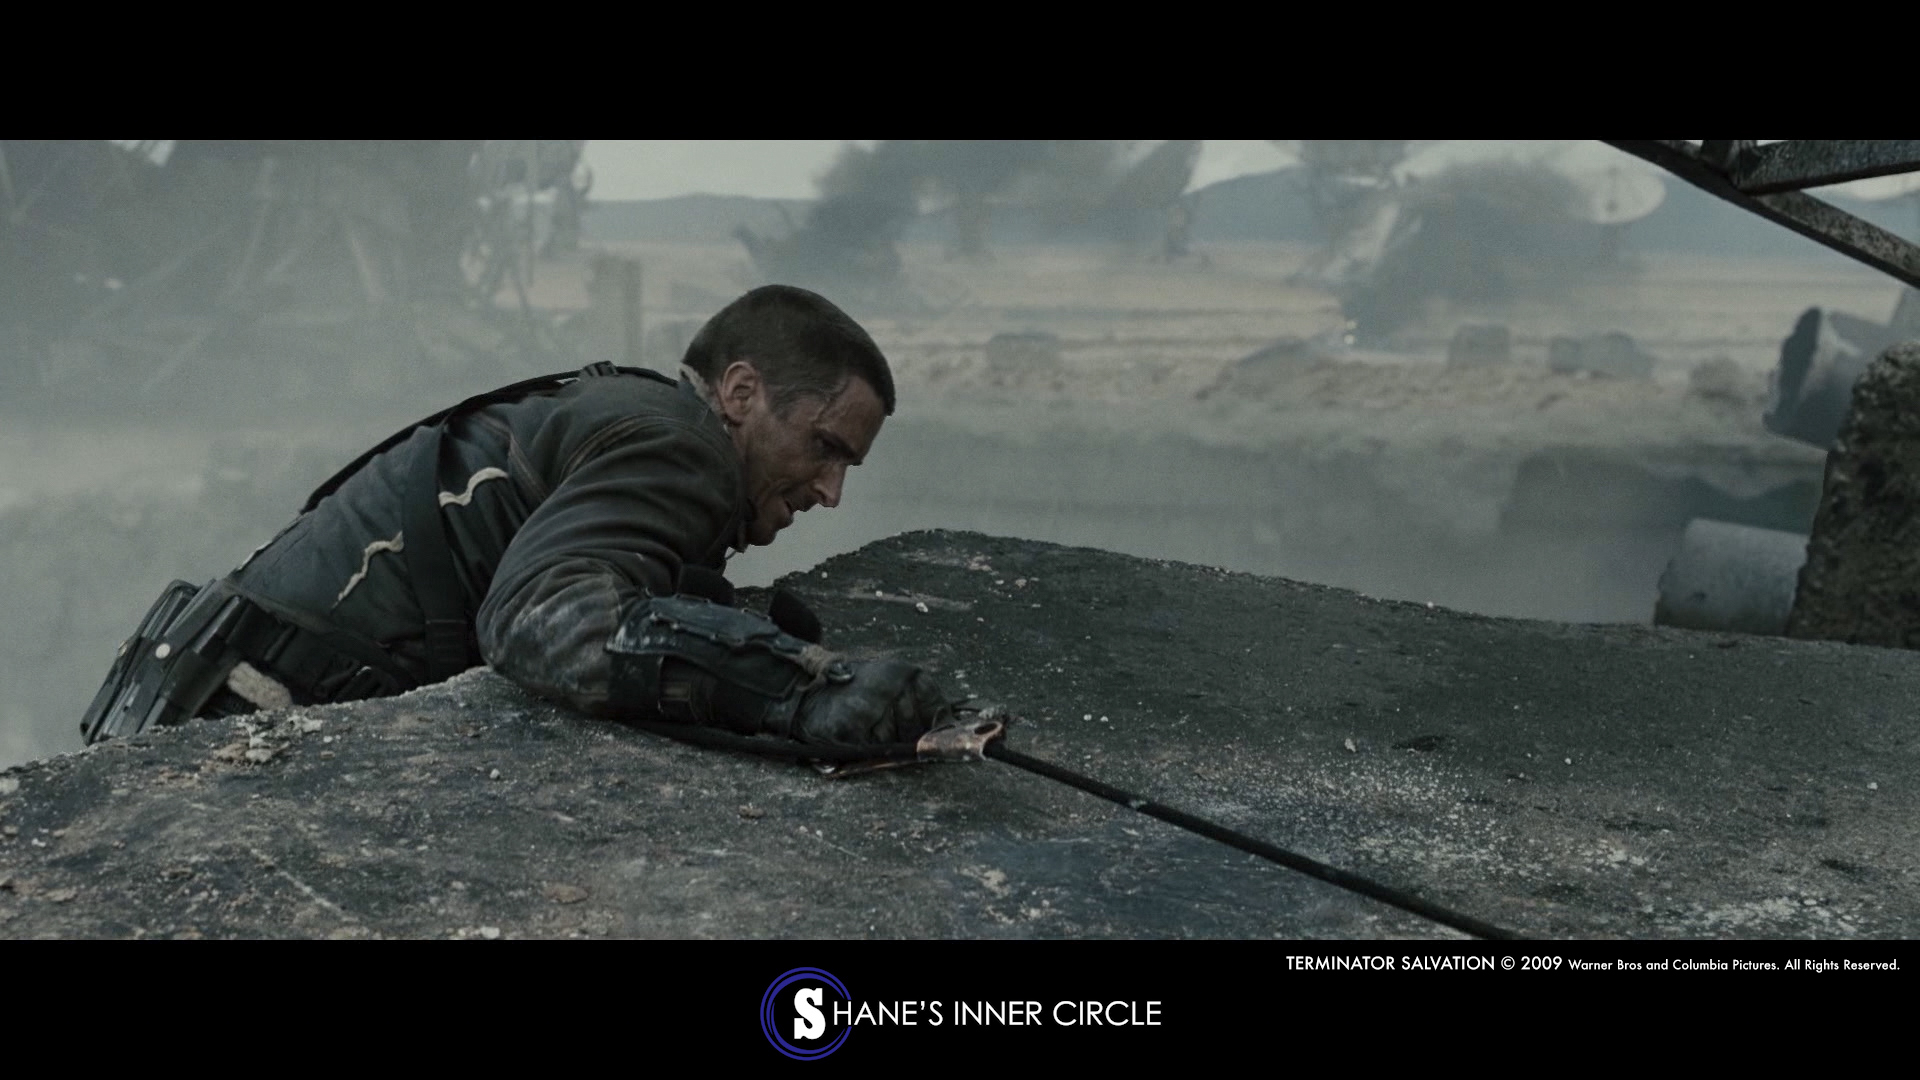
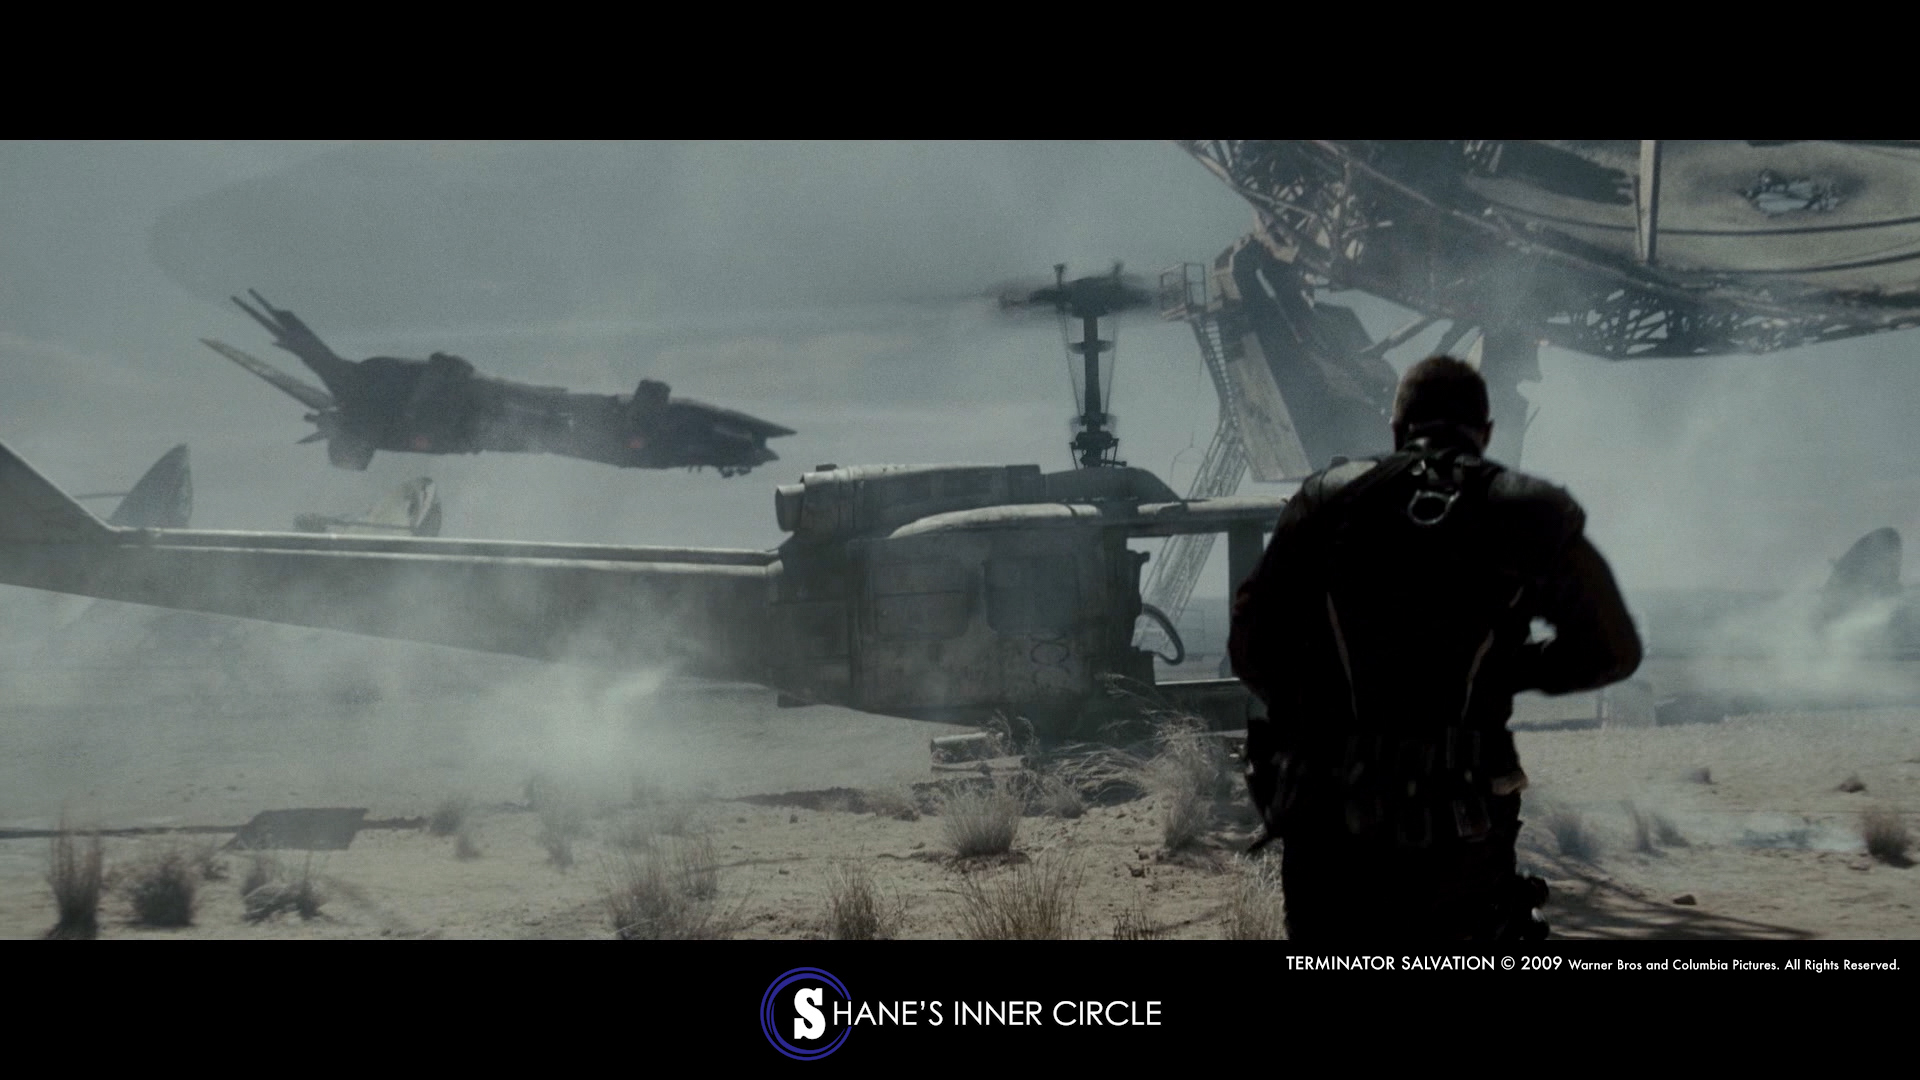

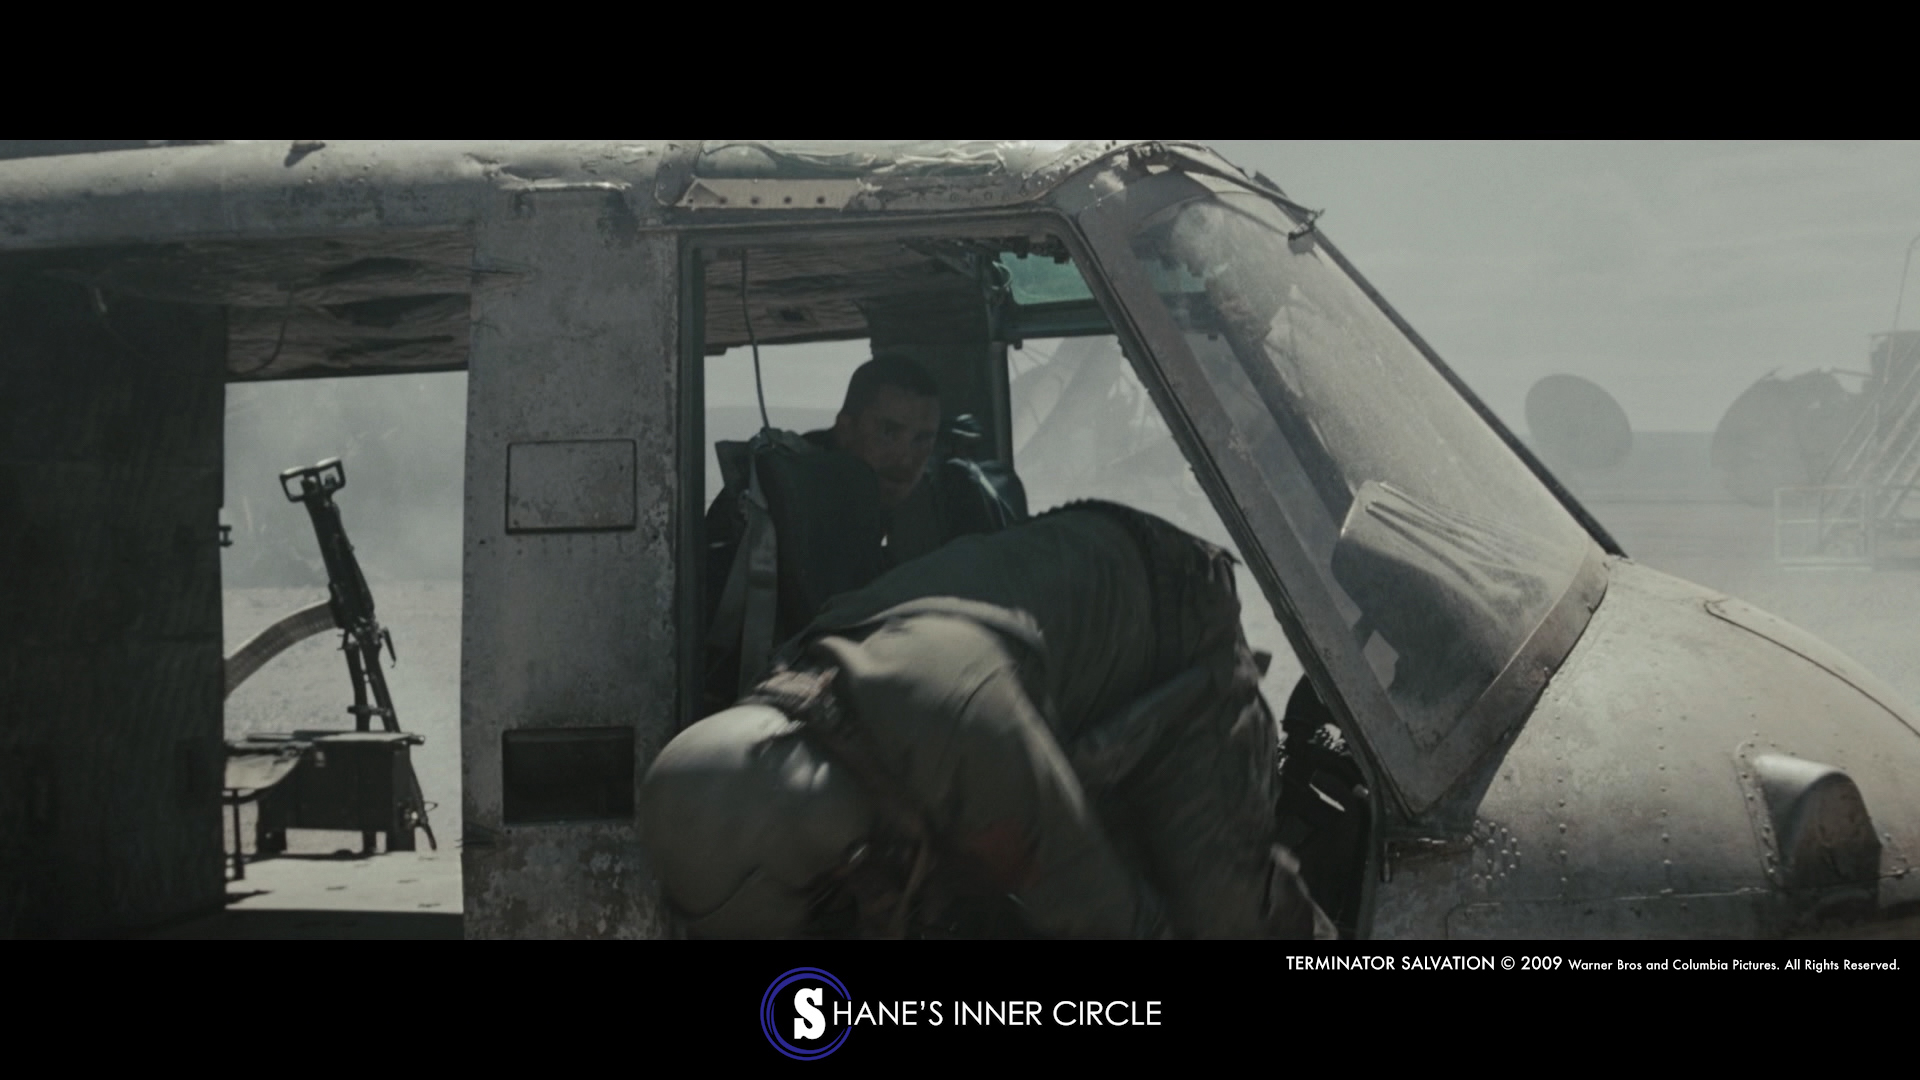

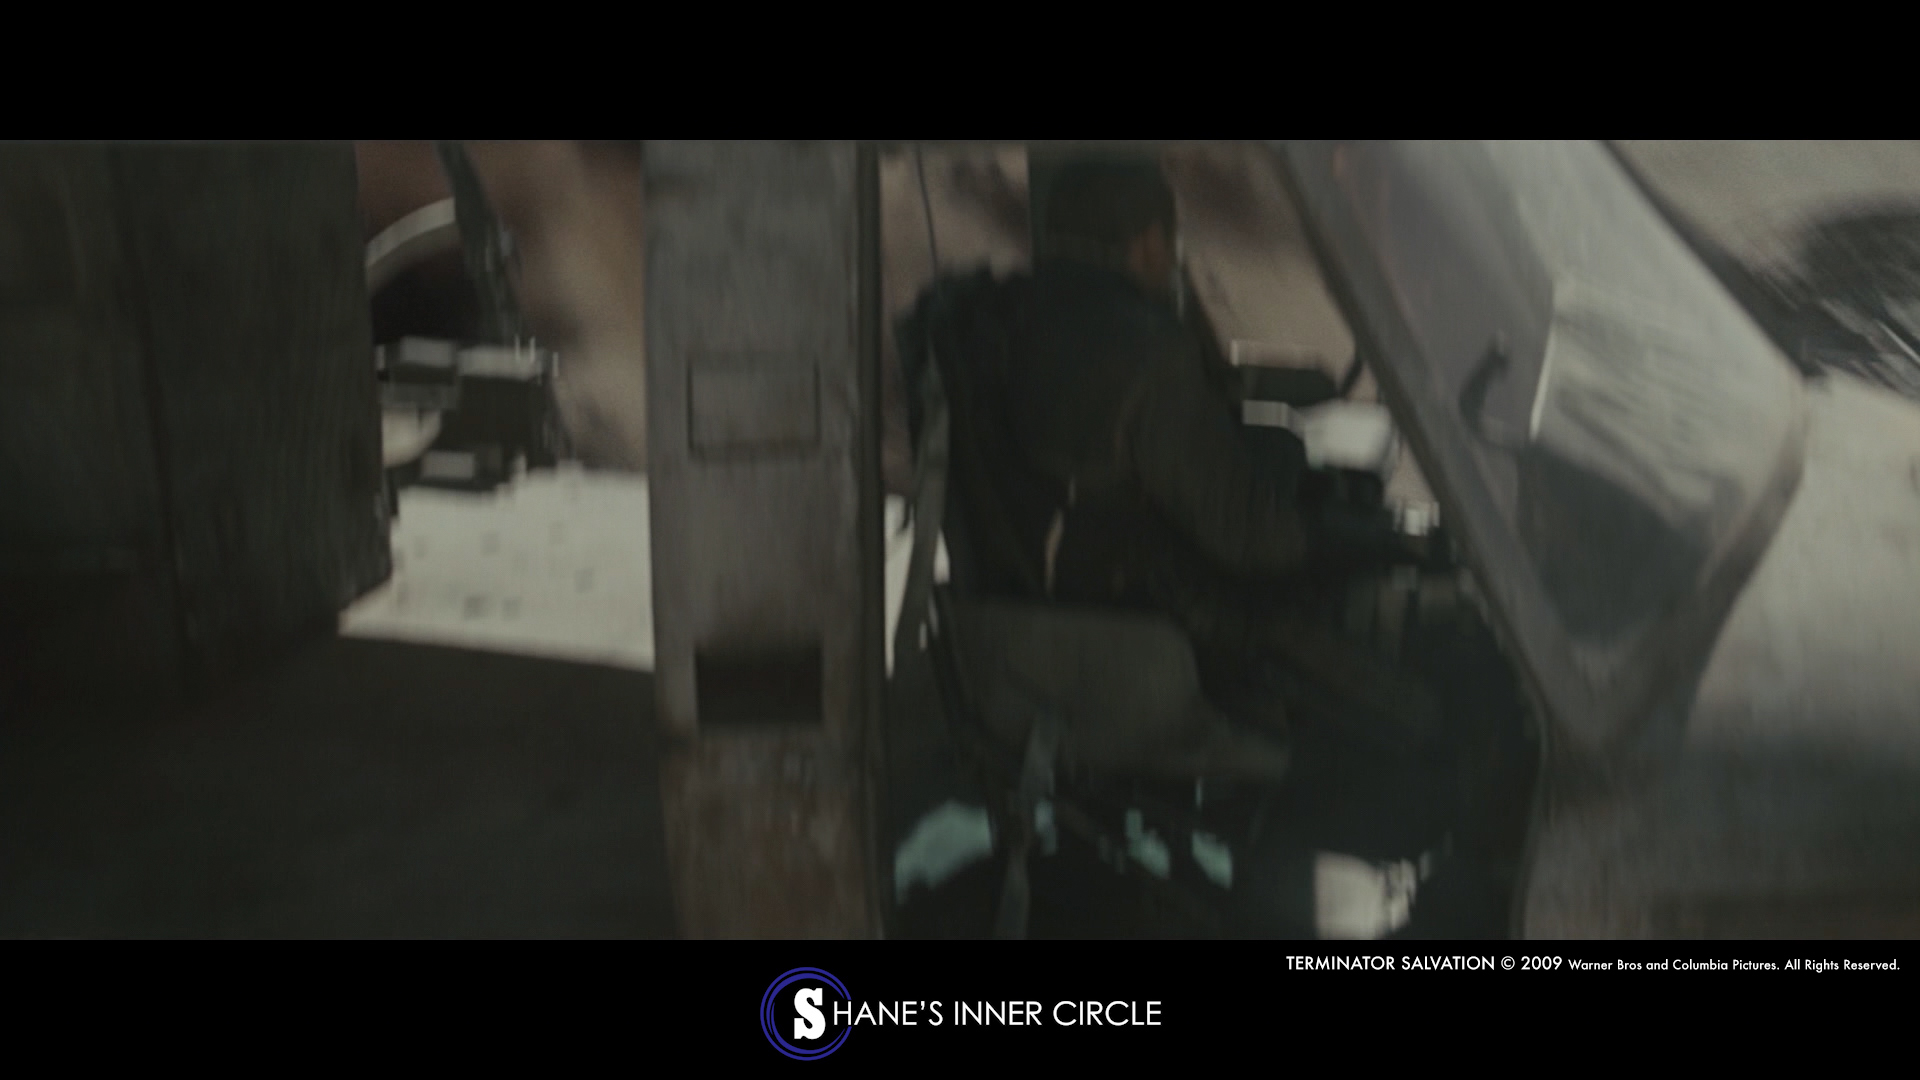
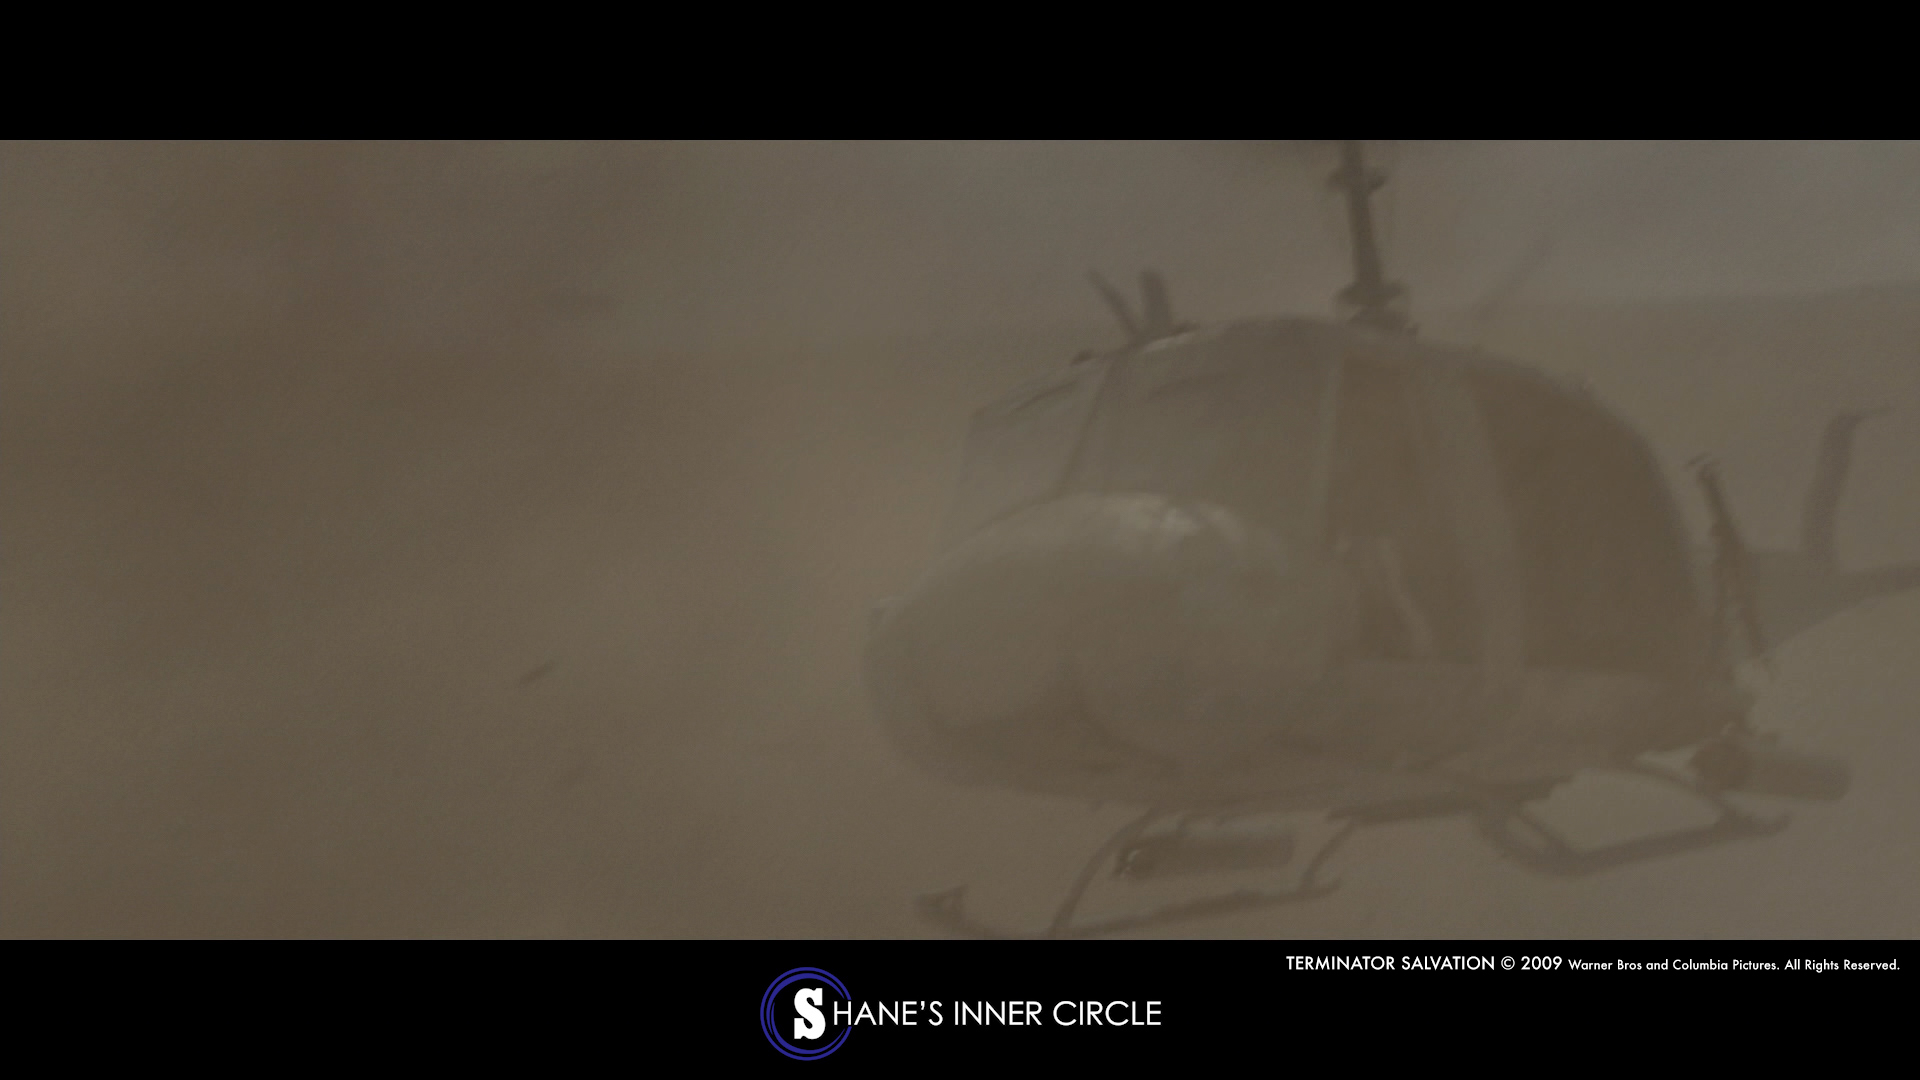

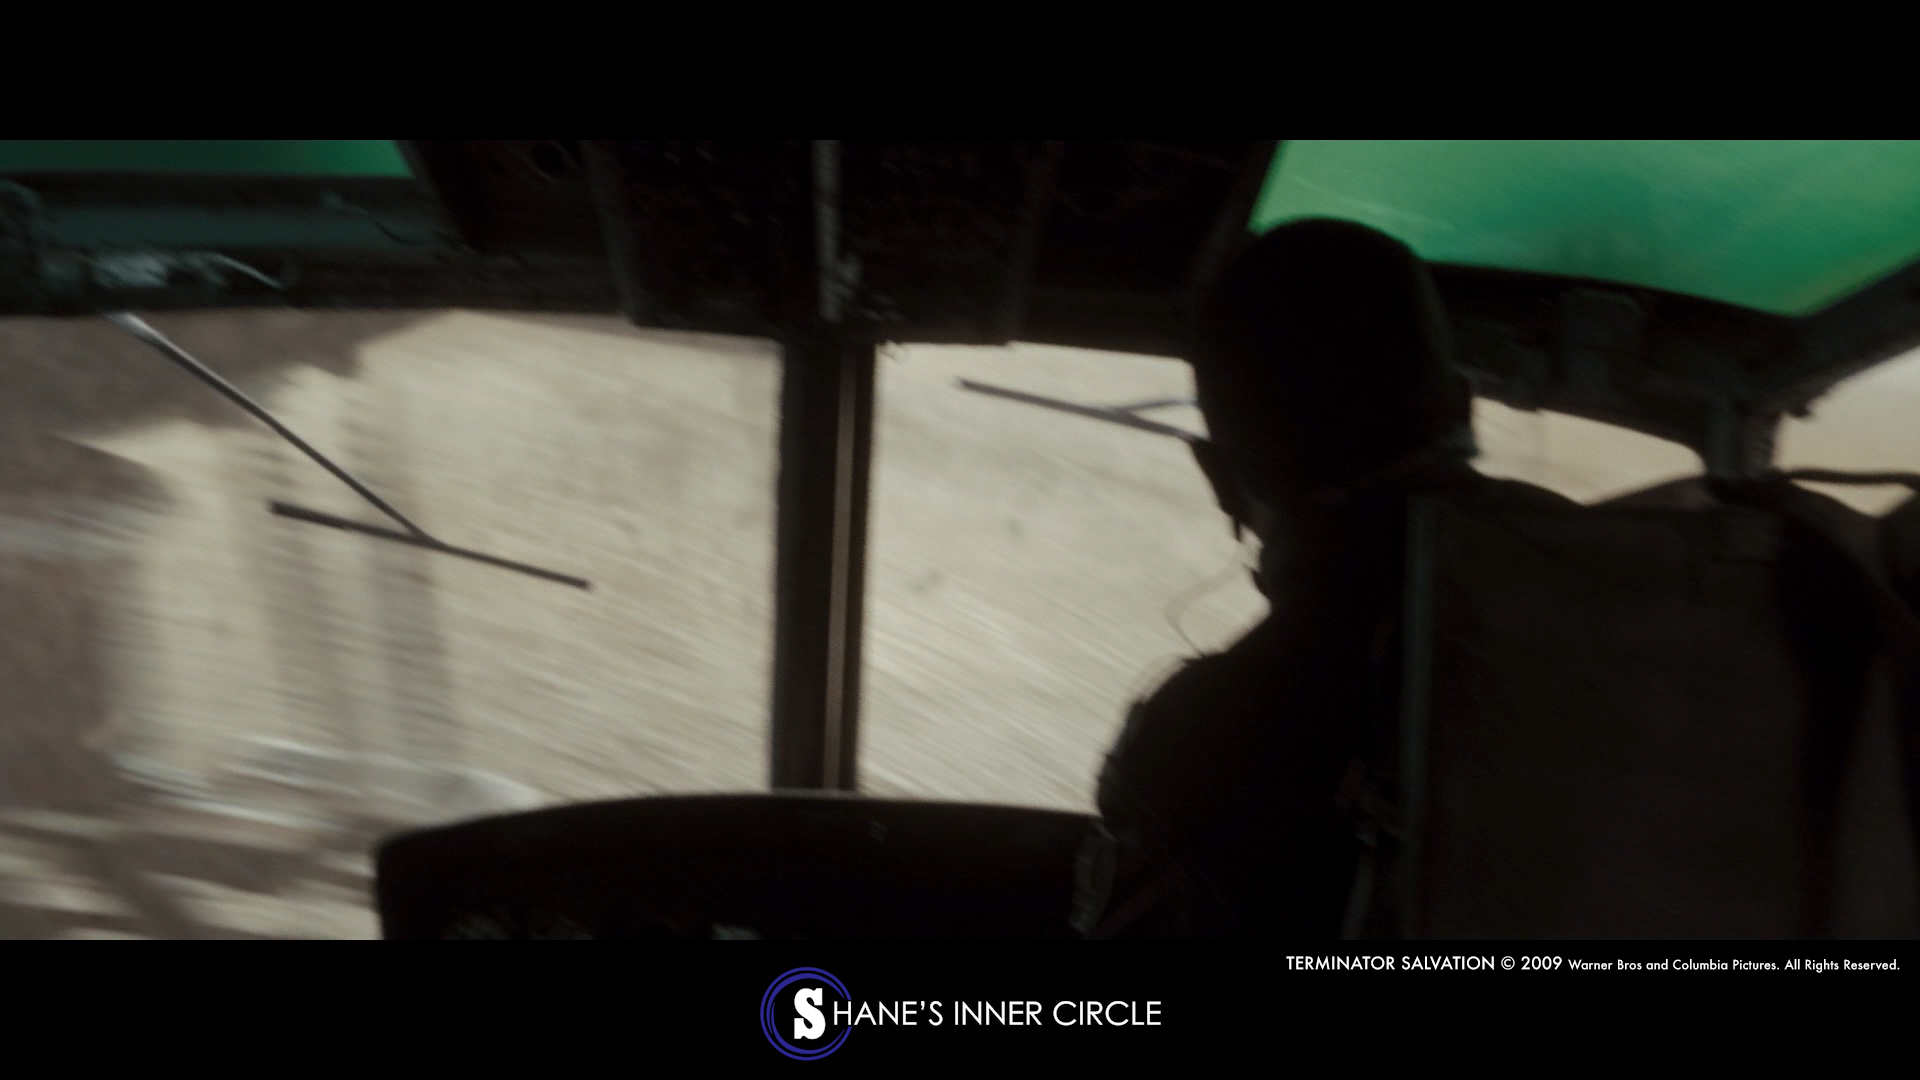


So you can see that trying to go from point A to point B in this scene would have been absolute suicide. This is a perfect example of breaking it down into hookup shots for the ultimate result! It let me use handheld techniques and technocrane work to let the audience get in there.
When breaking up the “oner” into 6 shots, you have the opportunity to consider each composition and style. You get to make the decision of how one camera feels compared to the next. It’s these simple techniques that are going to help reel the audience in and suspend reality. If you can grasp this, then you will be leaps and bounds ahead of the competition!
These are just a few tips to get you in the pocket for the perfect “oner.” Filmmakers Academy (formerly Shane’s Inner Circle) members received Shane’s in-depth guide to one-shot sequences as part of their monthly subscription in June 2017. Sign up today and never miss articles like these to enhance your filmmaking!
Peace,
~ Shane
Be fearless in your filmmaking. Join Shane’s Inner Circle today.


Wonderful as always. Geeking me out! :D