The Hostess Tray Brauer Mount, Powered by Matthews Studio Equipment

I’m going to show you how to build the Matthews Brauer Hostess Tray Mount. Why is this a “Hostess Tray?” It’s called this because it looks like an old-school drive-up hamburger stand tray.
I’m highlighting this mount because it’s fast to set up and will save you lots of time and effort. This is a car rig you can build in 15-20 minutes. It slides right into your car door, rather than over the window. This allows you to shoot with the camera on the mount with the car window up, unlike older mounts. Let’s build this baby!
Preparing the Car
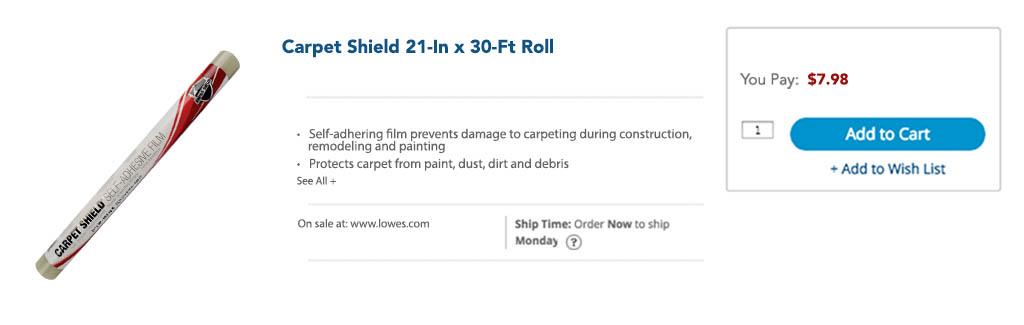
The first thing you want to do is prepare your car before attaching anything. To do this, we are going to use Carpet Shield to protect my Lexus in the area where we are going to attach the mount. You can buy Carpet Shield at a hardware store like Lowe’s or Home Depot for under $10.00.
Carpet Shield will protect the paint from being damaged by the suction cups. If you’re going to apply the suction cups but won’t be driving, this isn’t a necessary step because your paint will probably be fine. However, this is a good way to prevent any damage if you want to be extra careful.
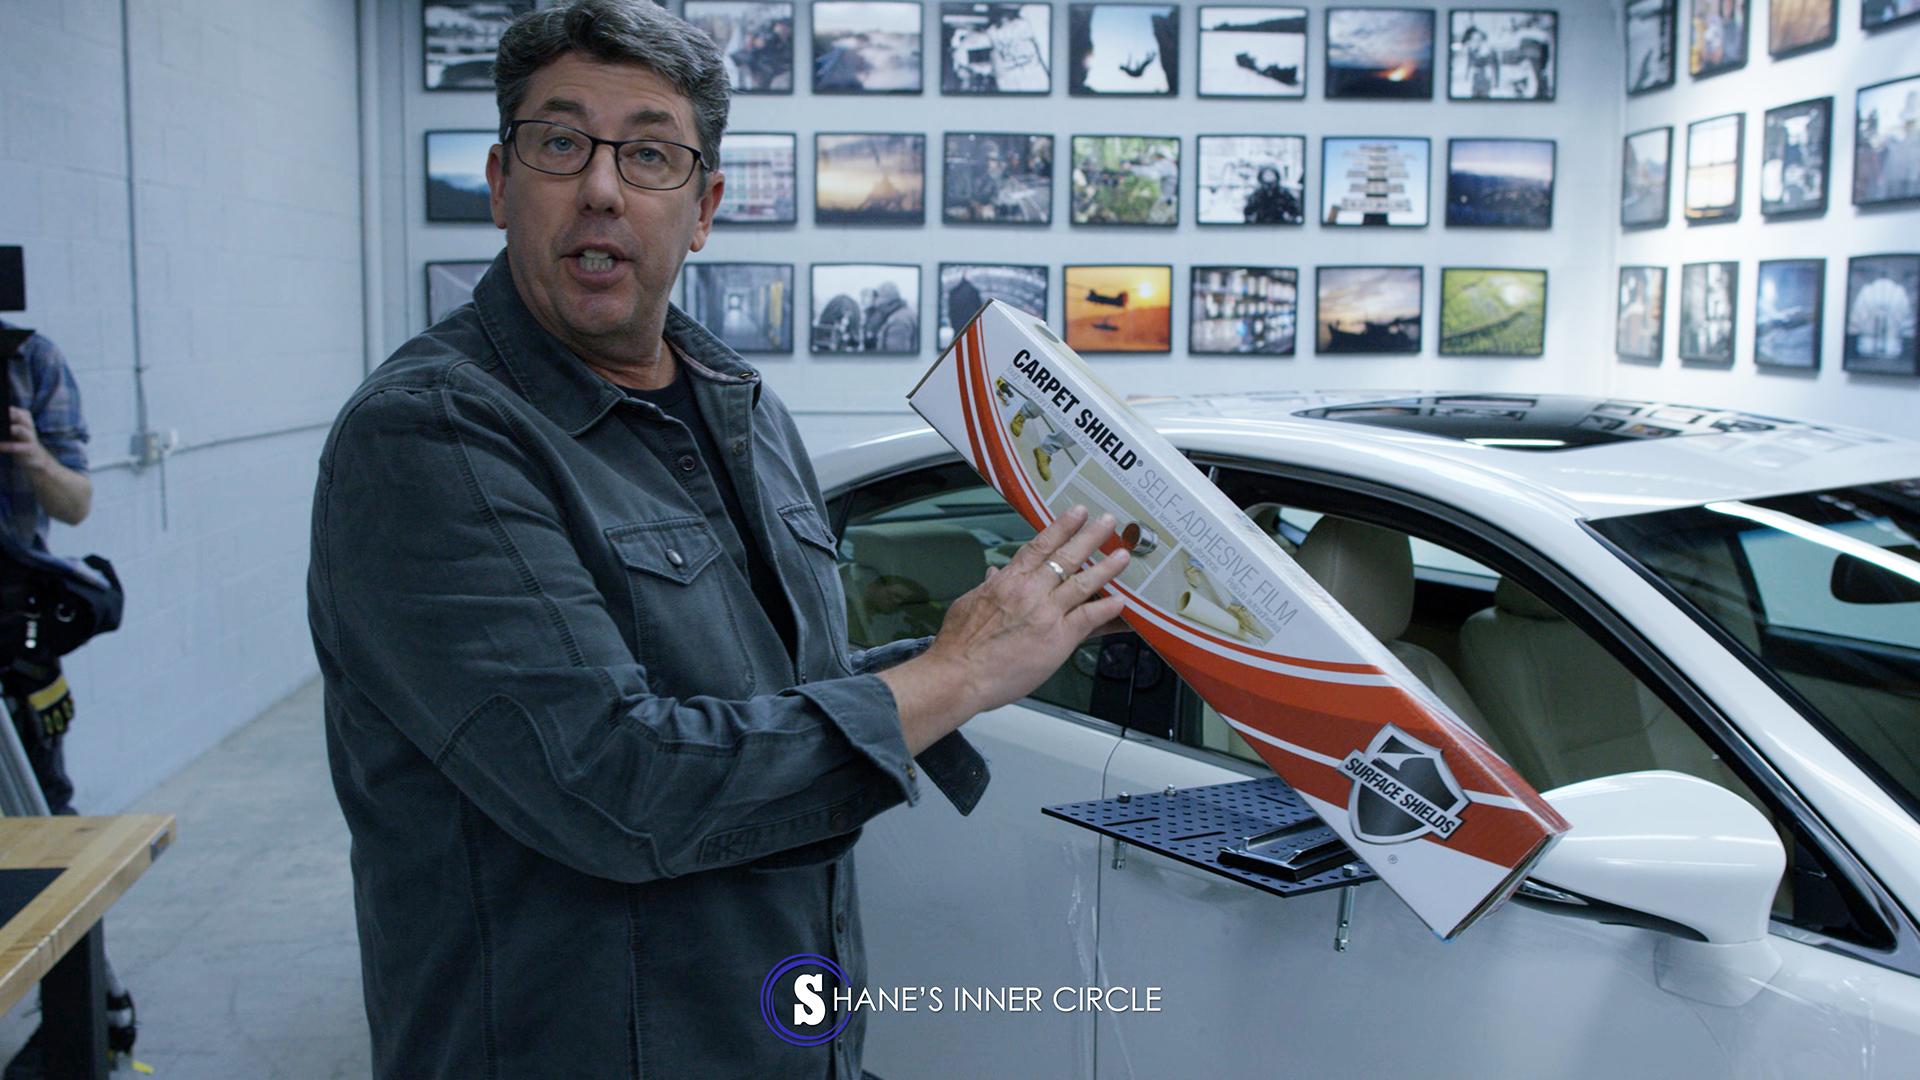
Carpet Shield
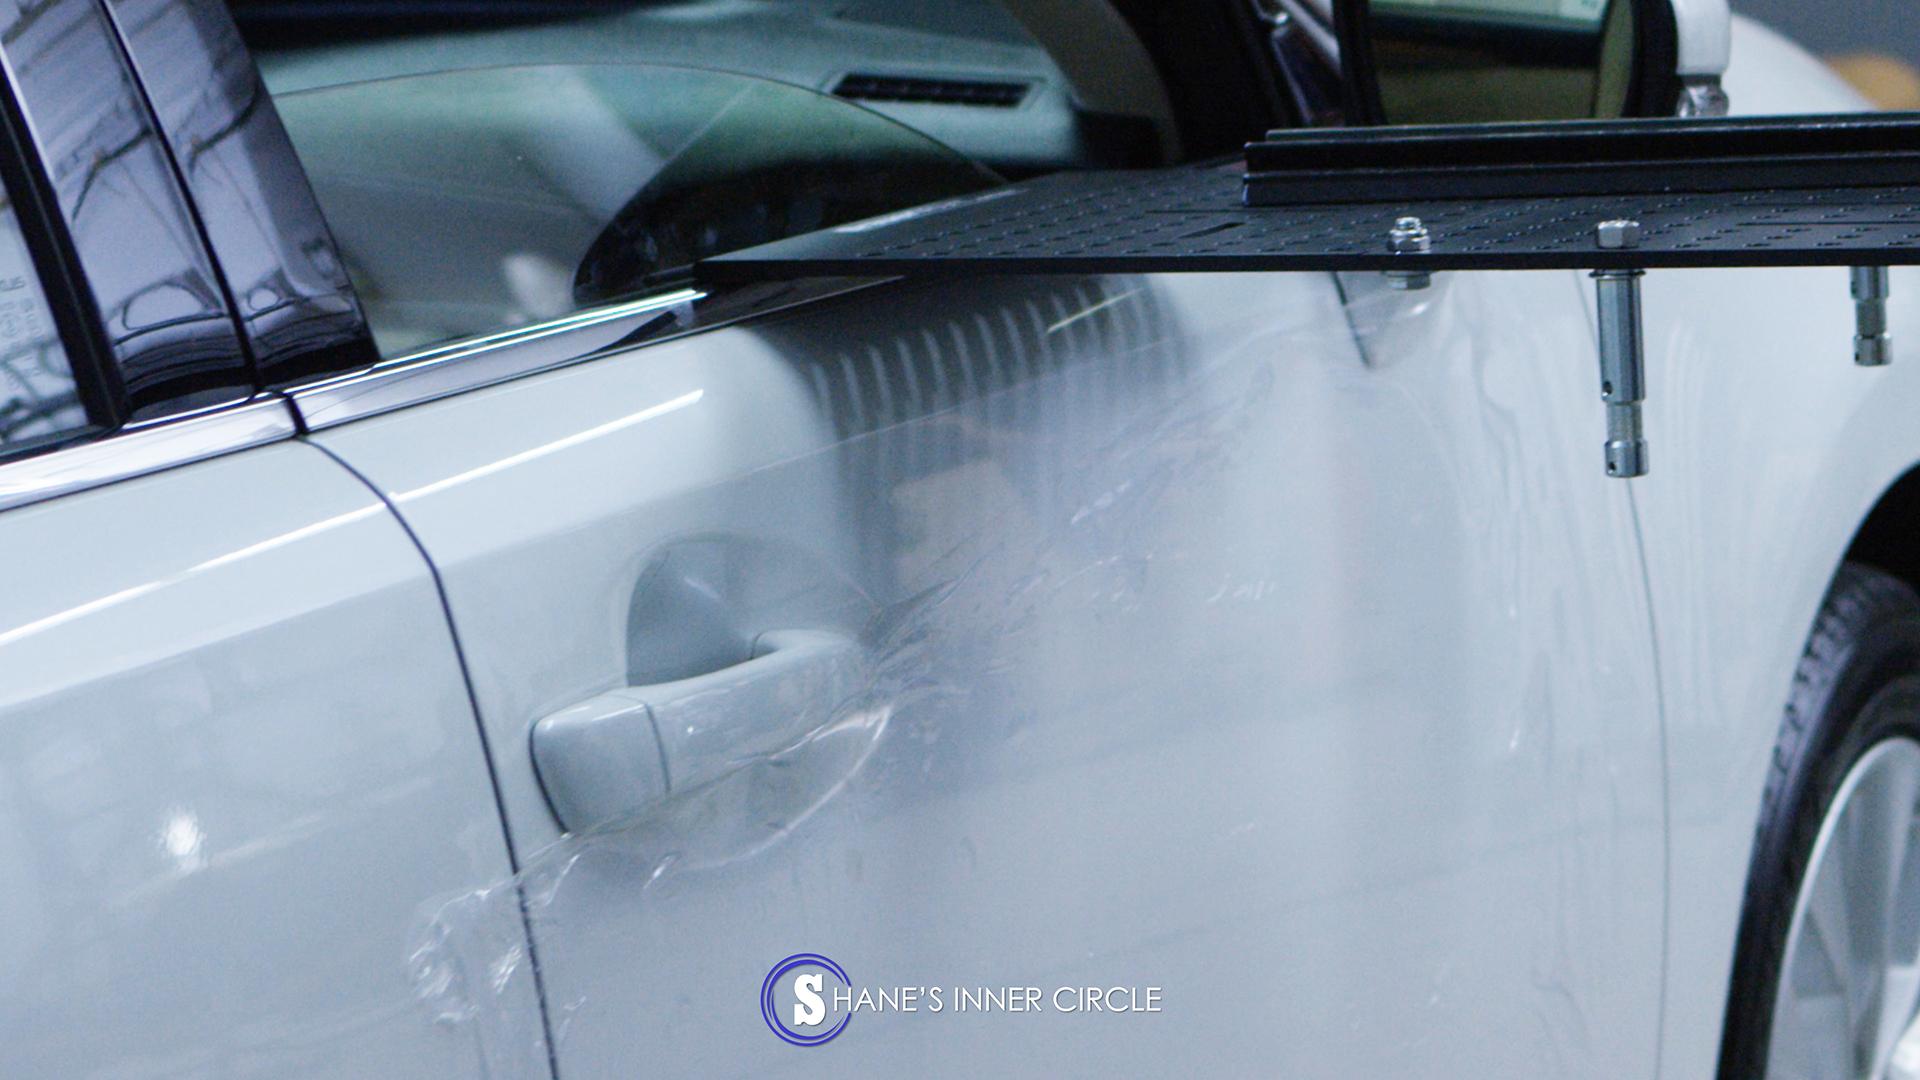
Notice the Carpet Shield is smooth and applied to the car door.
Building the Hostess Tray Brauer Mount
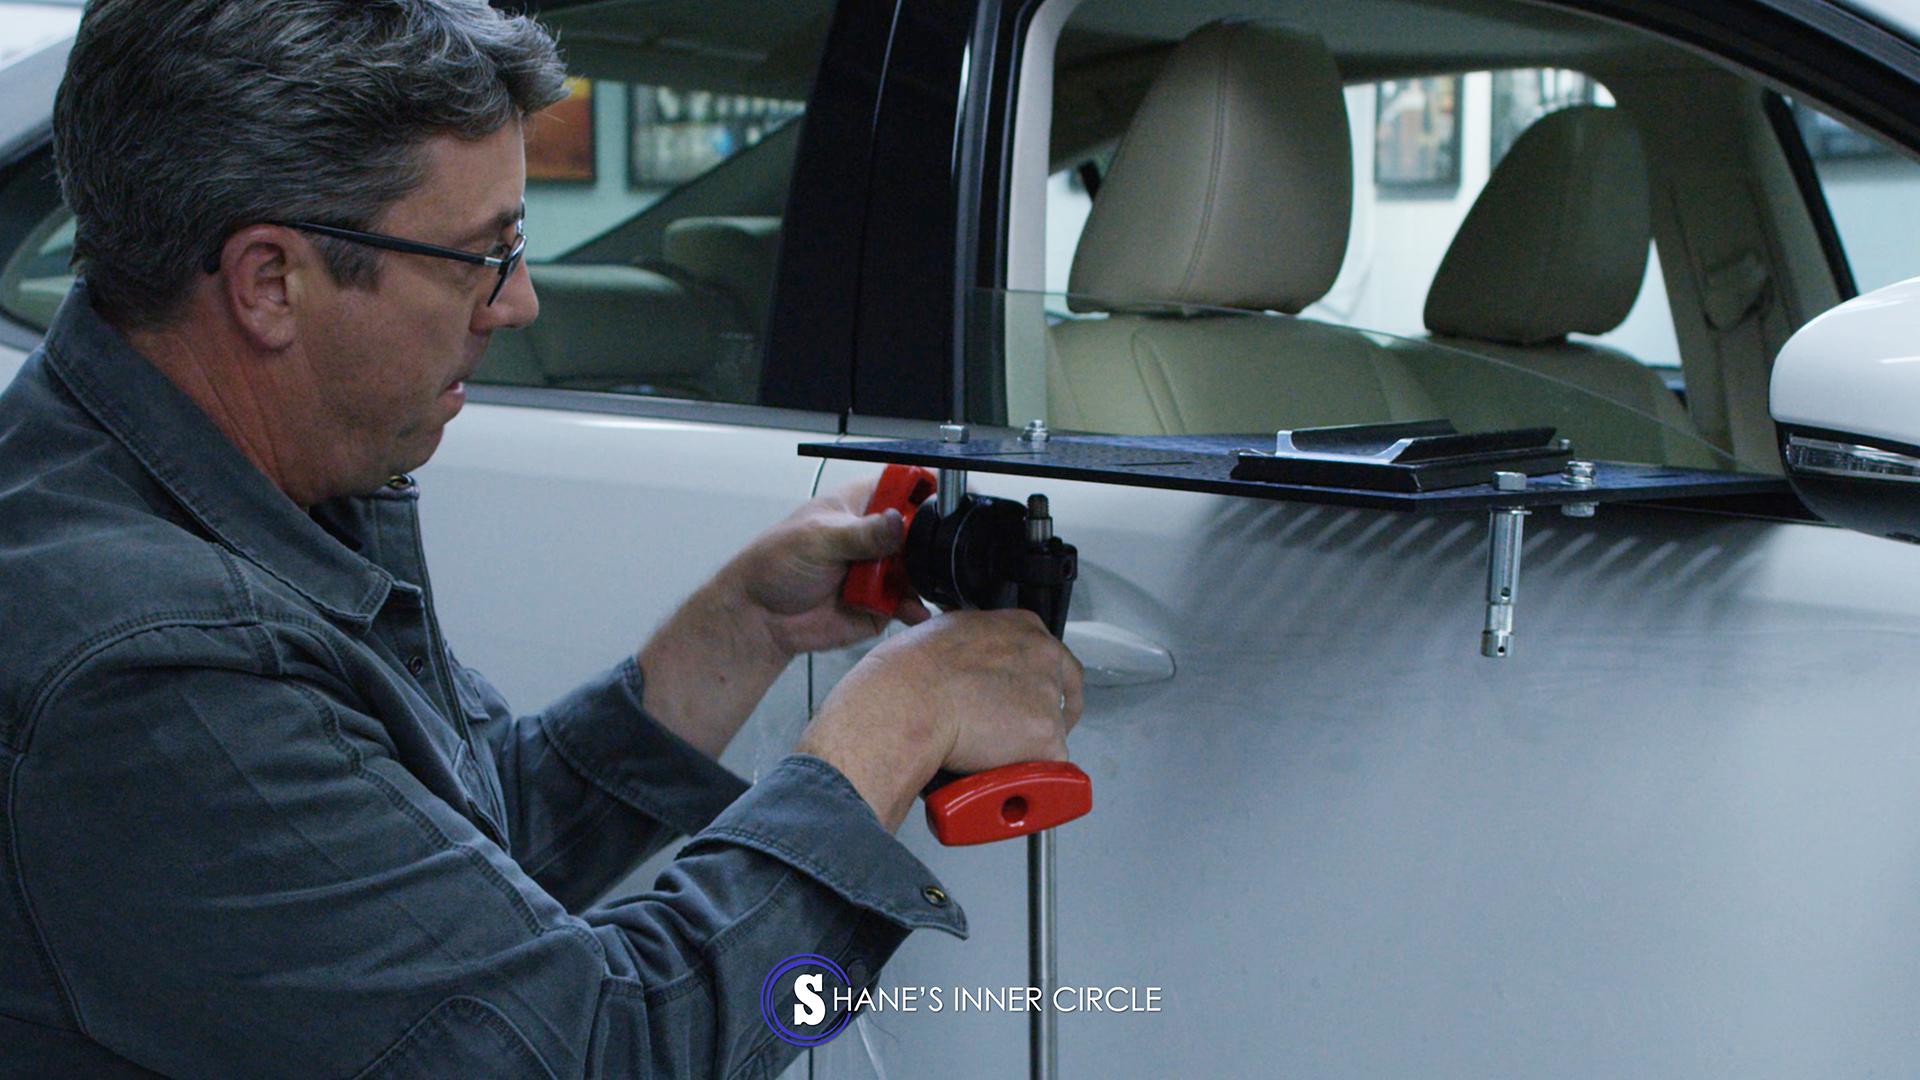
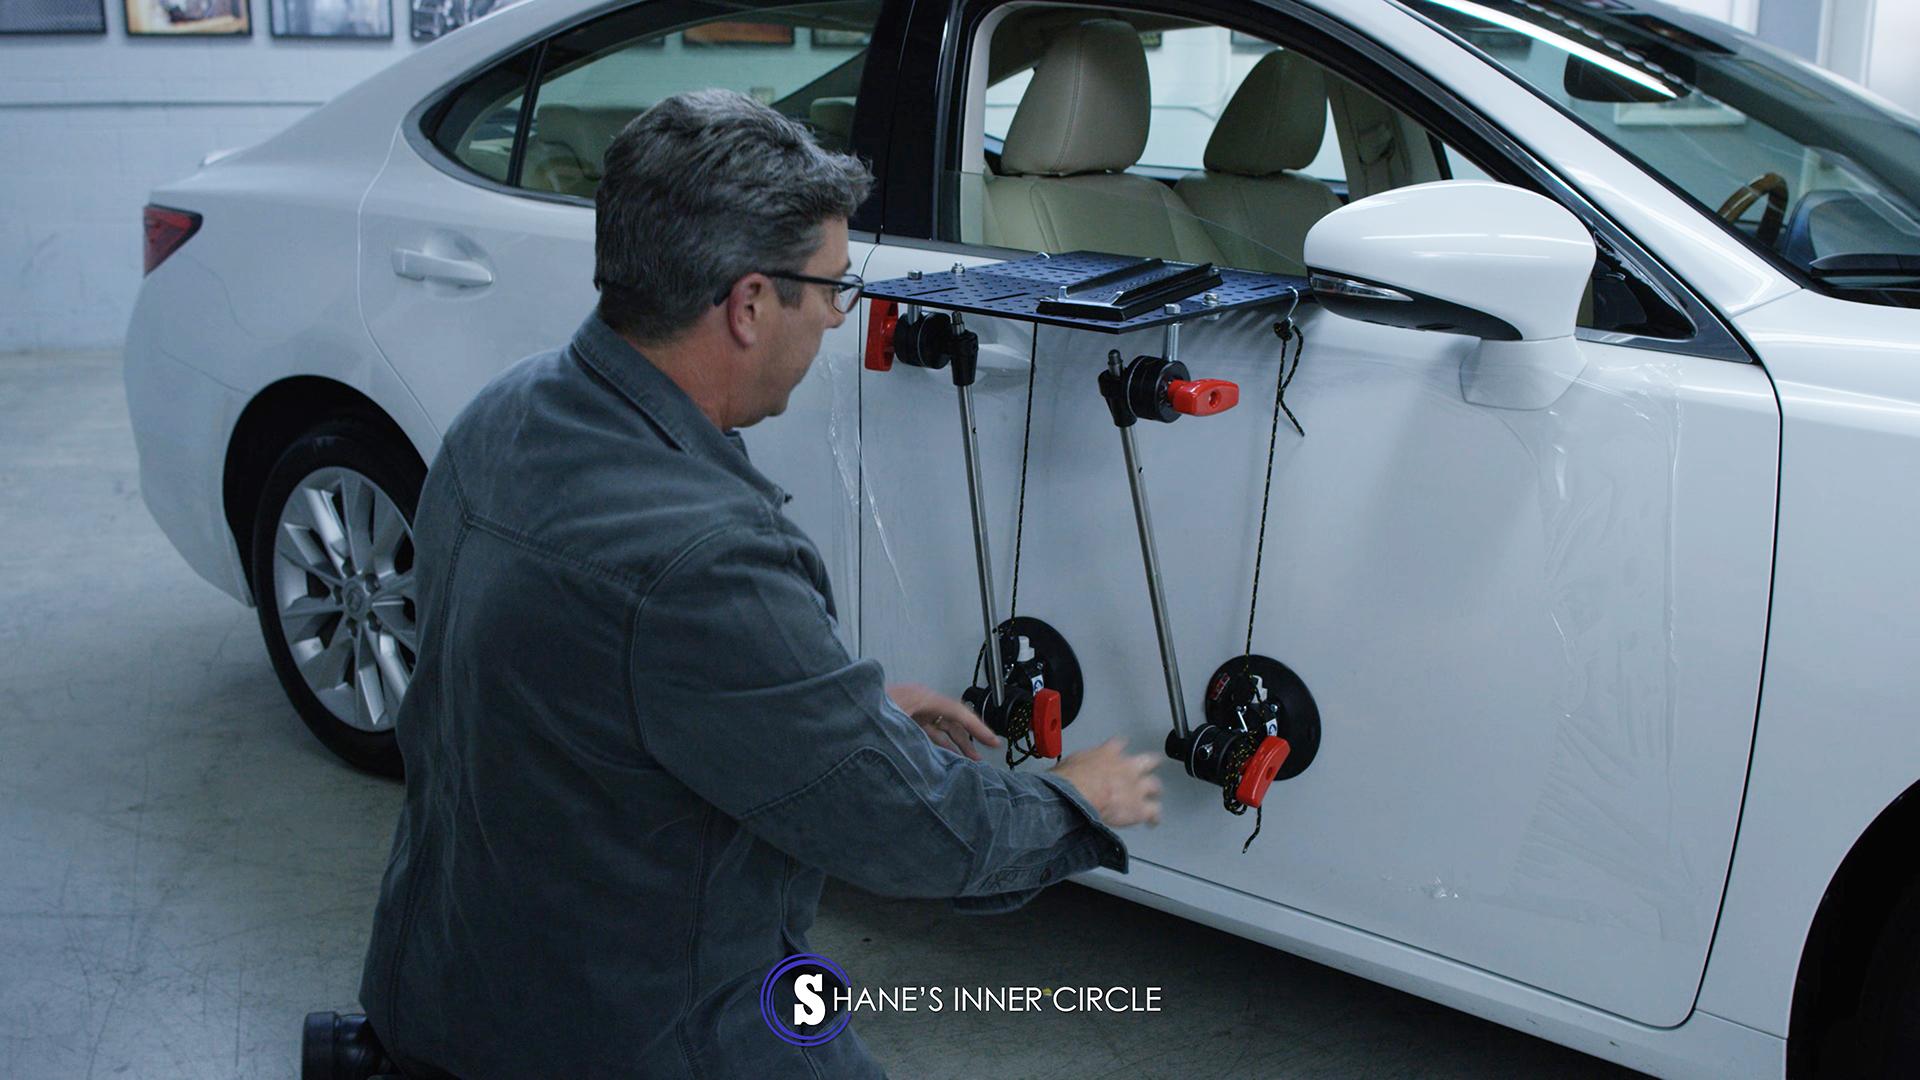
Now that you’ve got your car prepped, slide the tray right into the window of your car. You can slide it forward or backwards on the door to exactly where you want it.

Sliding the Matthews Brauer Hostess Tray into the car
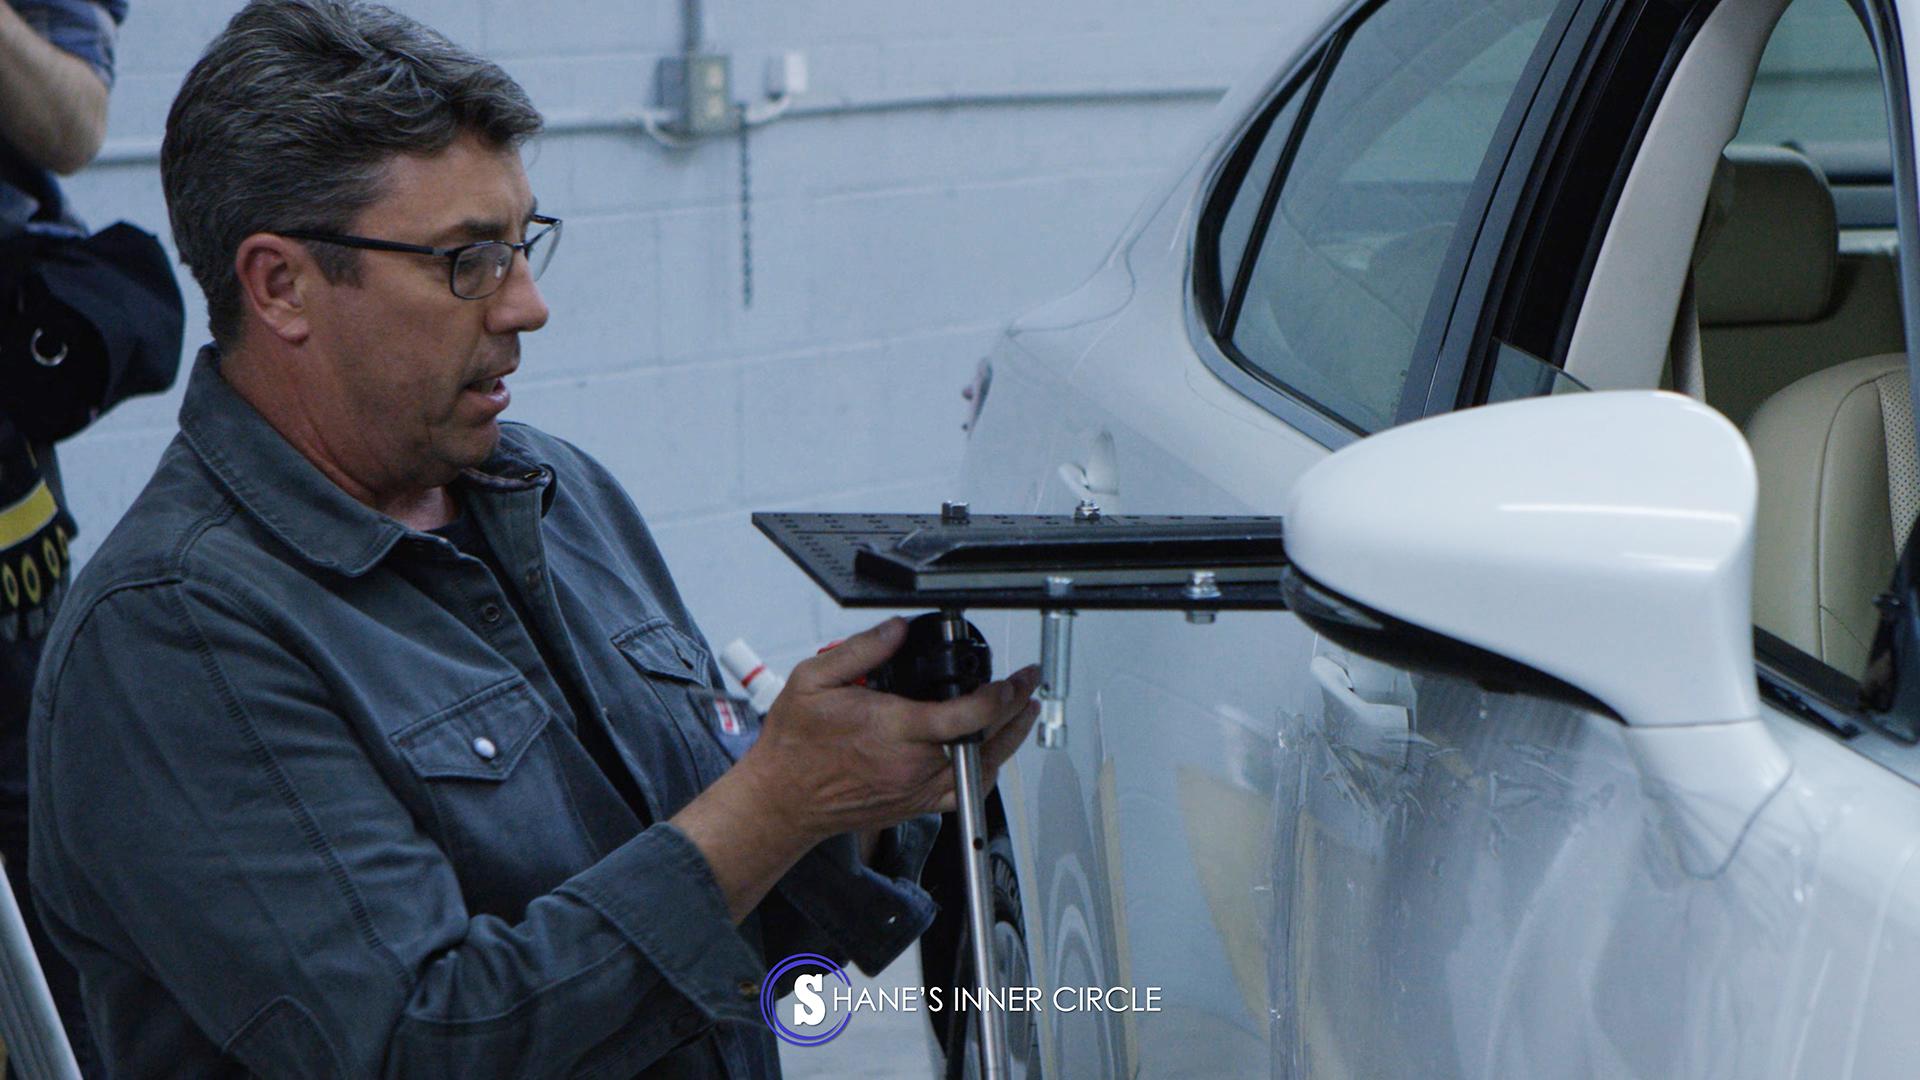
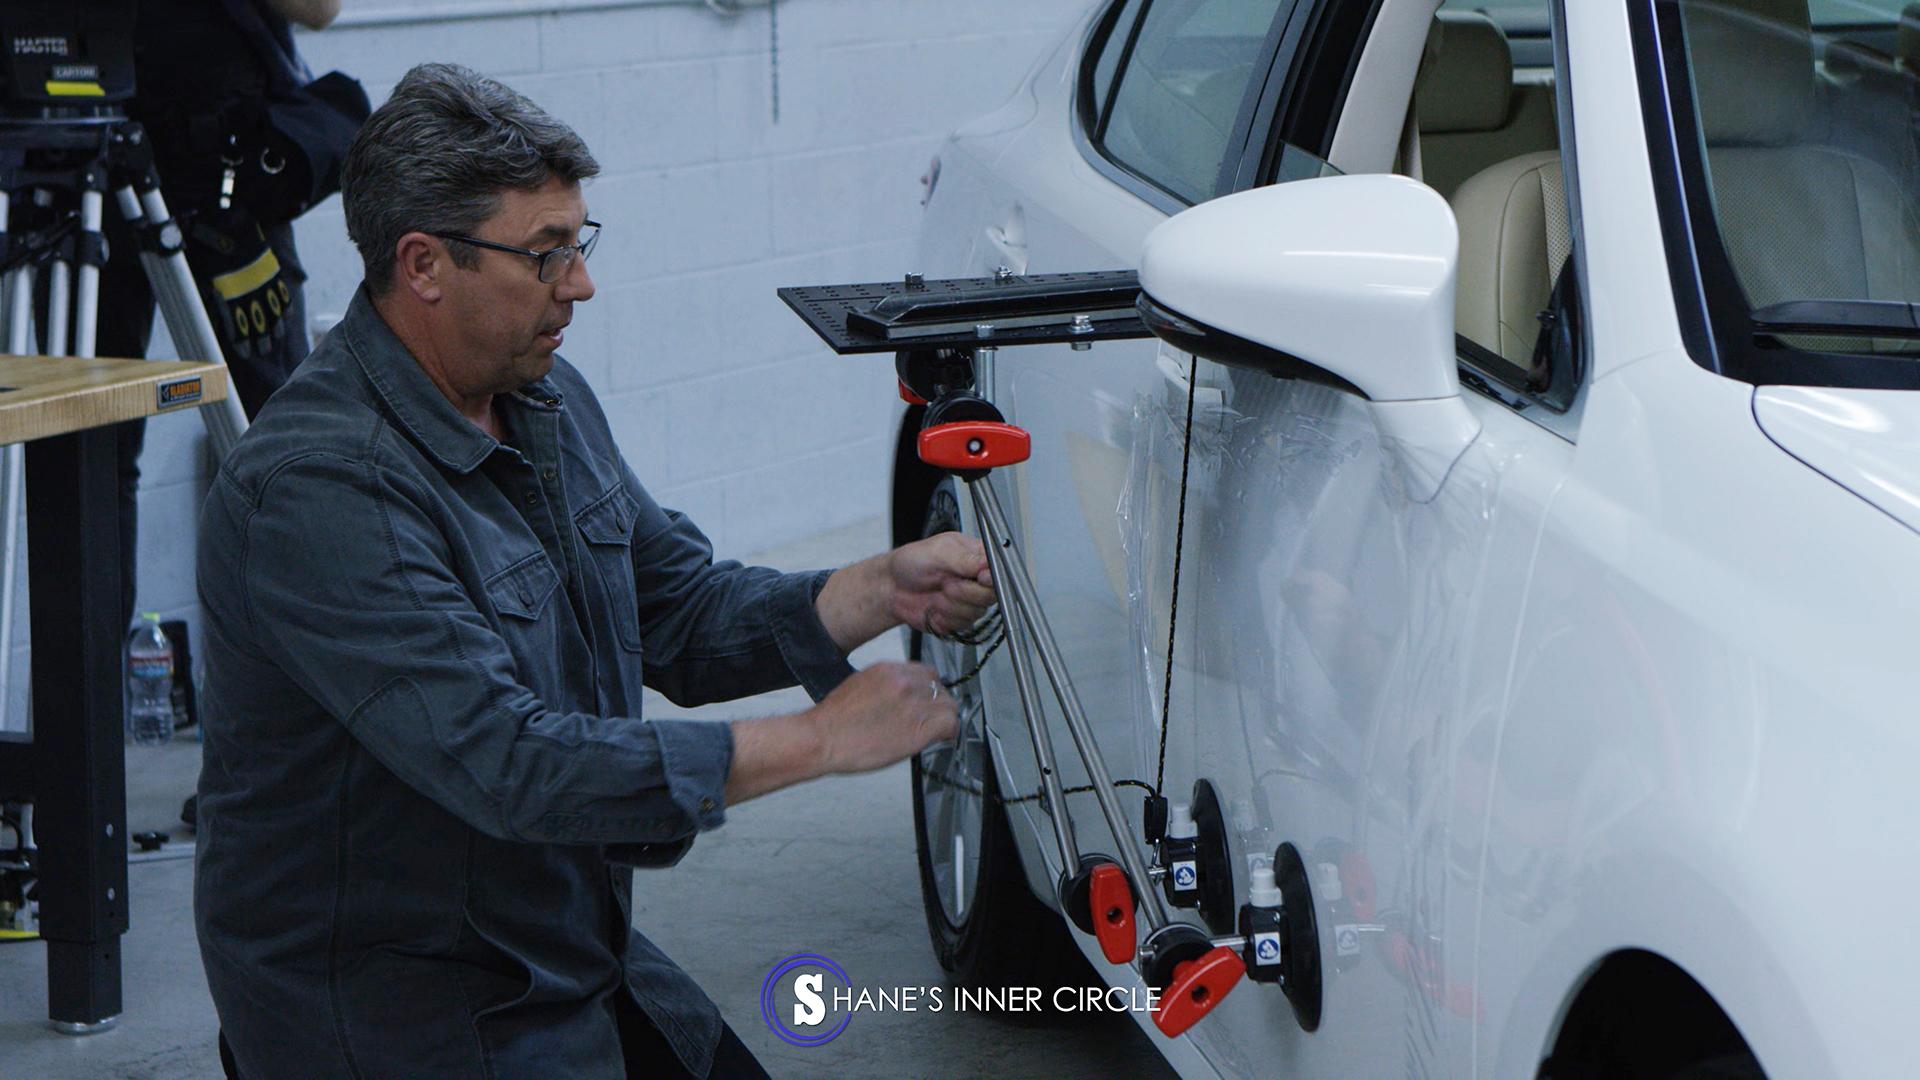
Dovetail Plate and Suction Cups
We are using a dovetail plate, which you attach with some 3/8” bolts. We’ve positioned it in a way so that we can get a good shot of the driver.
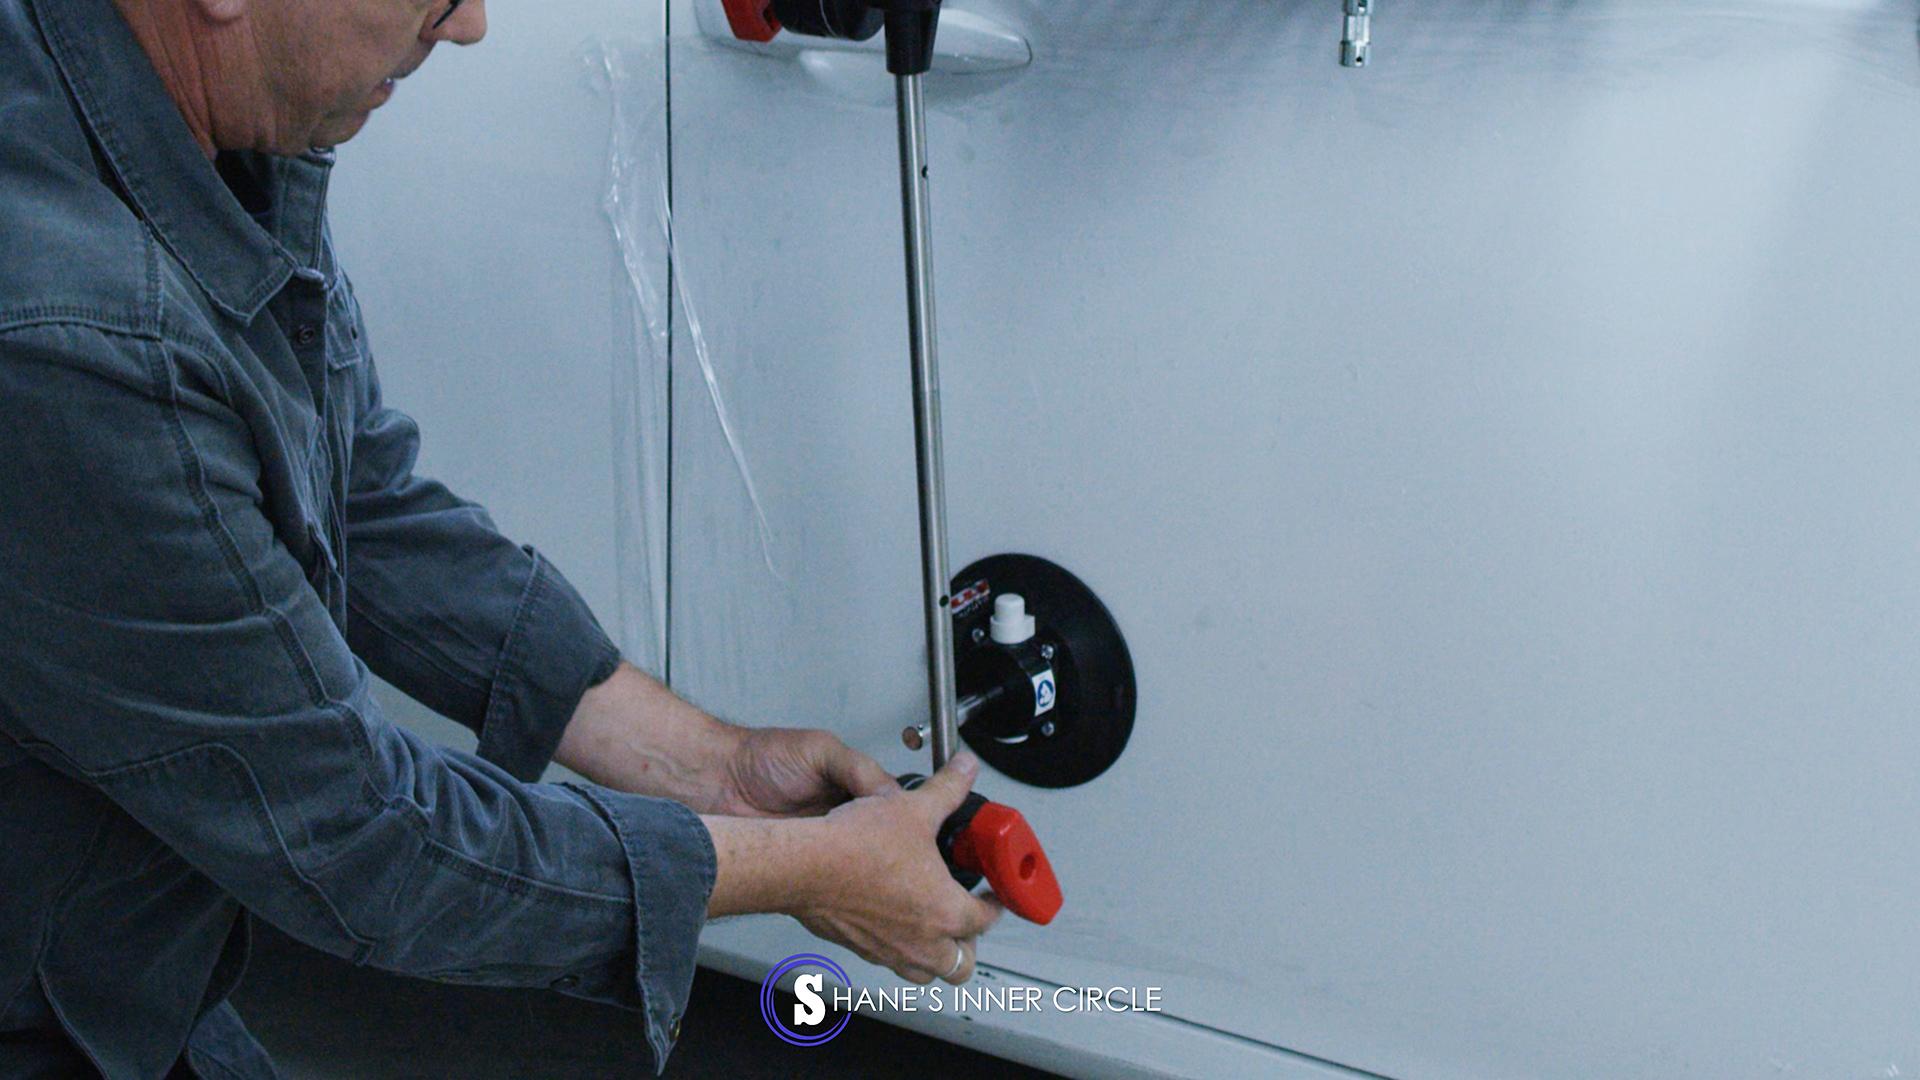
Next, we are going to attach the suction cups. To do that, set your suction cup at the bottom by pressing it against the car and pushing the white button until it feels secure. You’ll know it’s secure when the red line on the white button disappears.
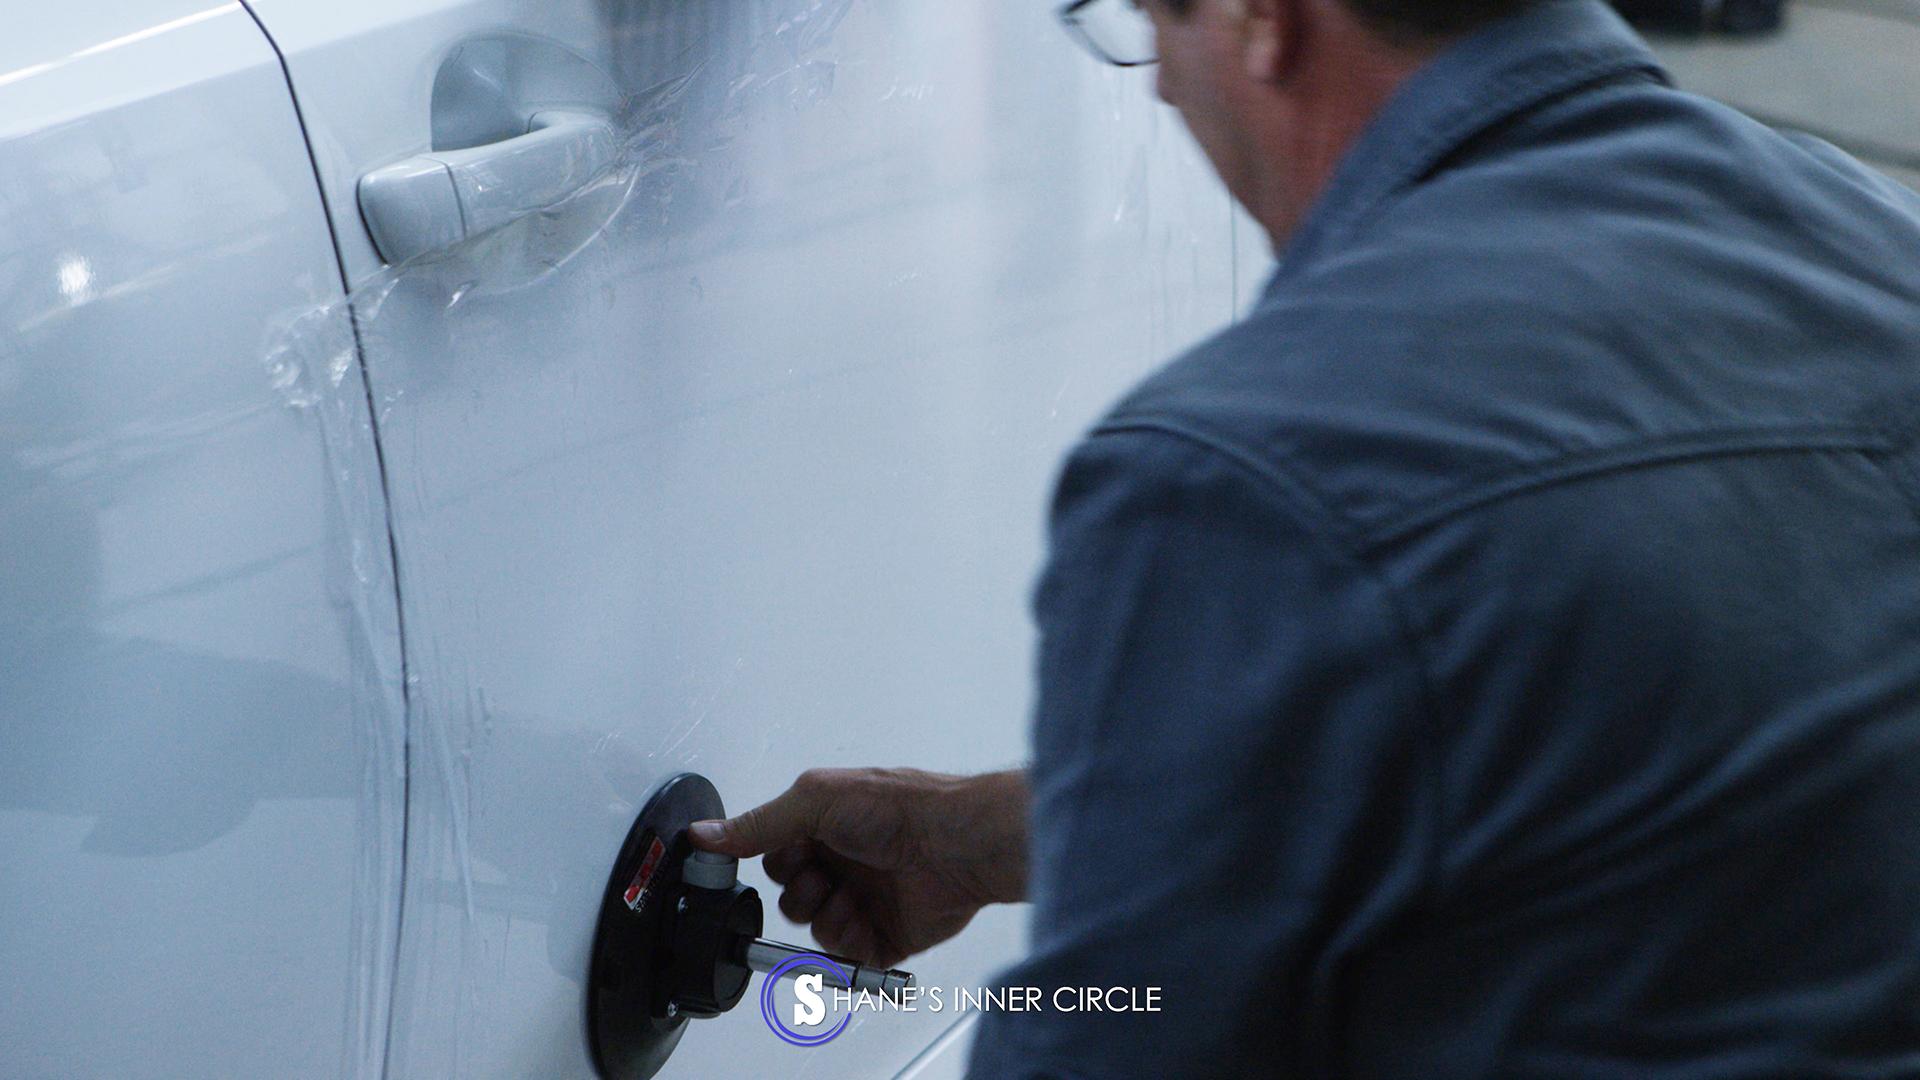
Securing the suction cup by pushing the white button
Baby Pins
Then, you’re going to slide the baby pins into your grip heads, starting with the one up top.
Sliding in the first grip head into a baby pin
Sliding in the first grip head
Now secure your second grip head to where you just placed your suction cup.
Sliding in second grip head

The attached grip heads
When you attach these, make sure that your tray is level before tightening the grip heads. Now you can do the same process on the your other side.
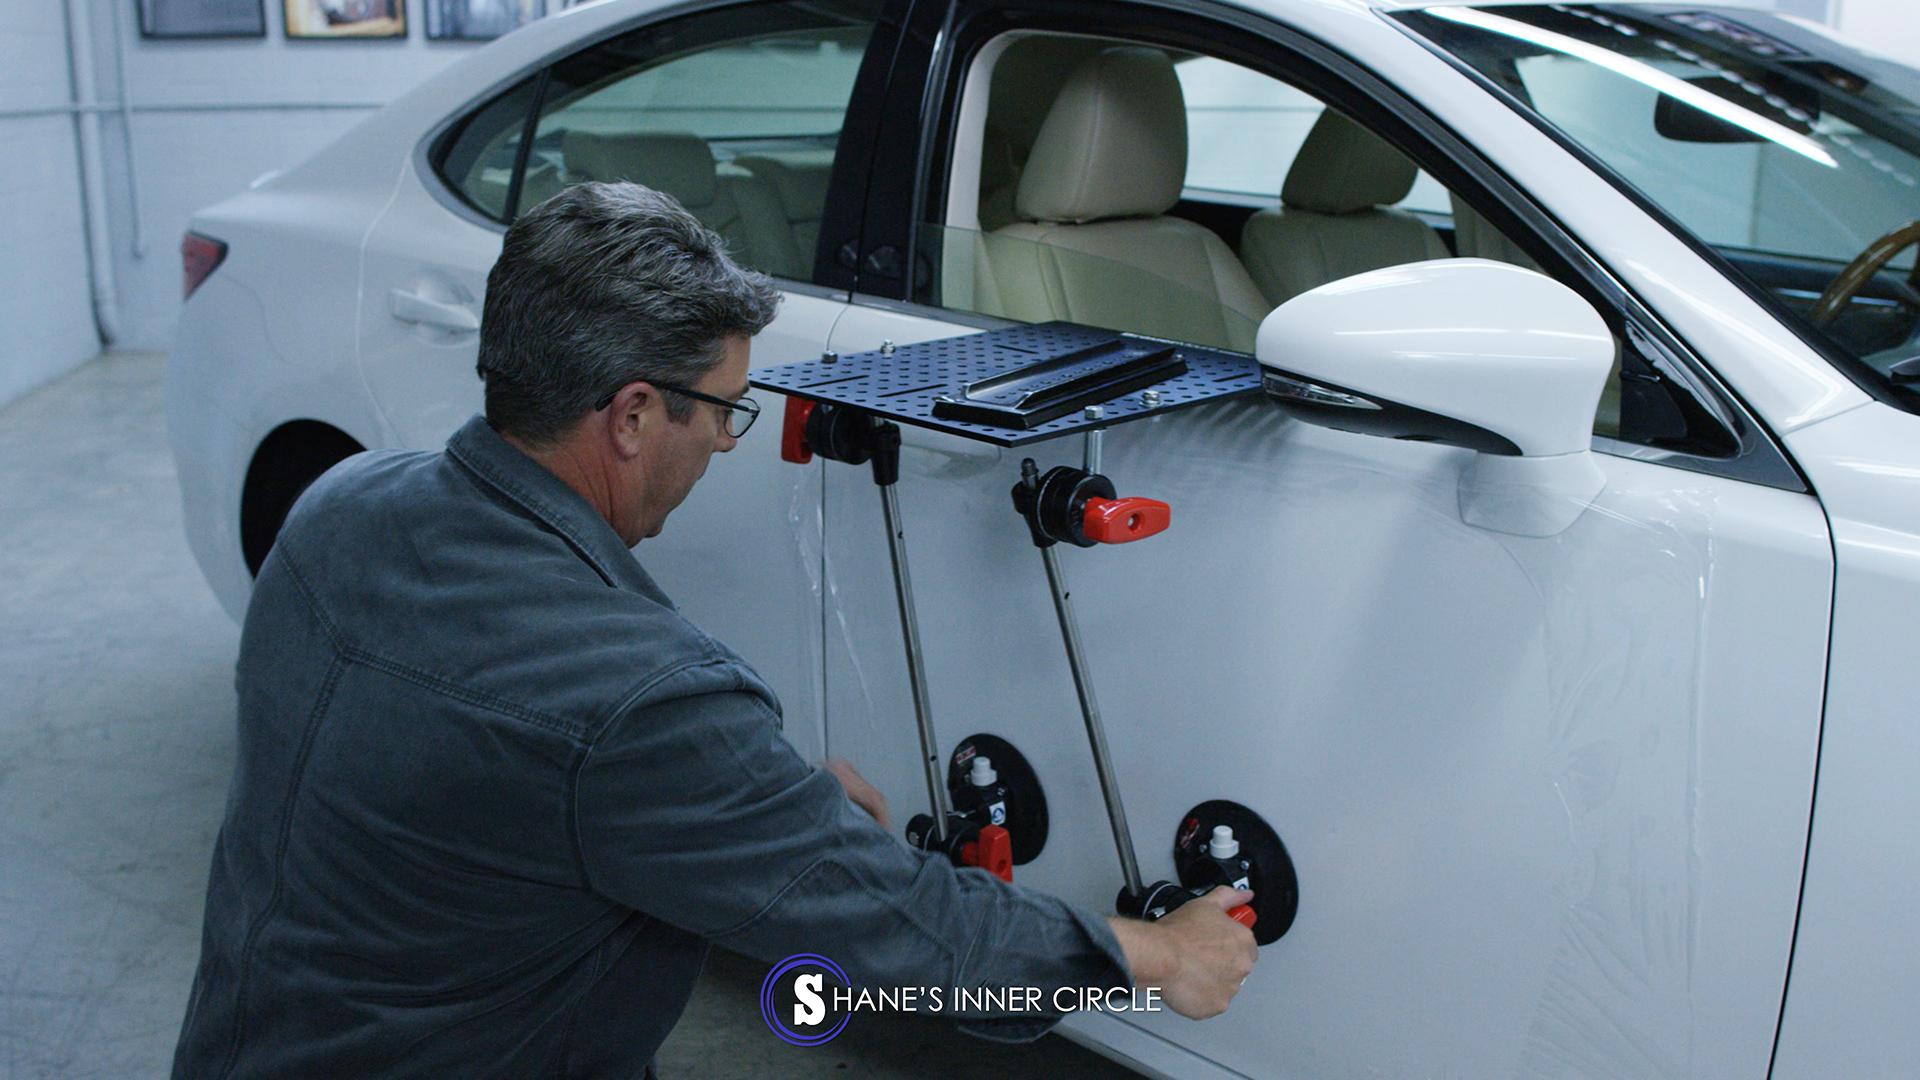
Securing the other side
Attach Safety Rope Ratchets
Once you secure this, it’s tough as a rock. Then, you can move on to attaching your safety rope ratchets. The safety rope ratchets keep the tray from popping out of the window in case you’re peeling down a road and go over a pothole. To attach the ratchets, use the hooks to attach them into the holes on the tray and around the suction cup.
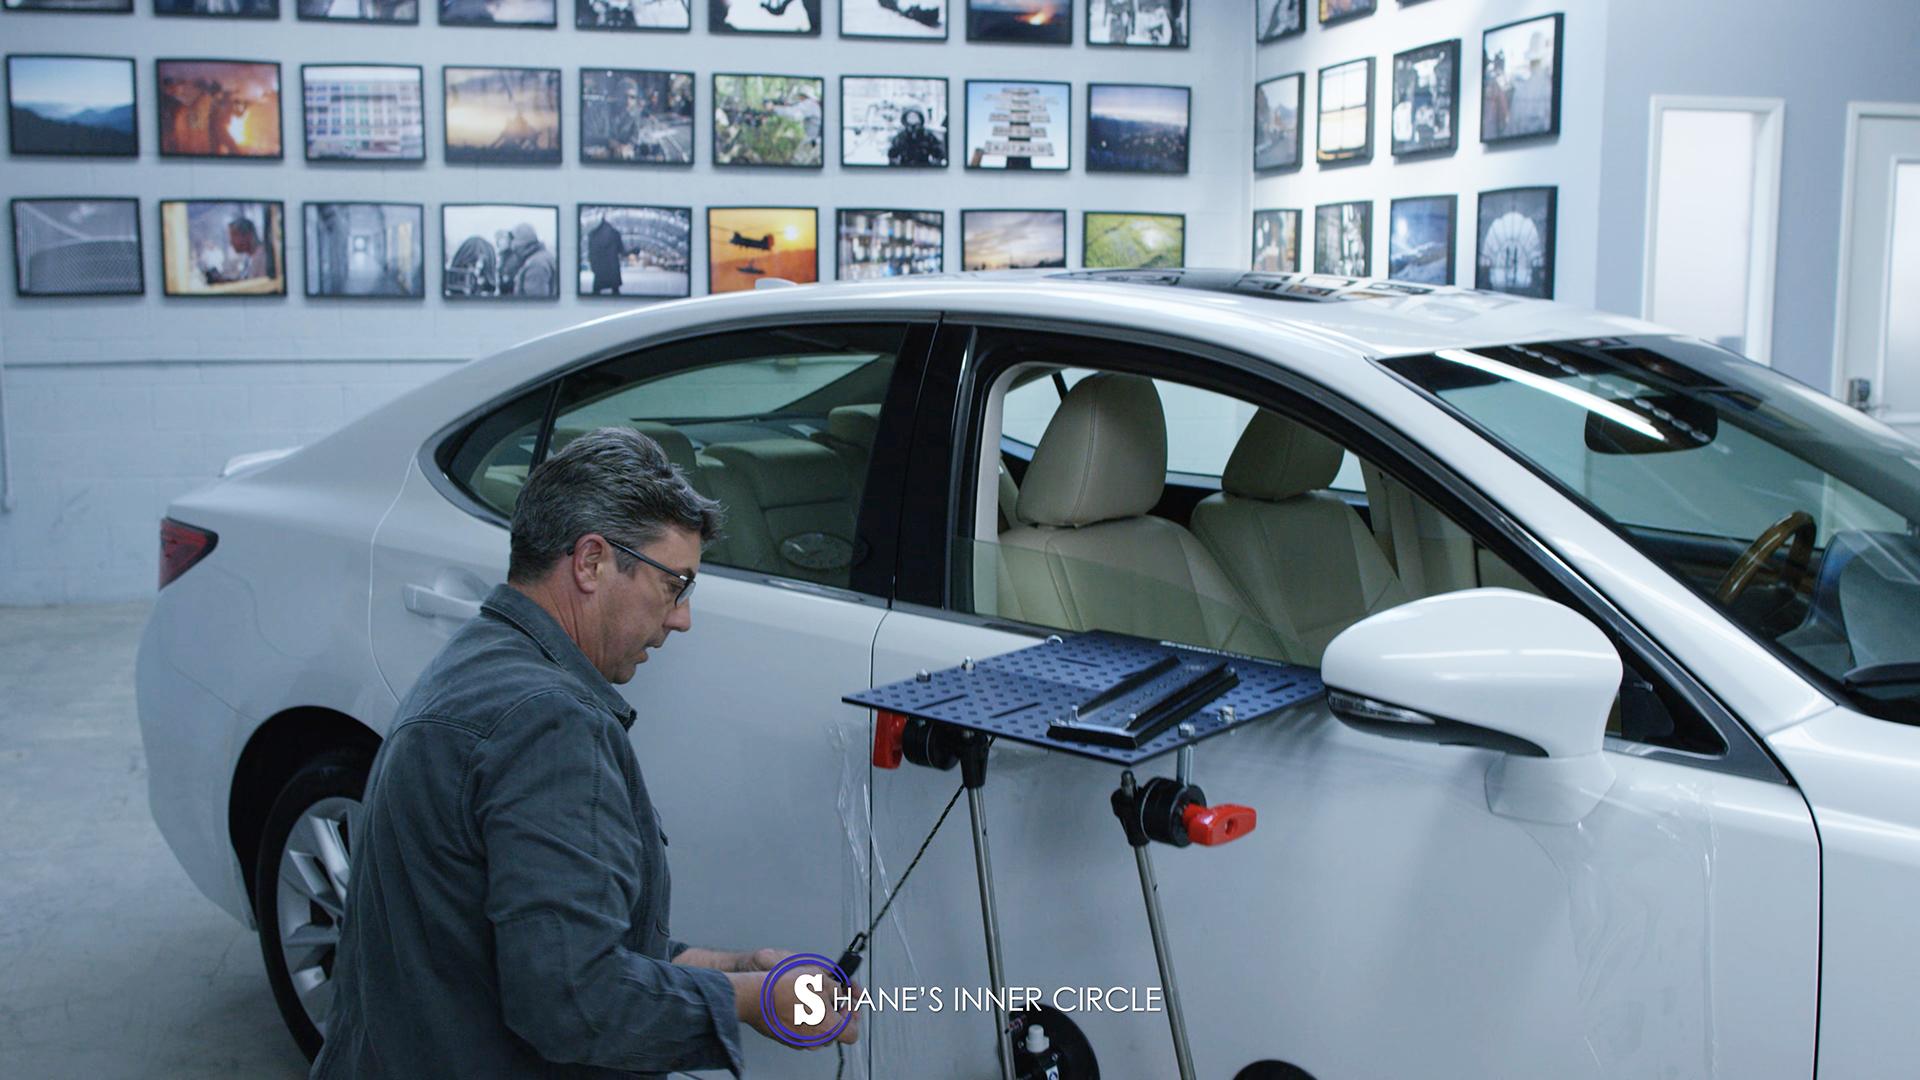
Hooking the ratchet into the hole and bringing it down
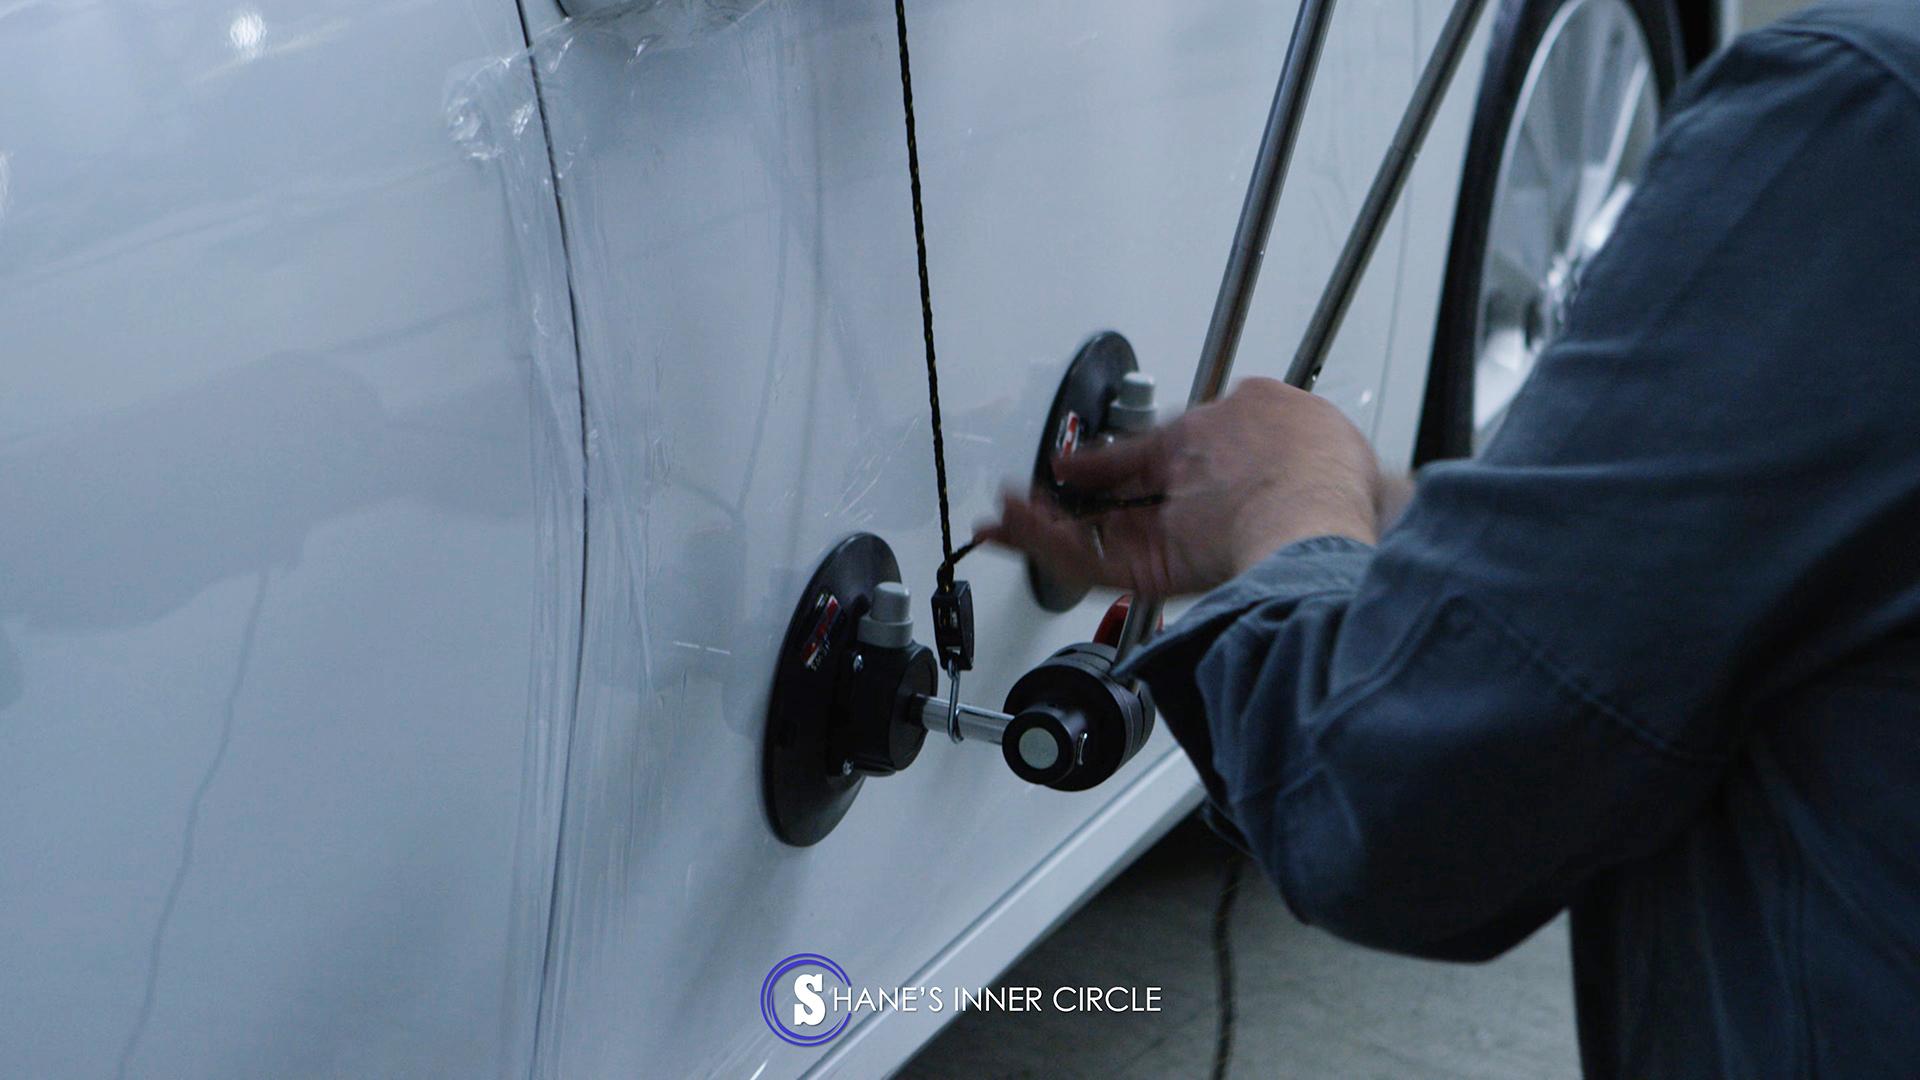
Placing the hook around the suction cup
Cinch the ratchet so it’s tight, and then clean up the excess and tie it around a grip head so it’s out of the way and won’t get caught in the tires or on the road.
Tidying up the excess

Knotting the rope around a grip head
Repeat the same steps with the other side with another safety rope ratchet.
Both ratchets attached
Securing Your Camera
Now everything is secure, and you can slide your camera right on to the dovetail plate.

Sliding the RED Dragon camera onto our mount
With my daughter Kyra in there, this is the frame:

Frame from our RED Dragon on the mount
Why Choose the Hostess Tray Brauer Mount
This mount is great because of the way it affixes to the door. With older Brauer mounts, they would go over the bottom of the window and clamped to the inside of the door, so you would have to leave your window down. Having the window down would create problems for sound, and then the actors would have to come back later for ADR. The newer mount is on the outside of the car, so it can be adjusted easily, rather than having to adjust the mount from the inside, which was the case for the older mounts. This is an efficient and easy mount to affix, which will save you time and effort.
All videos were edited on HP Z840 workstations using HP Z24x DreamColor monitors.


Hi Shane
Very great post , please do a favour for us by showing how you light this scene especially when the sun hit the car
Regards
Ahmed
Showing
Hi Ahmed,
Great suggestions again. Let me see if we can work that into our content creation for 2017. Thanks again
Shane,
Before this, I never heard of using Carpet Shield in this manner. But how can you really get a good suction? It would seem that the vacuum is not being applied to the car door (and paint), but to the plastic film. And therefore you are depending on the adhesion properties of the plastic film. Just how strong is it? Have you done some testing? Why not just use Saran Wrap?
Then, you show the car window being rolled up. That would mean the scene is being shot through the window glass, what kind of image quality is that? What about reflections off the glass as the car is moving down the road? Would it not be a good idea to place a black material around the lens to flag the glass to prevent reflections? Of course, that would bring up a concern of the material being disturbed by the moving air.
Thanks for an interesting tutorial. BTW, along these lines I made a cheese plate from a $12 perforated metal plate I found in the BBQ section of Home Depot.
Terry Thomas
Indie DP and Stills Photographer
Atlanta, Georgia
HI Terry, Yes of course I have done this and tested it. Need for Speed we tested it to 145mph, so I think it is good. Yes, sometimes it is nice to get reflections and sometimes directors do not want it to distract the audience. I have done it both ways. On Need for Speed our director Scotty Waugh did not want reflections when we were in the Mustang with Aaron Paul so we created what we called the Bat wings. It was black cora plas that we then used thin metal and rivets to attach it to the window’s rubber channel then used black smandex with a small hole to poke the lens through. This was good to 110mph. Nice that you found that cheese plate. Make sure it is made out of Aluminum.