Shane Hurlbut’s Go To Lighting Package
Part One:
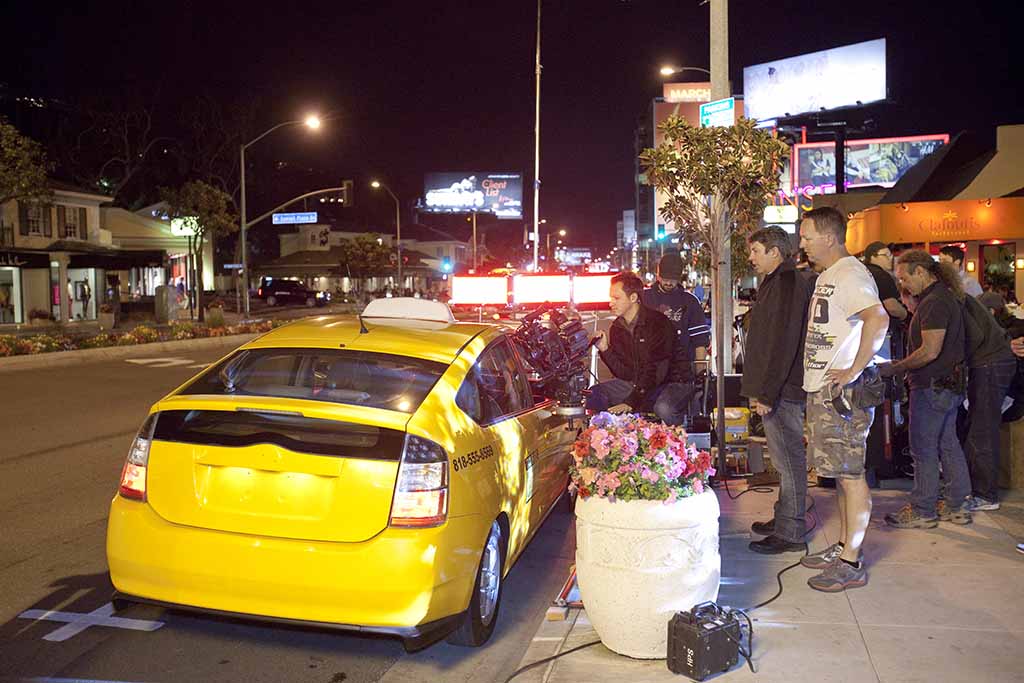
Many of you requested information on the go to lighting package that I use. Having a package that can do many types of lighting is the secret. Lights that can multi-task are my recipe for success. You don’t need tons of lights. My gaffer on Need for Speed would beg to differ. He says that I use every light available on our 40 foot truck.
I tell him that is not true. HA HA! Any good lighting package starts with an incredible grip and lighting team, and I have one of the best on Need for Speed. Dan Cornwall, my Gaffer, and his talented Best Boy Dale Fowler rock the lighting side. On the grip side is my Key Grip Alan Rawlins and his Best Boy Riko Schatke. I cannot forget my extraordinary car mount rigging team, which is headed by Kent Baker. This grip team is OFF THE CHAIN. They make it so easy to paint with light. Dan and I have been working together for many years. We started on Drumline. From there it was Into the Blue, Mr. 3000, We Are Marshall and now Need for Speed. He is one of the best gaffers I have ever worked with. He is so organized and he inspires his crew to give their best for him every day. Dan is always calm, cool, collected and he has the eyes of a Director of Photography. So many times, I have walked into locations that he has pre-lit and I say, “OK, we are good to go.” I don’t normally do this. Actually I NEVER do this, but with Dan, it has been an ongoing experience that I am starting to like.
I will break down a few lights at a time, as my whole go to lighting package would take up 47 pages and be cerebral overload. So consider this part one of five.
“Lights That Multitask”
If there was ever a light that can do a hundred different things, it would be a Kino Flo. Kino Flos were created by Frieder Hochheim, an absolute genius and a great friend. We have collaborated on so many things over the years. I love his passion and continued excitement to create lights that rock my lighting world. I don’t care what kind of Kino Flo you have, they can do it all. They can be a key light, a back light, a fill light, a TV gag light. They can be used for out of focus background lights, light bars, and to motivate all different color temps. You name it, they can do it.
My Go To Kino Flos:
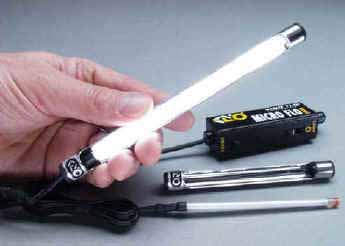
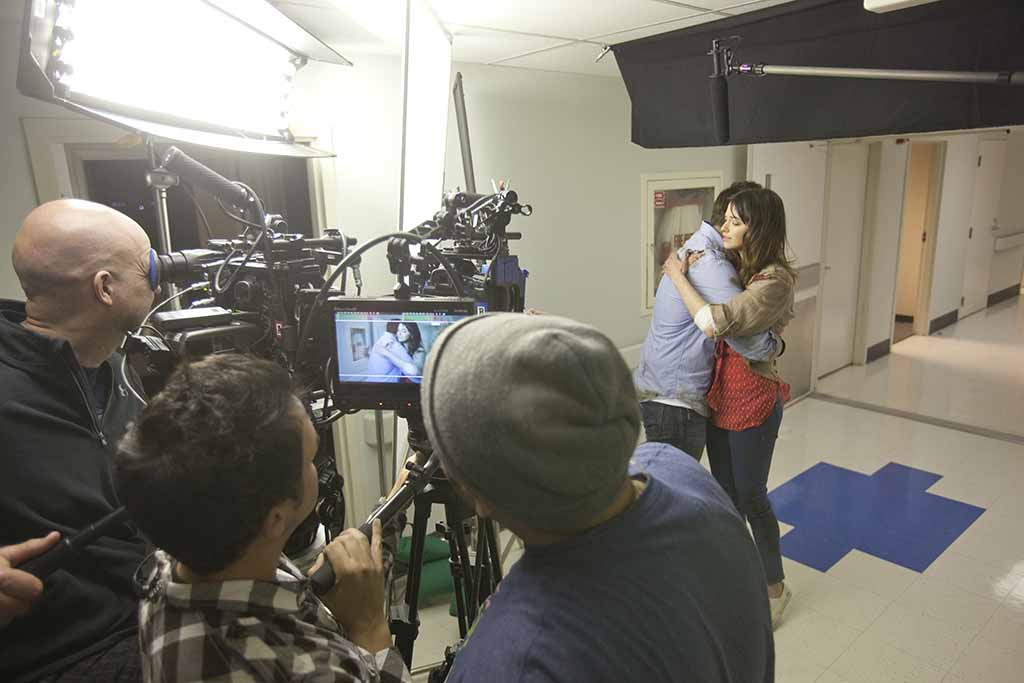
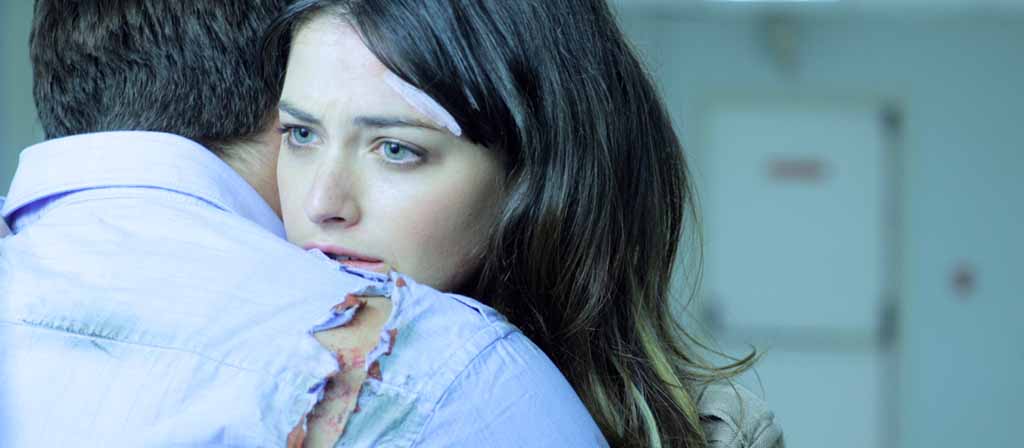
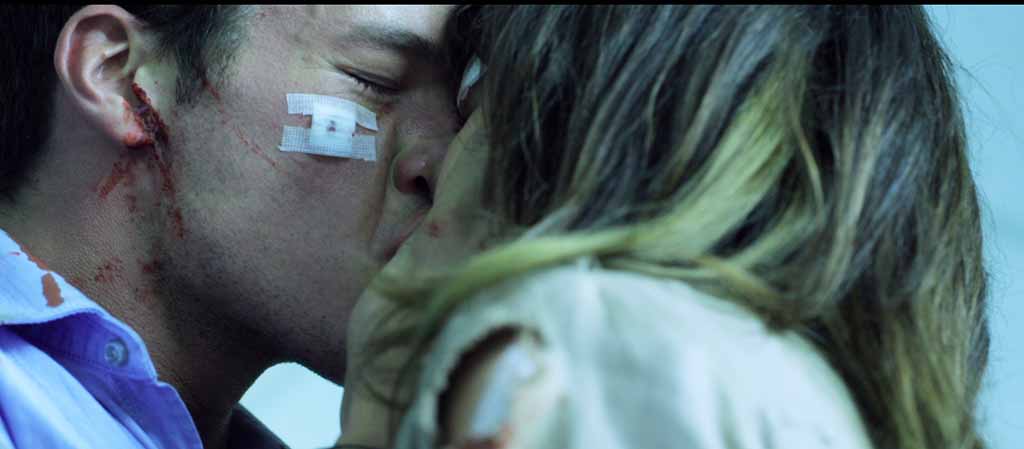
6” and 9” Mini Kino Flo- These Mini Flos are awesome and come in a two head kit, with both color temp tubes, 3200 and 5500. They are great for hiding in cars to simulate dashboard light. They are perfect to hide in weird places. On Need for Speed, I had Aaron Paul and Imogen Poots in a hospital scene. He goes down to talk with her at her bedside. I needed to get a light into his baby blue eyes. There was no way to do it without adding a light that went all over the room and this was a night scene. So Dan Cornwall, my gaffer, came in with a 9” Mini Flo and we slid it under the pillow case so that it would diffuse and make it nice and subtle, not overpowering.
Buy the 9″ Mini Kino Flo:
B&H – amazon.com – Adorama
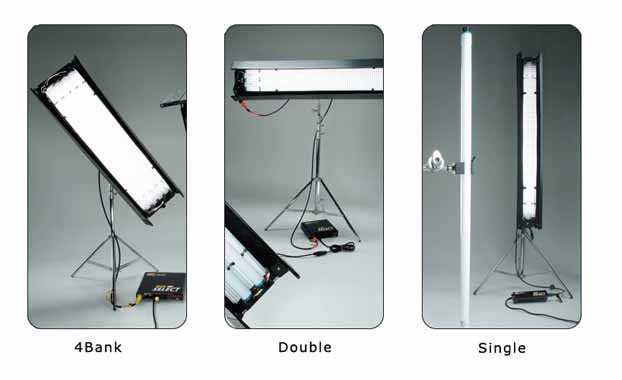
2’ and 4’ Kino Flo Single- I use this for eye lights when I am working under fluorescents. In The Ticket, I used a 2’ single to get into our actress’ eyes at the hospital location.
I use this light to put behind bar bottles, under bars, hide in nooks, rig under kitchen cabinets, and in the background of shots for out of focus highlights. All Kinos come with egg crates that help direct the light.
Buy the 2’ Kino Flo Single:
B&H – amazon.com – Adorama
Buy the 4’ Kino Flo Single:
B&H – amazon.com – eBay – Adorama
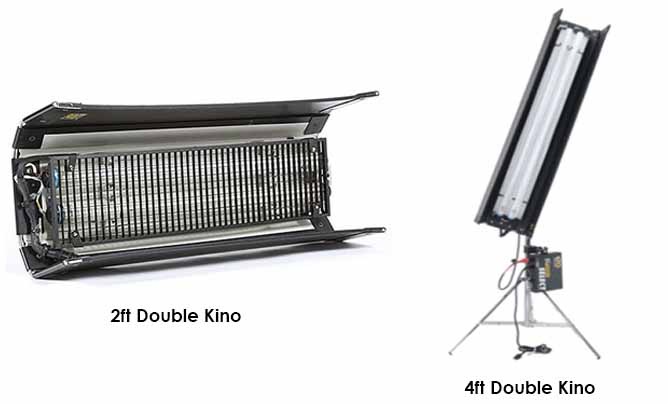
2’ and 4’ Kino Flo Double- This light puts out twice the output of a single. I like using these behind bars to light the bartenders. You can use them as a key light, back light or a fill light.
Buy the 2’ Kino Flo Double:
B&H – amazon.com – eBay – Adorama
Buy the 4’ Kino Flo Double:
B&H – amazon.com – eBay – Adorama
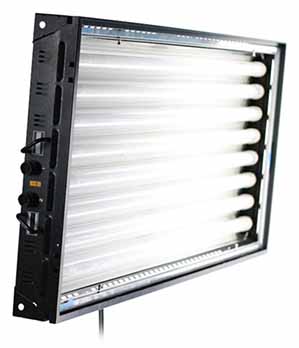
2’ 4-Bank Kino Flo (The Fat Boy)- I use this light a lot. It is a much bigger source for key lights and fill lights so that it will be softer. It puts out four times the light as a single. It can fit in tight areas when you need that light to come from the side that has little room. They are lightweight so that you can hang them with not much rigging. They are easy to menace arm for that back light.
Buy the 2’ 4-Bank Kino Flo:
B&H – amazon.com – eBay – Adorama
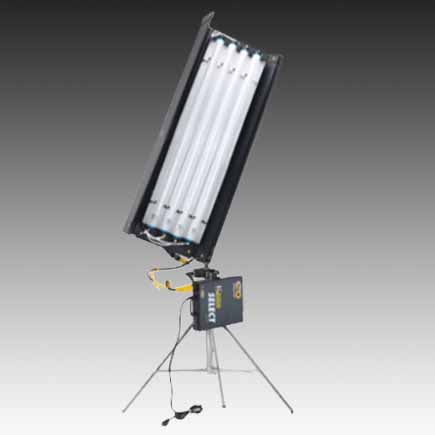
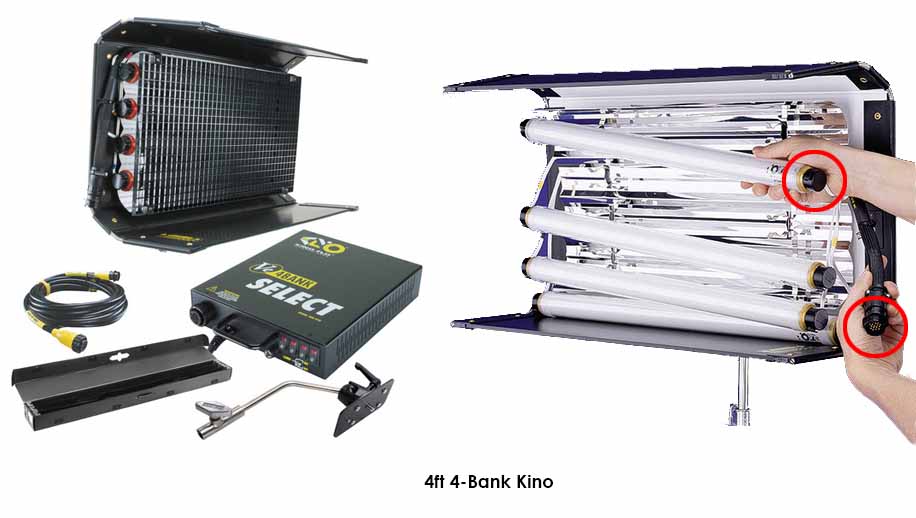
4’ 4-Bank Kino Flo (The Industry Standard for Excellence)- I have used this light in some way on every movie and commercial I have ever lensed. It is that light that you push up in the false ceiling tiles to create more light when you are shooting an office scene. It is the perfect beauty key light, diffused to perfection. It is the green and blue screen lighter, lightweight to rig, easy to focus and control. Their ballasts have individual control on every tube. This is essential on these types of sources. So many times I find that I want just one or two tubes out of it and having that individual control is paramount.
Buy the 4’ 4-Bank Kino Flo:
B&H – amazon.com – eBay – Adorama
4’ 4- Bank Tegra Kino Flo (The new version of the 4’ 4-Bank)- This light is everything we have been hoping for with the new digital sensor sensitivity. It is an amazing unit that dims beautifully at the head. You can control the head via DMX cable to a dimmer board. No color shift when dimming. New ball mounting plate that gives you much more pan ability. No need for high output or low output with dimming at the head. Also, no ballast, which is huge. Just rig the light with a stinger. No need for head cable, just another thing that can go bad.
Buy the 4’ 4- Bank Tegra Kino Flo:
B&H – amazon.com – eBay – Adorama
4’ Flathead 80- This is an amazing light to connect to your dimmer board. I use them to light white, green and blue cycloramas. They are soft and spread so beautifully. They put out very little heat. They can be a key light. Easy to hang and have individual control on every tube. Ballast is in the head as well.
Buy the 4’ Flathead 80:
B&H – Adorama
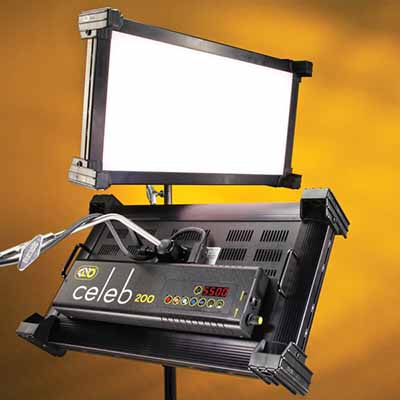
Celeb 200 LED Kino Flo- I used this light a ton on The Ticket. It had just come out and it was the best LED light in my lighting package. Perfect color temp without the weird green color that LED tends to give off. You can dial in whatever color you would like, as well as the intensity, on a remote. This was huge for me when I rigged them to simulate moonlight on the Ferris Wheel 58’ above the Pacific. I could not stand up and adjust. Everything had to be in my hand and I dialed it in right to my eye. LED tends to be a very harsh looking light with those light emitting diodes just staring at you. The Celeb is the softest LED source. This technology of using thousands of super small LED’s instead of a few high output ones really makes a difference.
Buy the Celeb 200 LED Kino Flo:
B&H – Adorama
Kino Flo tip: These lights need to warm up. Let them burn for at least ten minutes. They will get brighter as well as change their color temp. You want to base your decision on your camera once they heat up.
“All Different Color Temps”
The amazing thing about these beauties is that you can get all color temps. I have used Cool White and Warm White Flos in every movie I have ever lit. I love the mix of the cool green and the warm green tonality that they deliver. If you look at The Ticket , you will notice that I used a mix of Cool White in the hallways and then Warm Whites in the rooms. The reason for this was that our character, Emma, was in the hallway and she represented DEATH and the rooms of the hospital were where LIFE was still happening. Very subtle, but I think it plays nicely.
If you look back to The Last 3 Minutes, you will see how I used the power of the Kino Flo and different party colors on the poor man’s carousel in the background of the carnival scene where William proposes.
On Deadfall, I used the power of the different colors to deliver a magical night where Olivia Wilde and Charlie Hunnam fall in love at this truck stop bar/motel in the middle of a blizzard. The choice to go super saturated was Stefan Ruzowitsky’s idea. He wanted all the cold cyan tones of the blizzard to be offset with them walking into this warm, saturated world to escape the storm.
“Using Theatrical Lights”
For my whole career, I have tried not to use movie lights in my lighting package. I always try to use lights that were not necessarily made for what I ask them to do. I think forcing a light to do something that it is not necessarily made to do creates magic.
750 or 575 Watt Source 4 ETC Leko- These theatrical lights are used to focus in on a specific area. They are an ellipsoidal light. They use blades and an iris to shape the area that it hits. These lights are huge in theater, but not always used when you are making movies. Obviously, if you are doing a scene that has your characters on stage, then using those lights will help create the realism.
Buy the 750 or 575 Watt Source 4 ETC Leko:
B&H – eBay – Adorama
“Controlling the Spill”
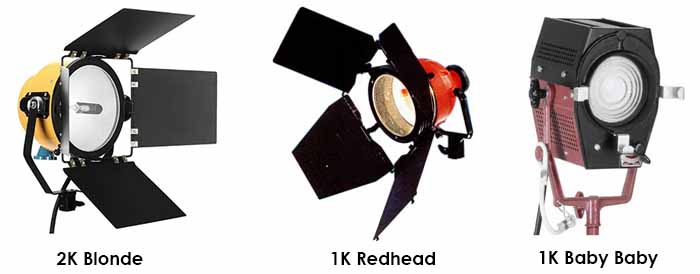
But what about off the stage, on your set? I use these lights to bounce because I do not need a hundred flags to control the light. Starting my career as a Key Grip showed me the power of shaping and controlling light and how much time it takes to do it. When you use theatrical lights, they already have the shaping built into the source itself. You use the power of the theater to shape your light. Use the blades to cut the light to just the bounce card itself. Imagine you need a bounce light to key light your scene. But you are in a very tight space and you do not have room to set an open face or fresnel light and then control it with flags. I am talking about just handling the spill that comes out of most open face lights like a Lanairo Red Head or a Blonde, as well as a 1k Mole Baby Baby.
These lights have barn doors, but they do little to control the spill, especially if you are in tight quarters. The Source 4 Leko has multiple lens barrels that fit into its head. The Source 4 Leko with its built in blades will shape the light perfectly to whatever size your bounce happens to be, and it has a ton of punch. You can use a 56 degree, which is a very wide spread or a 19 degree, which is a more narrow spread. They go all the way down to a 5 degree barrel, which is what I used on The Rat Pack for some scenes where I needed a spotlight but did not want to pay for one.
The Source 4 Leko different barrels:
50 Degree Barrel
36 Degree Barrel
26 Degree Barrel
19 Degree Barrel
10 Degree Barrel
5 Degree Barrel
I lit Marilyn with a table lamp, along with a Source 4 with a 36 degree barrel into a bead board bounce card. I was also using the 5 Degree barrel on a Source 4, which turned it into a huge spotlight to illuminate JFK on stage.
I have used the Source 4 Leko lights for beauty lighting in my lighting package. Positioned high above camera and through a Rosco Half Soft Frost 4 x 4 diffusion frame, it instantly creates a light that falls off quickly with a nice drop shadow under the model’s chin.
Buy the Rosco Half Soft Frost 4 x 4:
B&H – amazon.com – eBay – Adorama
I also like to use these lights for hot overexposed down lights in clubs, bars and large events. They create a perfect circle of light on the floor that you can use as a design element in your lighting plan. The other thing about these lights is that you can focus them to be sharp patterns or de-focus them.
See, I cannot give you just my gear list without telling you the reason for each choice. Please remember this while you surf other sites that just talk about gear. It is important to understand the thought process because that is where real learning occurs.
What’s in your package?


















I am considering to buy a Celeb.( nice color control) I was wondering do you also use litepanels ?IBC2013?
Martijn de vre, Celeb is my favorite LED light, but yes I use Lite Panels
thank you once again for the priceless information :)
christopher kechichian, you are very welcome
Your blog is great! There are so many interesting topics on it and everytime I see a new one I just have to read it. Your blog is very unique because it gives the read so detailed information and what you explain is always proofed by well chosen examples, which I love.
The “DIY” stuff or in this case theatrical lighting is very interesting for me cause I have to work on a budget.
My personal lighting package is super small and simple at the time: just a bunch of builders lights and the good old Bulb + the chinaball (chinaballs are superb). And sometimes rented gear for my shorts.
Maybe you have some advice for me how to controll the builderslights better (despite of blackwrap, which I use for absolutely everything. It’s a great tool!).
What would be a good purchase to go a step further in building my personal lighting package. The theatrical light looks really use full.
Hope there aren’t too many errors, cause I’m from Austria and English isn’t my mothertongue.
PS: defenitely have to get 1 or 2 C-Stands.
Felix, thank you for those wonderful words. Your English is excellent. I would say that 4-6 c-stands are absolutely necessary. Maybe get some flex fill diffusions and bounces. http://www.bhphotovideo.com/c/product/17812-REG/Flexfill_489_48_Reflector_Silk.html A couple dimmers. Some extension cords. Some Clamp lights.
Dear Shane this is gold!
Honestly, I only knew half or less of this, but sometimes I get paid as DP ;)
I think that your next BootCamp will go sold out the first day and the waiting list will be as long as the one for the Mōvi 10.
Best
Gianluca, ha ha, that sounds good.
What up Shane!
Have you had a chance to try out the latest gen of Literibbon (VHO PRO)? Only a few months old. So much better than their previous stuff in color rendition, in fact it’s as clean as one could hope for (i.e., “safe for faces”). Been using it on my show the last few months and am impressed enough that I’m starting to build fixtures with it. So versatile and can go anywhere, with full dimming and dialable color temp. Sometimes we’ll tape 6′ onto a length of PVC and you can just jam it onto a horizontal c-stand arm–instant batten sticking out 8′ into the set, no rigging (guess who taught me all about the power of battens!!) It’s replacing mini Kino’s, hand grenades etc in my packages. I’ll send you pix of the enclosures I’m building. xo pap
Shane, I have been searching for articles like this one for years, and I feel this one is the best. Starting out, most of us just have access to Home Depot lights. We can achieve a lot with practicals and work lights, but it’s great to learn more about tools geared more towards the craft. If someone gave me a million dollar budget for lighting, I wouldn’t even know where to start outside of Home Depot. We all have read about other lights, but knowing how and where to use them is HUGE. Thanks so much for your time, and I sincerely hope you get to writing the other parts to this series.
I don’t know who you owed to make you want to pay this knowledge forward, but I’m thankful for your enthusiasm and lessons.
Invaluable.
Jared Caldwell, you are so welcome and thank you for your comments and the kind words. I did a lighting post on Home Depot style as well. I love light no matter where it comes from.
Another awesome post Shane! Thank you!
On the still pic from the Boutique scene taken from “The Ticket”, there seems to be an anamorphic-ish blue streak behind the mannequins. Is that due to the Glimmer Glass or just a reflection phenomenon from the mirror itself?
Thanks again for this awesome blog.
MK, thank you for those wonderful words. That anamorphic flare was put in post. Po the director wanted it top feel magical in the boutique.
Ah, gotcha. I love little subtle touches like that; makes those already great images pop even more.
Btw, I forgot to thank you on twitter for suggesting Leica stills glass regarding Primo “replacement” lenses. I tried some Summilux Ms on an F55 with an adapter and collective jaws were dropping. Have you tried the Schneider Cine Xenar IIIs? The previous version had weird designs and made me stay away from them, but these new ones look very Leica-esqe to me. My immediate reaction was “Shane would be happy”…
MK, I haave not tried the Schneider’s, I was in the same boat with you. It will be interesting to try the new ones. Thanks for the tip.
Another great post. Thanks Shane.
Kelly Hunt, you are very welcome. Thanks for the support
Shane how to get you in my country for a workshop!!! I hope one day this dream come true. For now I find comfort in your blog. Thanks…
Criss, thank you so much for your kind words. What country should I be visiting?
Croatia
Hey Shane – looking forward to the next four parts of your lighting package; you are a great ad hoc mentor to a great many people in this online community.
Thank you,
Vasilios
Vasilios Sfinarolakis,you bet, they will be coming in hot soon. Thank you for your kind words as well.
Thanks for the insight into why you use what you use. Great information that has got me thinking.
Adam
Adam Beck, absolutely, you are very welcome and thanks for your support
Great article. Particularly fond of your use of “non-traditional” units. Love the Source 4 Leko. I like the S4 Par system too, with the 575w HPL lamp and lens kit. How can you go wrong for ~$300. They have an optional super wide lens too, great for bounce and book lights. On a related note, I’m finding it awfully handy to have some kind of dimmer board on set, speeds things up and comes in handy for broad camera moves where once a backlight becomes a key. Thanks again for you inspirational blog.
Bob Demers, yes, yes and yes. Great comments and thanks for the kind words.
The old Detroit Free Press building. I used to work at the TV station and the Detroit News building right down Lafayette to the right of that pic. If you were shooting in that area, I’m guessing at least some of your crew ate at the hotel bar (Finn & Porter) in the Double Tree. It’s a popular and convenient film crew watering hole.
As for lights, have you had a chance to check out the Area 48 LED lights yet?
Shane, THE TICKET was excellent and one of your most powerful works of lighting.
James, thank you for those wonderful words.
Hi Shane,
This is a great post – I will be using the 2′ 4 bank kino on my next promo and I was wondering what diffusion you were using in the scene from the ticket?
Would shooting the kino through a flex fill work for a soft beauty key?
Thanks
Ruaraid, thank you for the support and I am glad that I could help. I used Lee 250, but yes that flex fill diffusion frame would be beautiful. Love that quality
Hi Shane, how do you feel about the Divas compared to the Tegras? I’m looking to build an interview lighting kit from the Kino Flo family and am debating between Celebs, Divas and 4 banks. Any thoughts? Thanks!
Hi Matt. I have to say that if you are making the investment, the Celebs blow everything that Kino Flo has out of the water. The color is spot on and having the ability to dial them in via color temp, intensity and the DMX control, makes them worth every penny. I use celebs on every test shoot, commercial and film.
Hi Shane,
I noticed the only kinos you didn’t cover were the divas. How do you feel about the 400s?
Hi Sam
I have used the Divas in the past but with the new Celebs that KinoFlo has to offer, they replace many of their past products for me. The Divas just aren’t as powerful as the Celebs.
Thanks Shane!
I can get one celeb 200 for the price of the 401 kit. But based on what you’re telling me I may just get the one celeb :)
Hi Shane Really you are astonishing me . I can not find to express how I liked the carnival scene in the last 3 minutes film .And this encourage me to request from you to do something similar to it in the inner circle .
Thank you so much for your kind words my friend. I am doing just that. In 2016 I will do all these lighting gags for all of you to see and how I built them from scratch.
thanks shane, for this explanation, would mind telling about the lighting of the wide shot on the corridor
Shane – thanks for sharing all this information. Amazingly useful for new and experienced folks. I’m starting to move all my gear to the Kino Flo as everything you’ve said is true – the quality is amazing. However, I do have what may be a simple question: when storing the 4×4, such as what comes with the gaffers kit, do I need to take the bulbs out every time I’m packing it away in their coffin-like case? Any advice appreciated.
We always ship them with bulbs in there. You can do that, no problem.
Shane, first off love your films, you are always so interesting to learn from. Second I will be directing this feature this summer called Down Stream. Dont bother looking for it among any studios you know its as independent as they come. We do not have this million dollar (multi) budget that all the studios get and so we also cannot afford a lot of the luxuries. My company has been making “no- budget” shorts for a year now. I have directed 6 movies and again, you probably will have never heard of any of them.
The goal of our little movie (think 90 minutes) is to travel from Phoenix, to Utah and film a father-daughter camping trip that goes horribly wrong.
My thought was instead of renting this grip truck filled with lots of stuff, that we could actually save money by buying our equipment (we own all of our own stuff already) to compliment what we already have. Obviously it might be more expensive to do this at first, but after a couple movies this will pay for itself.
I love all your light suggestions, but any of our outdoor night scenes (And there are a few) will be done far away from any power sources and it would be almost impossible to get a “genny truck” into these areas. I think if we play our cards right we should be able to power our device (including set lights) on a portable honda generator, especially if they are the LED fashion.
I know we can get ARRI and HMI “hot lights” for real cheap on ebay now, but they are heavy, require lots of power and i think may be overkill for our film.
Right now we are looking at the Savage line of lights, again its lower cost but in our budget (or lack of) and LED. They have edge LED Lights, and “keno ish” lights with 24 bulbs in them, as well as some pretty sweet 1k lights.
https://savageuniversal.com/products/studio-lights/
Of course we could do a lot better but the hard part for me is figuring out “what we NEED” not what we want to buy, your guide helps if we could get a 40′ grip truck, but we cannot.
I found the most helpful advice in filmmaking at our level was to “Stay grounded” at all times, the other night I saw a director use a dish towel to make a slider, was it perfect no, did it get the shot of course.
I look forward to your response, and of course you have my email if you wish to take this off site and discuss it there.
Again thanks for the article and I hope to hear back from you.
SIncerely
J. Harris
Reel Z Productions