Doing it all in Davinci – PART 6 – Overview of Audio in Fairlight
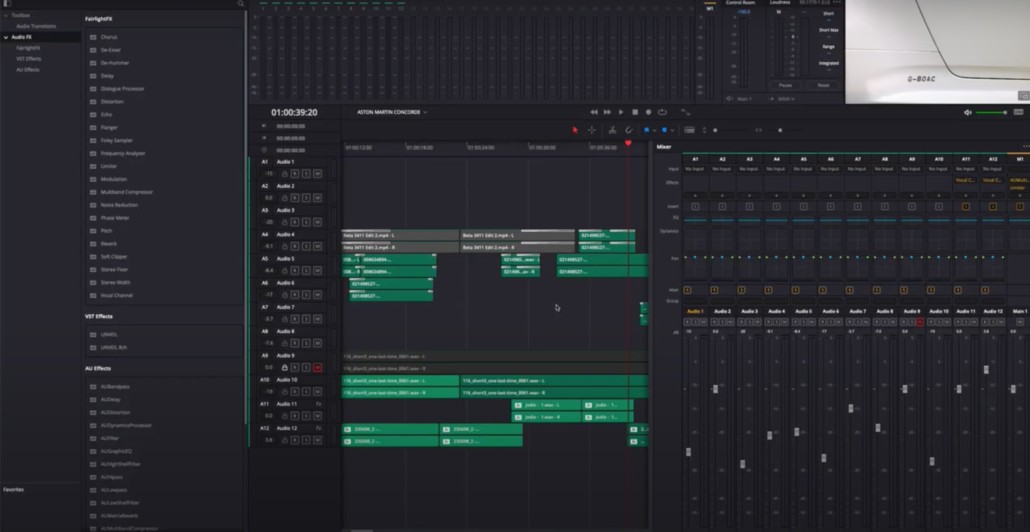
In this final part, we will be looking at how we deal with audio in the Blackmagic Davinci Resolve Fairlight panel.
Something which is really cool that we’ve been able to do this project is finish all of the audio in Fairlight. Now, for the most part, that’s just balancing and you can do that in the timeline, but even though I made those rough adjustments being able to jump into the Fairlight panel and have access to all of the mixing and effects that are in there in a digital audio workstation is kind of cool.
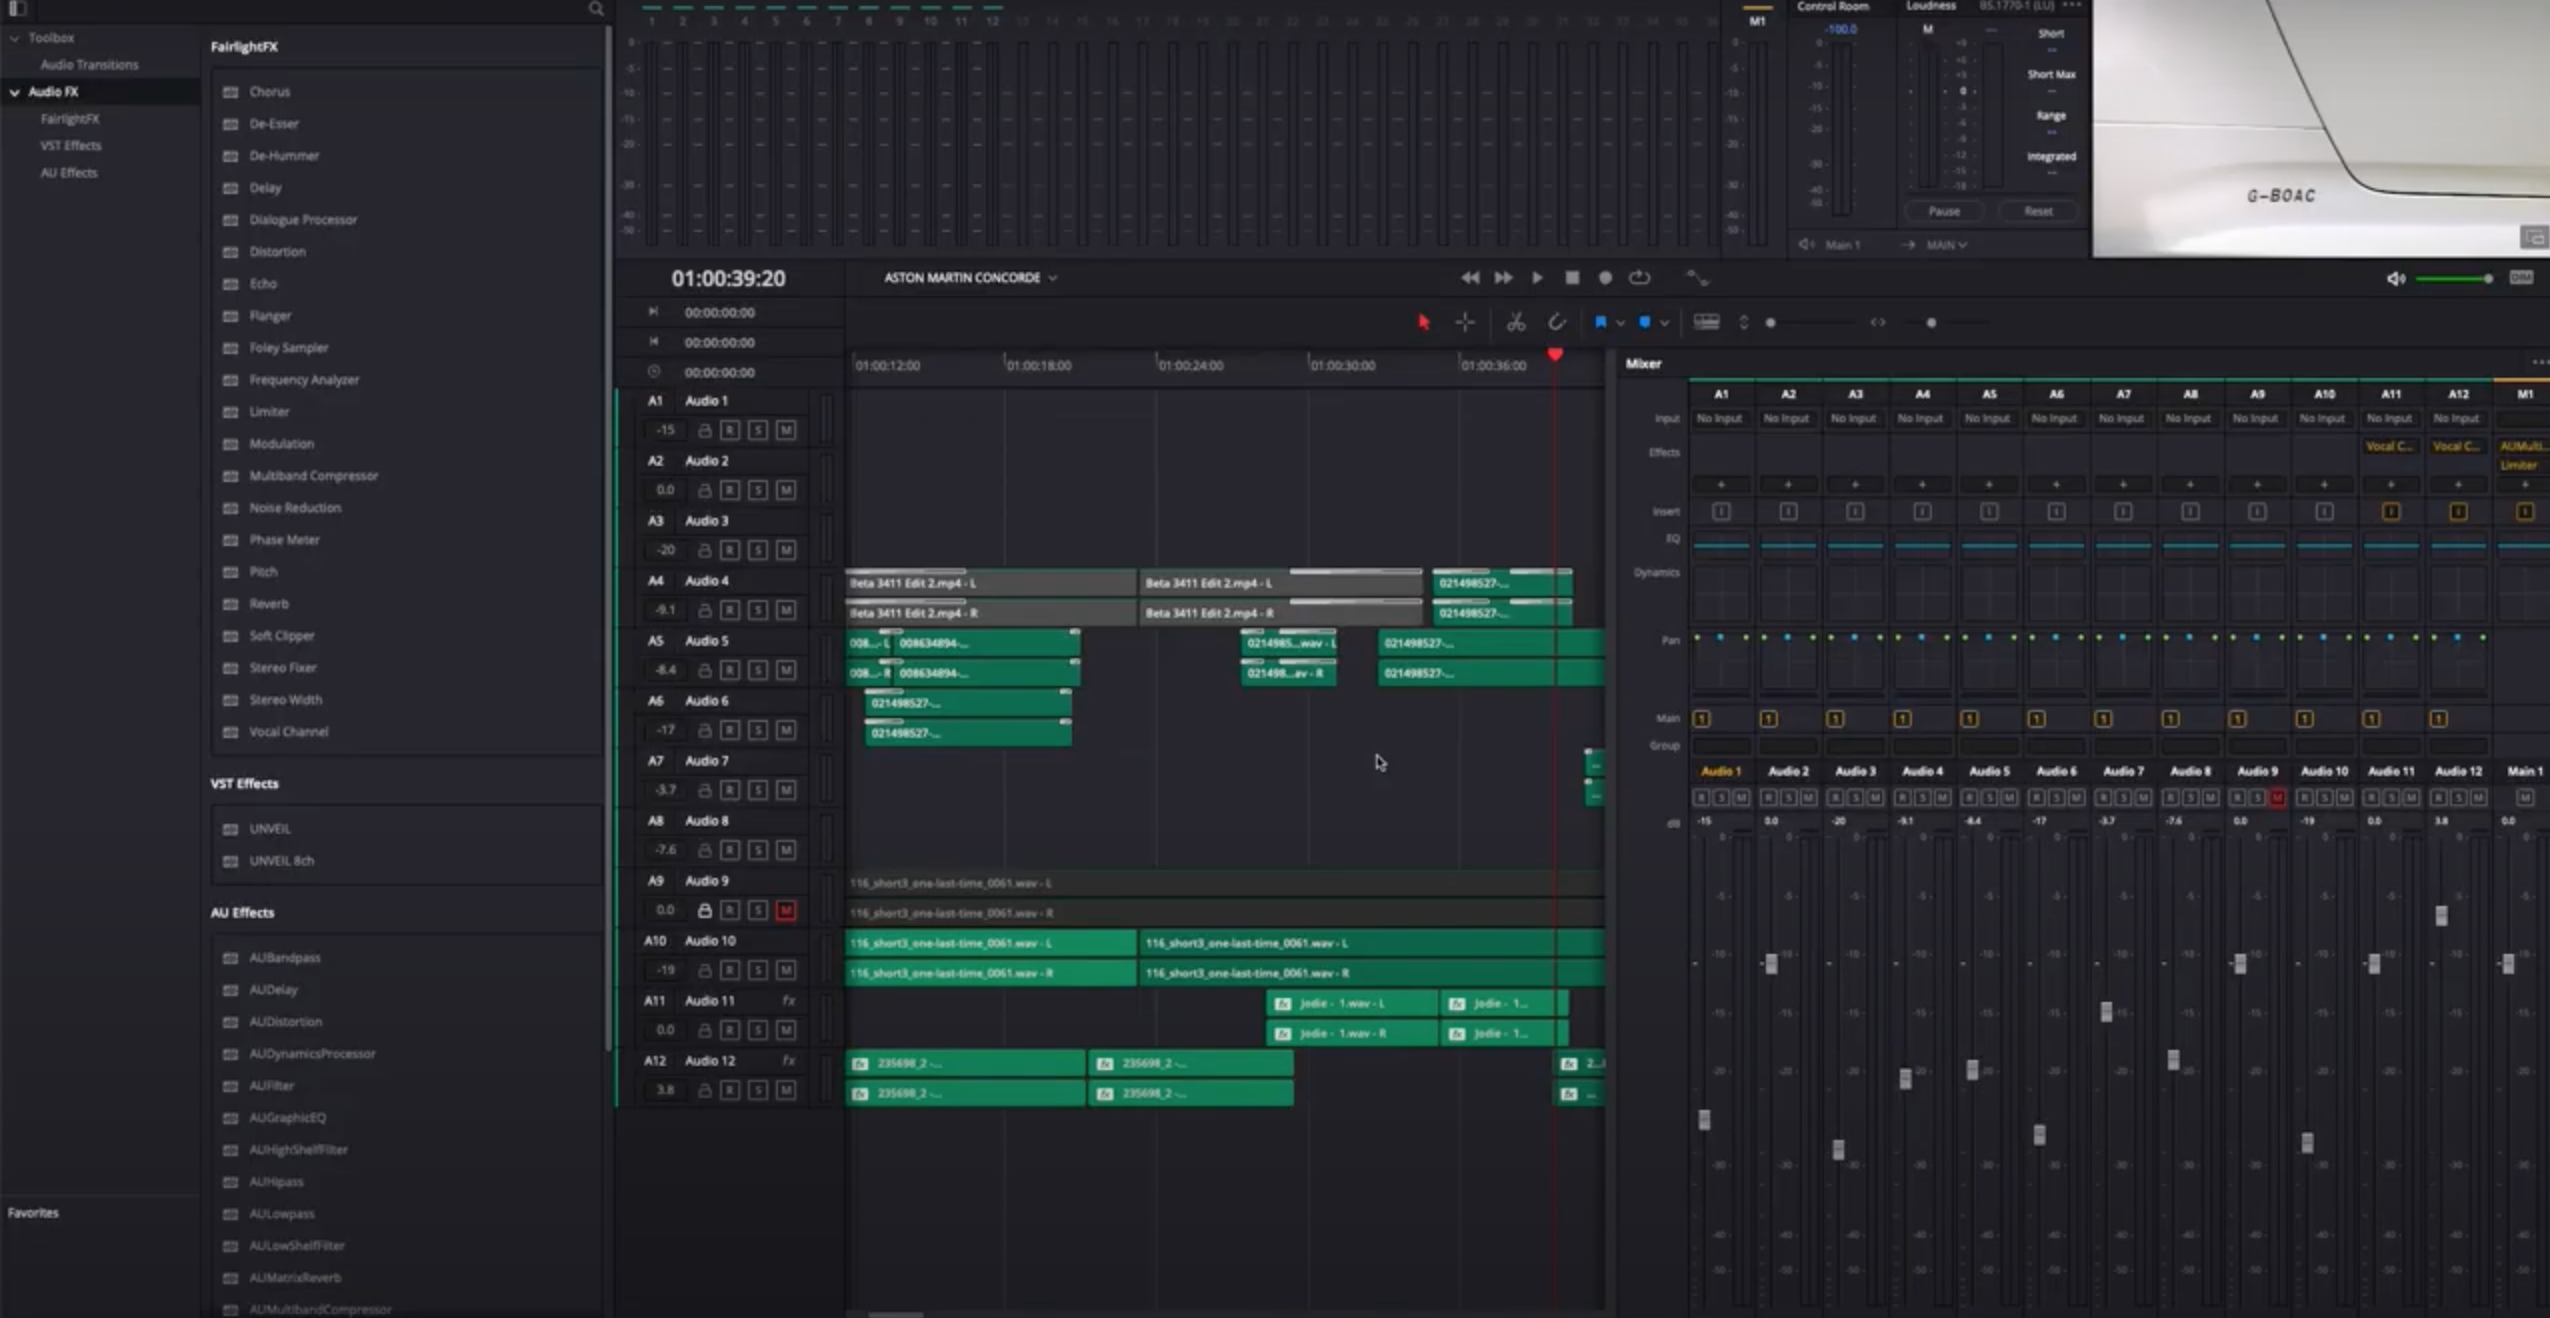
It’s a much more suitable way of working when you’re working with audio and then you’ve got access to the faders to help balancing off levels. We had the voiceover which has to balance with the background music and then I added insight and sound effects.
We’re trying to get across the idea of the power of these two machines, Concord and the Aston Martin. So the noise that they make is critically important.
And that’s what I was doing within this panel, just adding in those little engine roars and the sound of Concorde coming in to land.
A lot of the time this marries with what’s happened visually on screen. So, for example, the car will be travelling from left to right across screen. I will add a subtle pan from left to right on the sound of the car passing so that it helps to knit it in with what people are seeing.
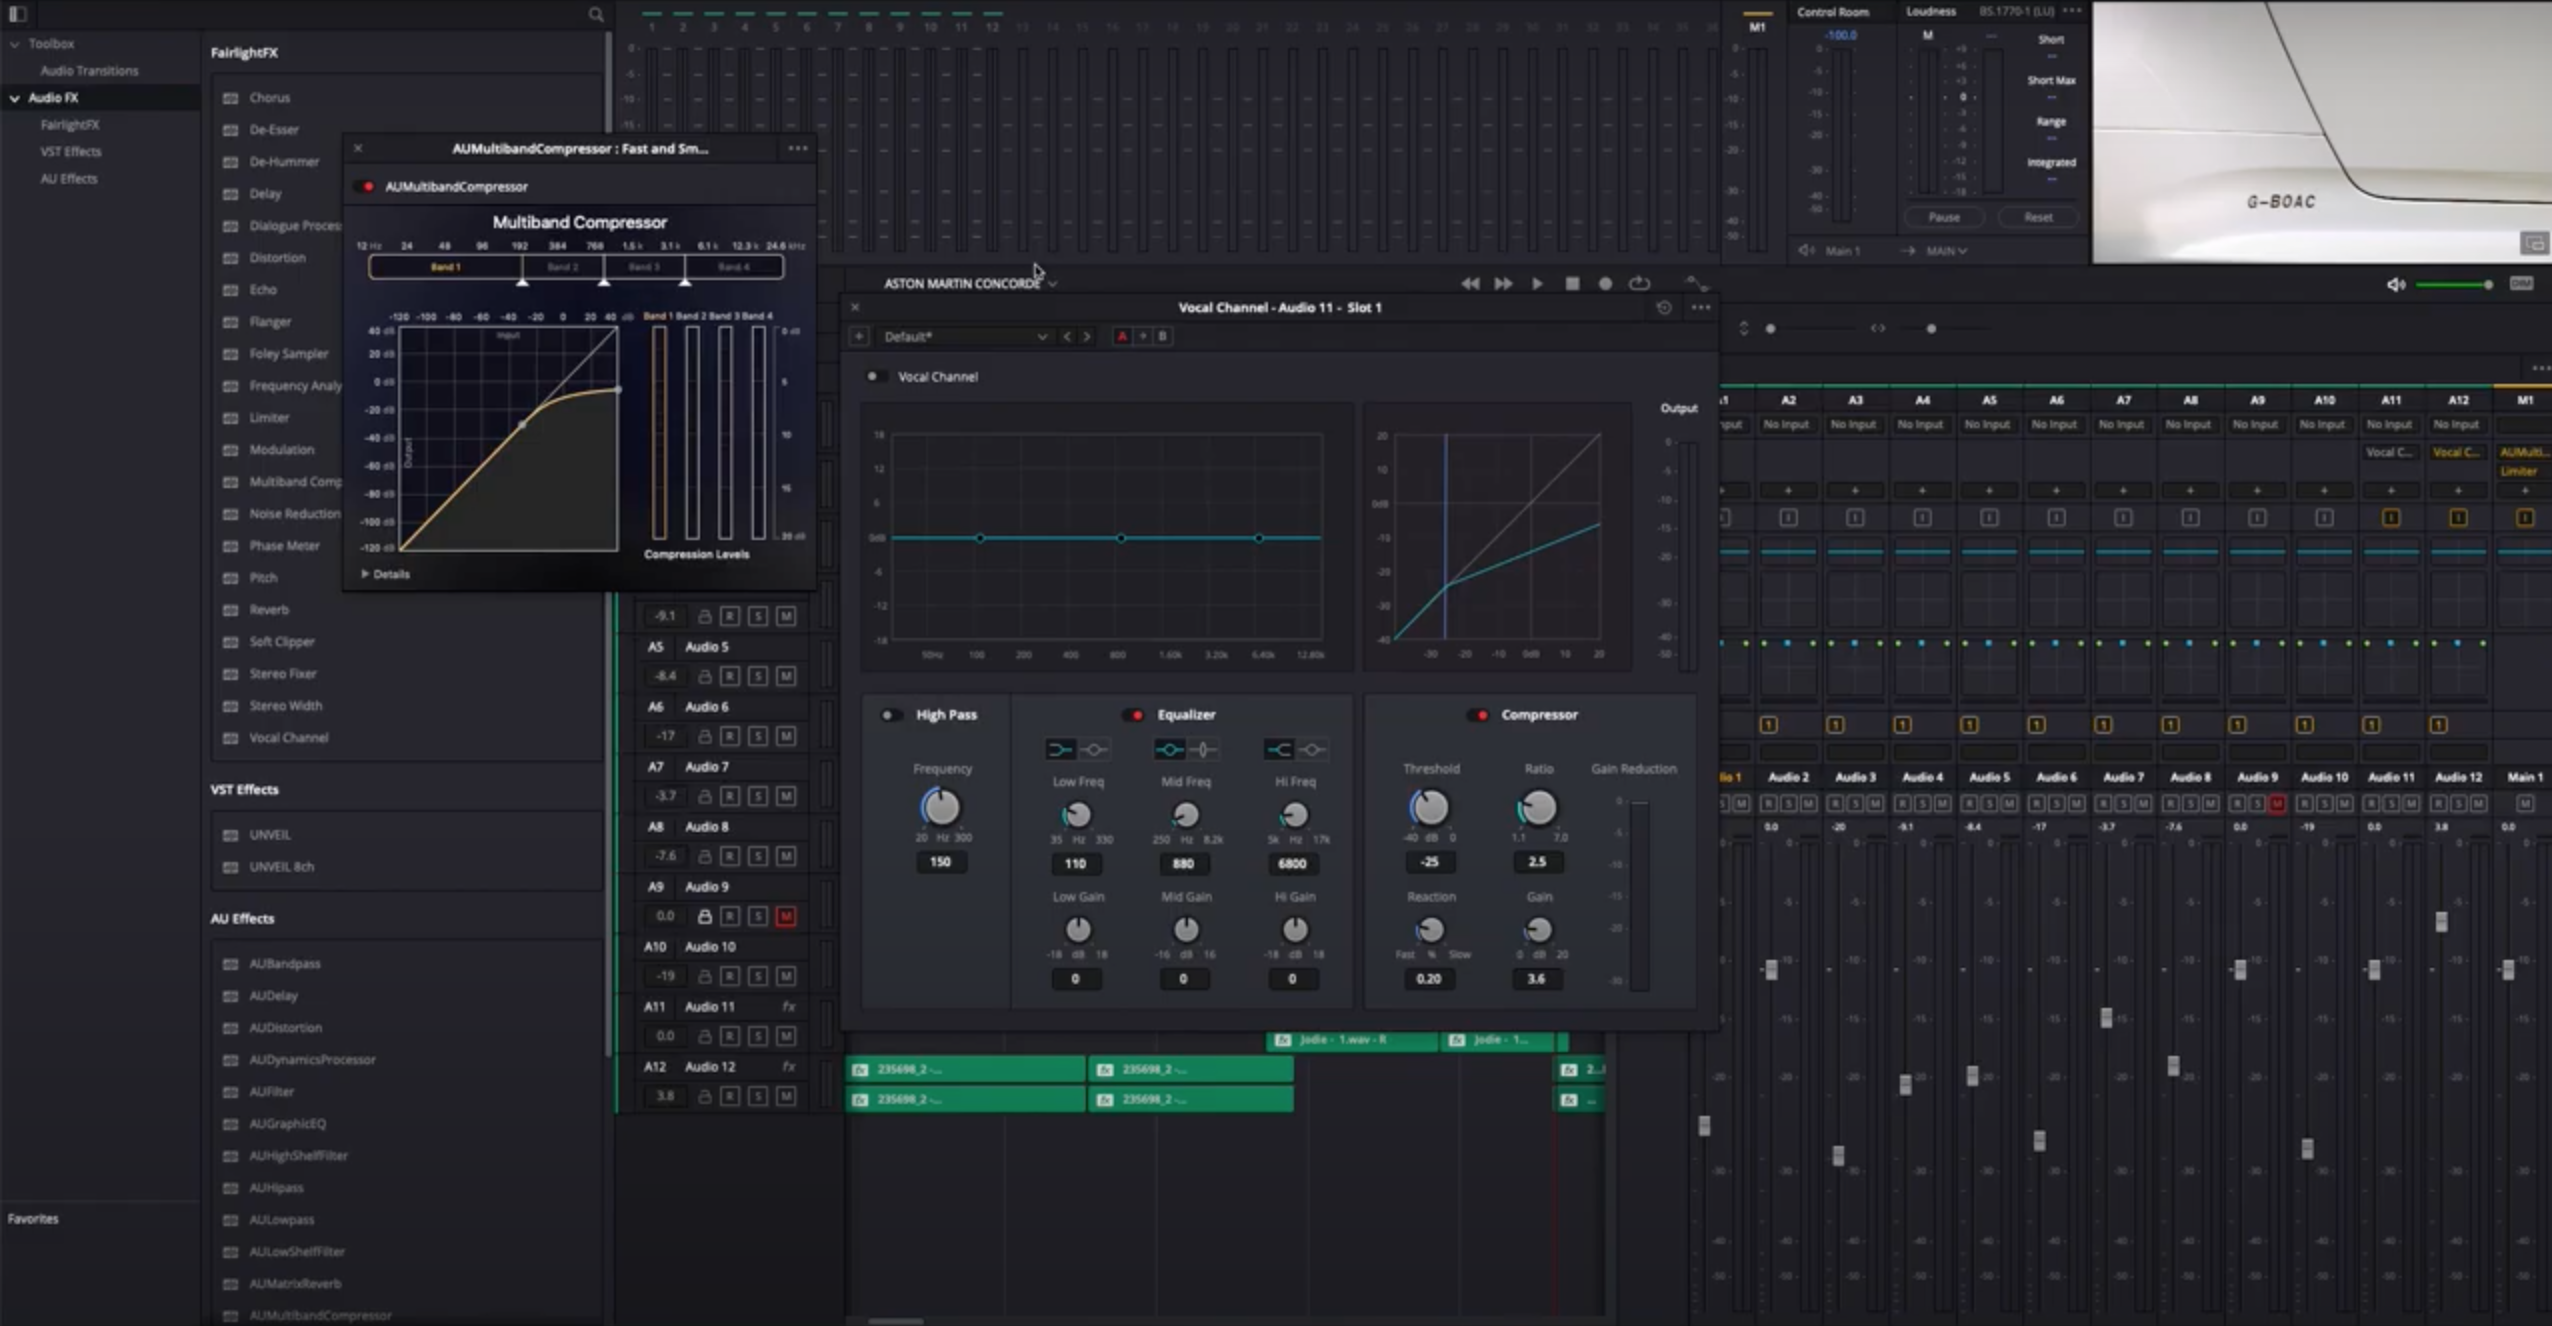
Coming from an audio background, I really do like to get a little bit more involved and can add a bit of multi-band compression in. I find it really knits it all together and tightens up all of the different frequency bands that you’re working with. Essentially it’s like an equalizer combined with a compressor and it focuses on certain frequency bands so you can control a little bit more what’s happening at the low end compression versus the higher compression.
The biggest takeaway is that now we’re able to cover the entire project within Davinci resolve from the editing to the colour correction to the audio mixing.


