Demystifying False Color Live Instagram Lesson
FALSE COLOR INTRODUCTION
Welcome to Shane Hurlbut, ASC’s latest LIVE lesson – Demystifying False Color. Before we Demystify False Color, we’re going to quickly demystify the video above. This video comes from a simultaneous live broadcast on Instagram and Facebook. If you scroll back for the first 30 seconds, you’ll see the moment we discovered that we couldn’t go Cinematic (as we would have liked to – it’s the filmmakers’ way!) and had to go vertical! Either way, we hope you’ll still enjoy this great live lesson from Shane Hurlbut ASC and exploring the benefits of False Color.
DEMYSTIFYING FALSE COLOR – SHANE’S SET UP
Hello everyone and welcome to our Demystifying False Color live lesson!
Due to lockdown procedures we have the whole Hurlbut family on the shoot. So here’s the call sheet:

I also wanted to tell you that on the Hurlbut Academy there is a Demystifying False Color course that comprehensively breaks down everything you need to know about it. There’s two lessons in there so you can really dive deep down that rabbit hole! There’s also a green screen course where I talk about green screen and how to light and balance it.
Today’s lesson is all about breaking down the essentials of false color first.
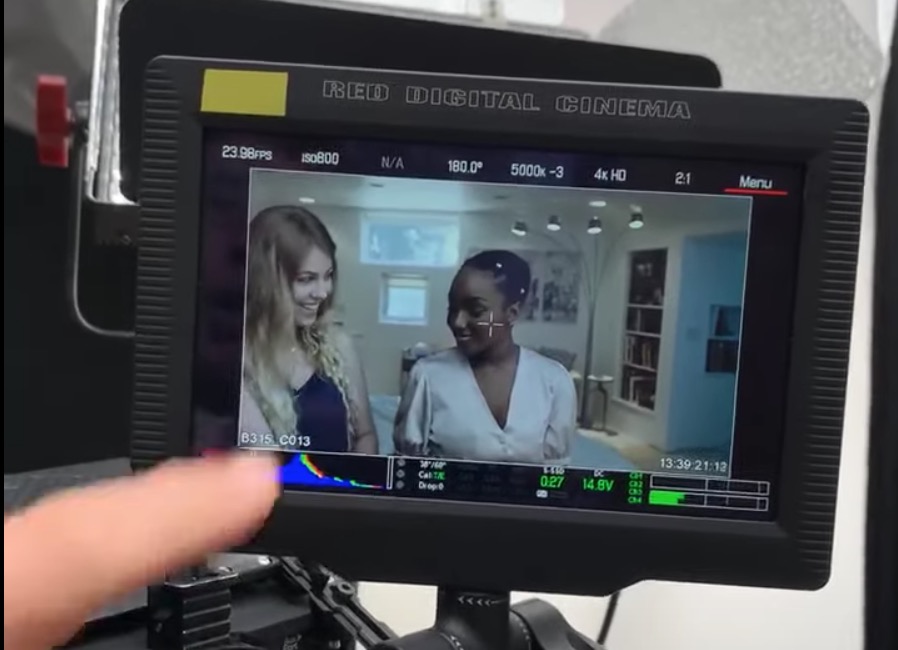
Here’s my RED Gemini camera settings with 24mm Xeen CF lenses (39:14 if you want to hear me talk through everything):
BITESIZED DETAILS
- DM 250 by Flanders scientific is one of the few monitors that lets you do false color and be able to adjust the sensitivity of false color.
- You never use false color without a LUT. You need the LUT on as it is going to clamp down, increase your contrast, change your color tones and all that stuff. So when you’re applying your false color. Applying false color to a RAW file is going to look like mush. But, the minute you put the LUT on (which I’m loving the LUT “Overcast Cool” today), I hit the false color and “bam!”, all the colors start to come in. All of these colors have specific values.
- I want to look at how I can integrate the background and give Kyra some three dimensional separation with the light values, but also make it feel like she’s still in this room.
SETUP
To hear me go through this in the live video, this appears at 42:00.
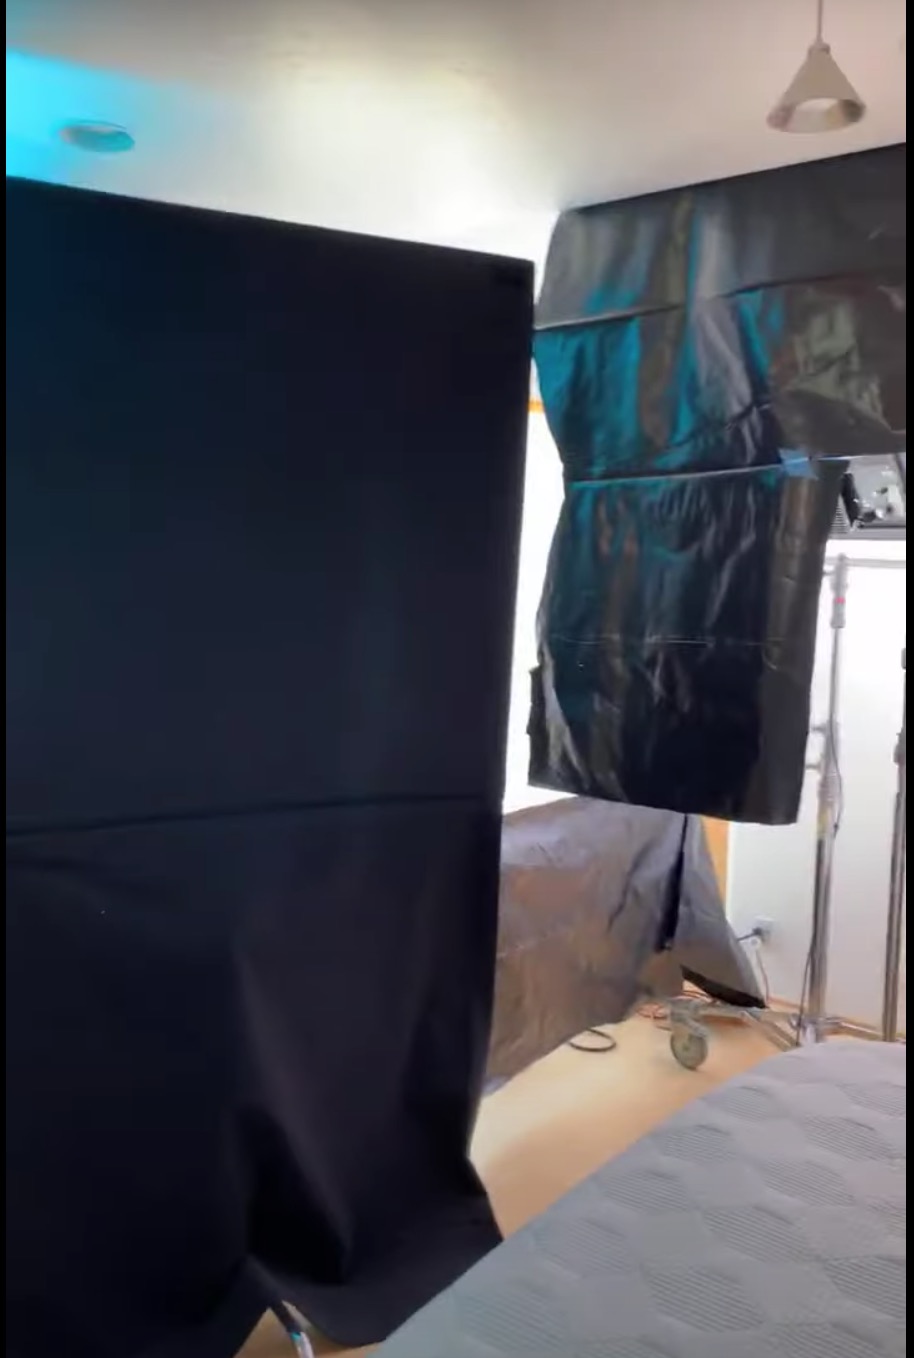
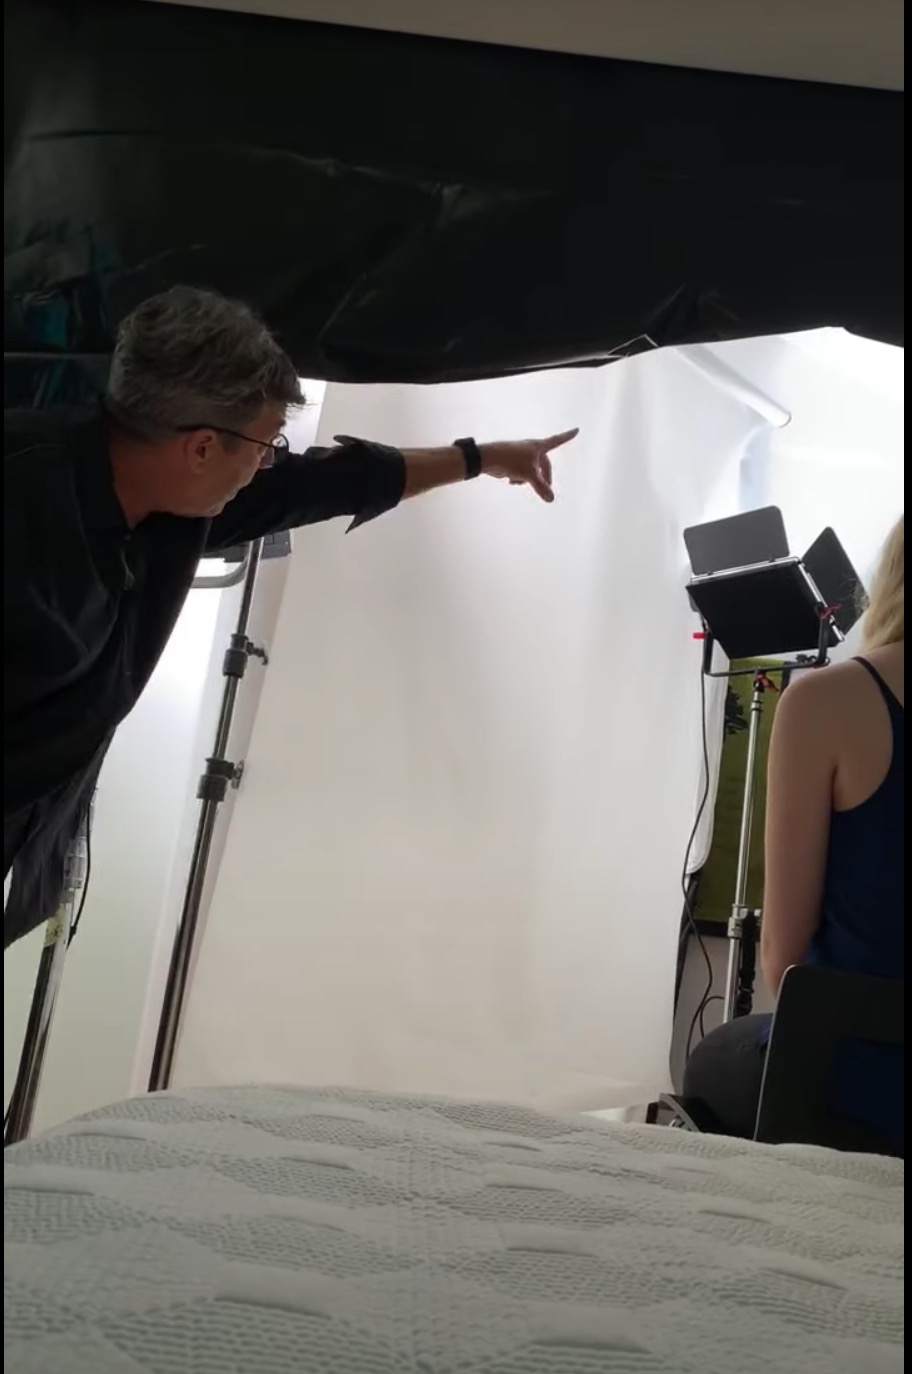
LIGHTS – There’s a Cineo 410 bouncing into a mathbounce that then is being diffused through a full grid before hitting our model. This is so that light doesn’t become real sheeny on the side of their face. I’ve done what they call a waterfall. You take a stand, stick the arm out and then you roll a waterfall of diffusion down and it creates a beautiful soft light on their face. Then I have an Aputure light storm just bouncing up into the white ceiling there to wrap around her eye and provide some fill. That is set at 5000 Kelvin.
I used black visqueen along the roof as a topper to get some contrast. I usually use, duvetine, but I had the black visqueen here. Then I added more visqueen next to Kyra, our model, to give us some negative fill and create a nice downside on her because I got I have a white wall back there.

 |
 |
 |
 |
 |
False color is one of the key building blocks of learning how to expose your digital negative. When I first started doing digital, I was treating it like film and realised very quickly that you cannot do that.
So things overexpose, when they clip they blow out and they look very digital. There’s this beautiful balance that you’re trying to find how the sensor reacts to the light and how you can get it in that beautiful “sweet spot”.
I’m going to hit the false color and you can see that her face goes gray.
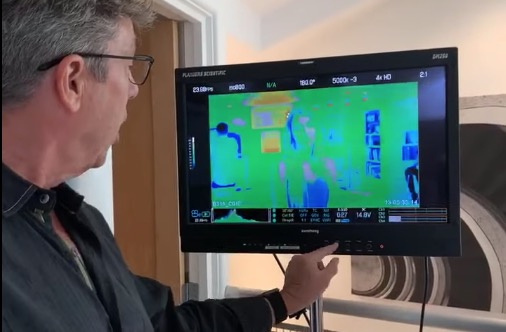
Now that is the exact place that I want it to be because I can take my scale with the V pos and the Ref pos and I can move these wherever I want (those two are my grey value level adjustment). Now, I can make the whole image gray if I wanted to. But what I want to do is hyper focus in on that value.
Remember this: A 5 IRE value is worth one half stop and a 10 IRE value is worth one stop. With that in mind I aim for the sweet spot for our model’s skin which is about 60 to 65 IRE.
QUESTIONS:
1. Is it a creative LUT or a technical LUT that you’re using? 10:14
2. Do all monitors and cameras use a standard false color? Would a 1K false color monitor give the same exposure as a 5K false color monitor? 13:07
3. Are you going to be going over what you think is best for light skin and dark skin with both of the ladies here? 16:08
4. Do you use false color instead of manually metering? If you do both do you meter first and refine with false color or do you false color first and then refine the metering? 20:52
5. Okay, so the false color is only based on a LUT Shane, do you ever use it with LOG does this change things? 22:39
6. If you can’t afford Flanders or are there monitors that are manufactured that provide the same control as them? 24:34
7. How can we work with a monitor which doesn’t allow adjustment of the IRE? 24:34
8. When you’re talking about the sweet spot for skin tone, are you referring to the highlights in the skin? What do you mean by sweet spot? 32:26
9. Is this this clean hanging from the ceiling? Can you go through the setup? 38:47
10. Can we talk about how you work with skin tones in a movie or very dark scene? Where do we place the IRE so it doesn’t get crushed? 43:54
11. If there isn’t time to check IRE values and you just have to go with your built in onboard camera monitors false color, what’s your approach? 45:14
12. Does adjusting the monitor not mess with your final color grading or exposing of the footage? 47:30
13. When working on a fast paced production, how do you cope with lighting perfectly and delivering efficiently for production? 49:51
14. How does the dimming percentage relate to stop levels? And how does it vary with different lights? 51:22
15. Does false color read the same with different cameras? 53:53
16. What about the first adjustments in camera? Do you use false color in your source to adjust the exposure? 57:53

