Lighting Modifiers: Building the Perfect Toplight and Key Light Source
Chimera is one of my favorite lighting modifiers, and we are going to go into building one of my favorites, called the pancake. It has amazing control, and you’re able to do a lot of unique applications with this tool. In Fathers and Daughters, I had Russell Crowe’s on set apartment loaded with them for all the hallways, living room, over the dining room table. You name it, there was a pancake there. They are such a smart efficient light.
You know I love soft light. I like to take light, modify it, diffuse it, waterfall it, and bounce it. I’m not the biggest fan of taking a bare Fresnel and bashing it onto a face. There’s time when that can work for the emotion of a story, but most of the time I’m trying to diffuse that source and make it look as creamy as possible.
Let’s Build this BABY!!!
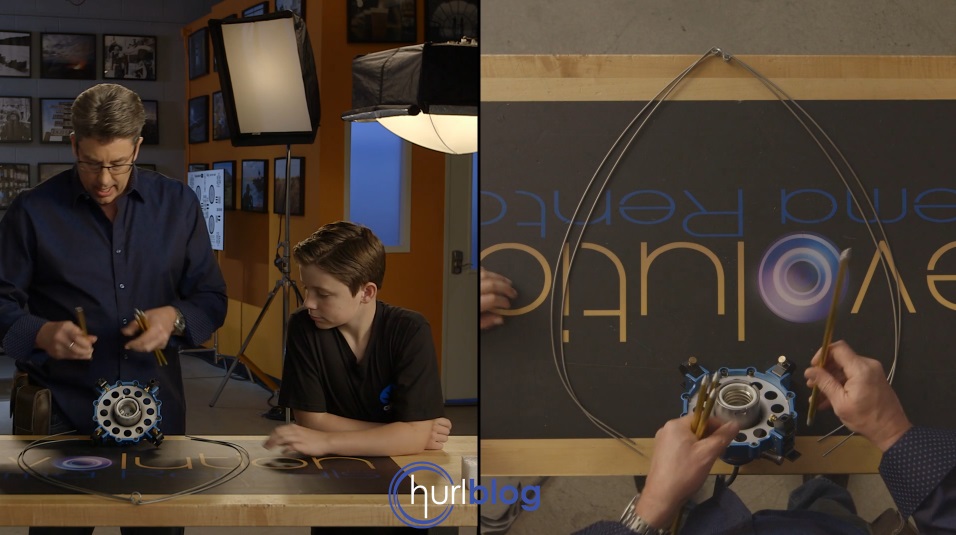
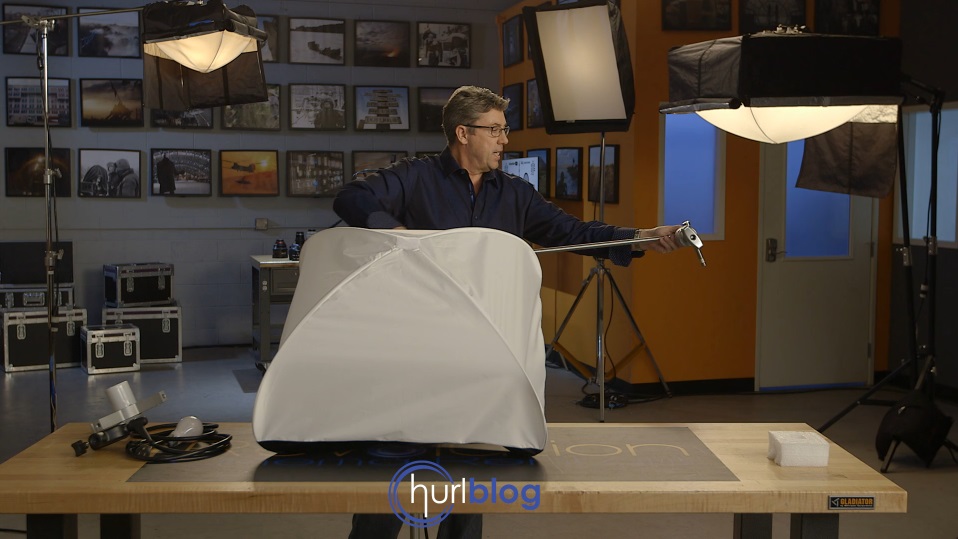
Building the Chimera Pancake is a lot like building a tent. First, you’re going to spread out your tools in front of you. I’ve got some help from my son Myles.
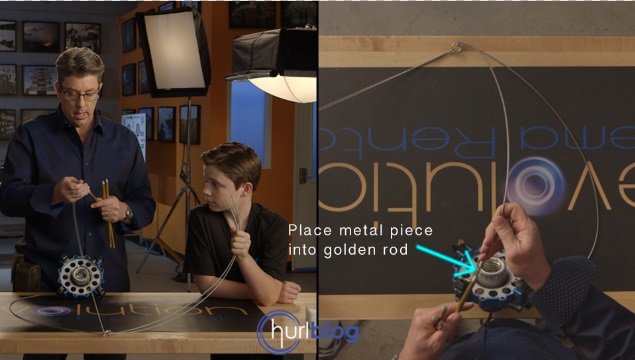
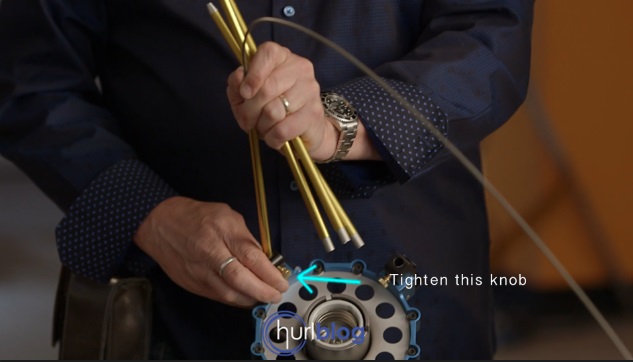
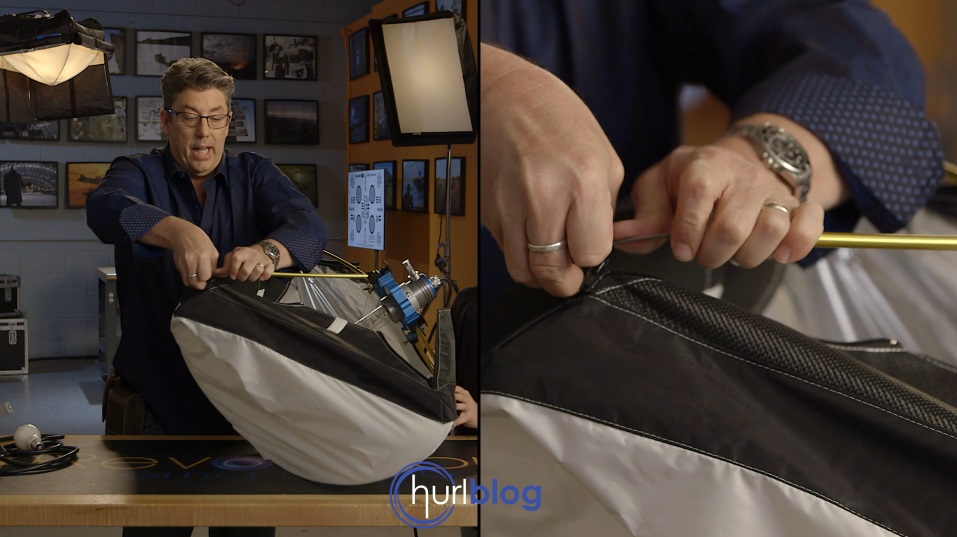
Then, take one of the metal wires and place it into one of the golden rods.
Once that’s set. Lock that gold rod in.
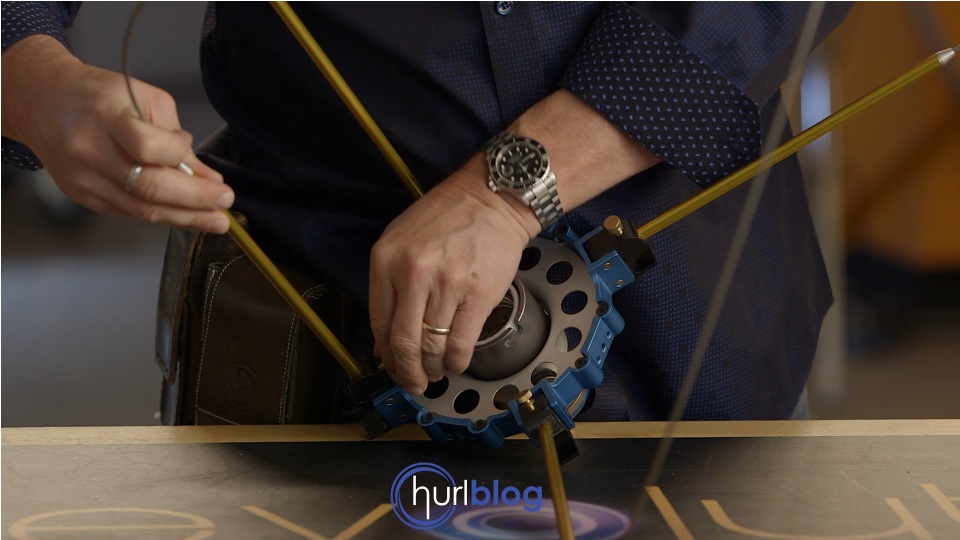
Repeat putting the metal wires into the gold pieces, and then locking the gold pieces in with all four sides.
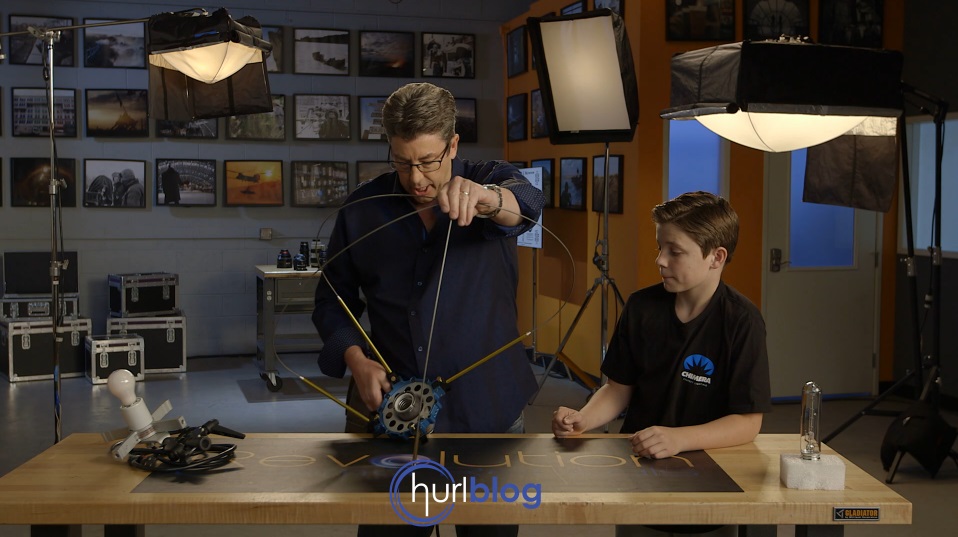
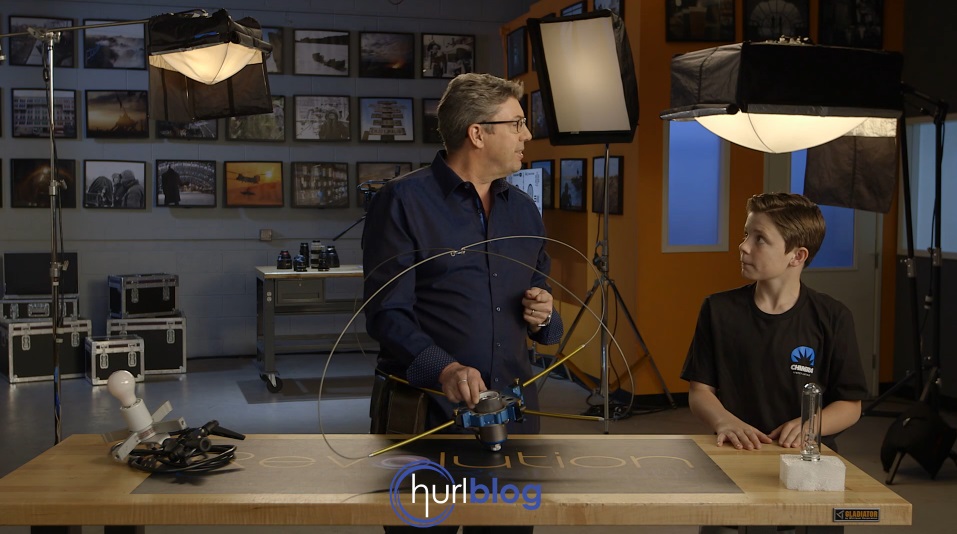
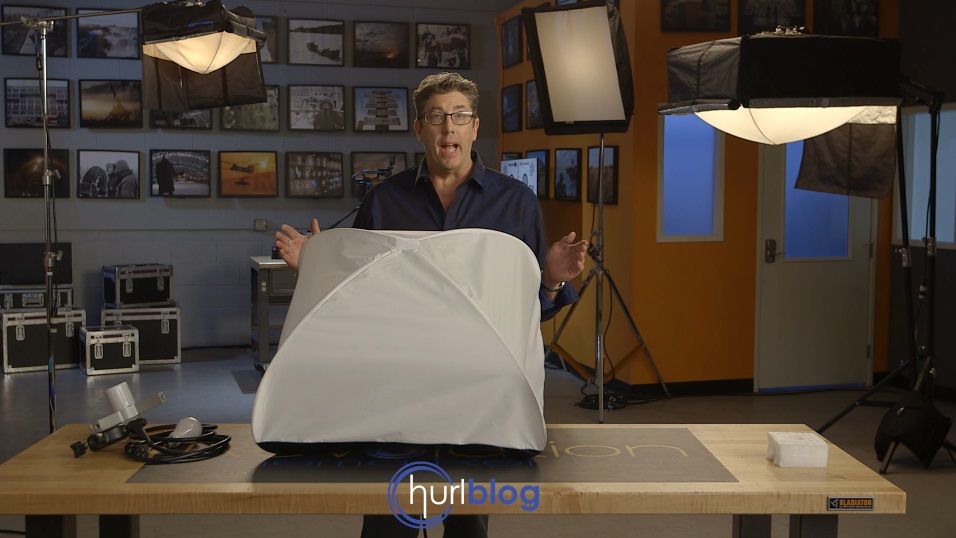
This is what the Chimera pancake looks like now.
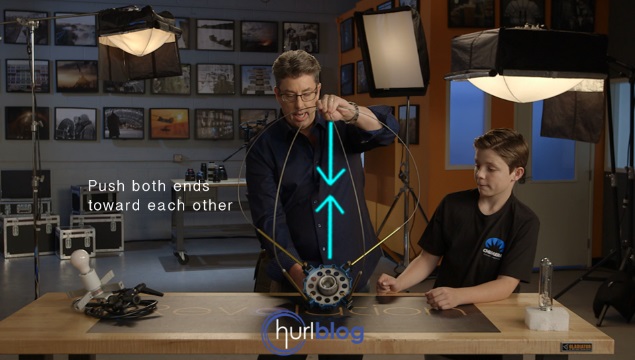
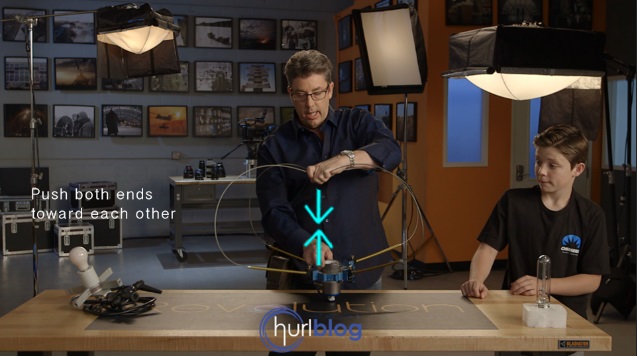
Now comes the magic. Put one hand on top and one on the bottom and push the ends together until you hear the frame click and lock together.
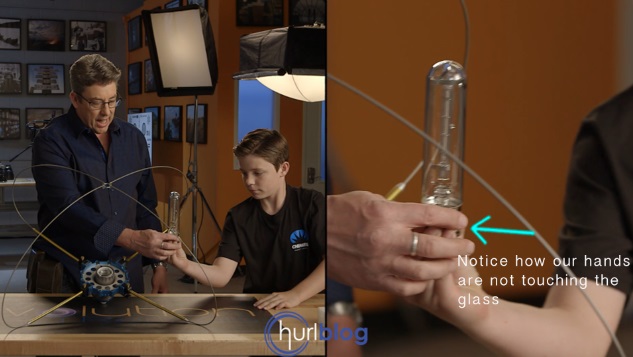
Now this pancake is ready for a light bulb. Myles hands me a bulb, but notice how his fingers don’t touch the glass. Oils on your fingers shorten the life of the bulb.
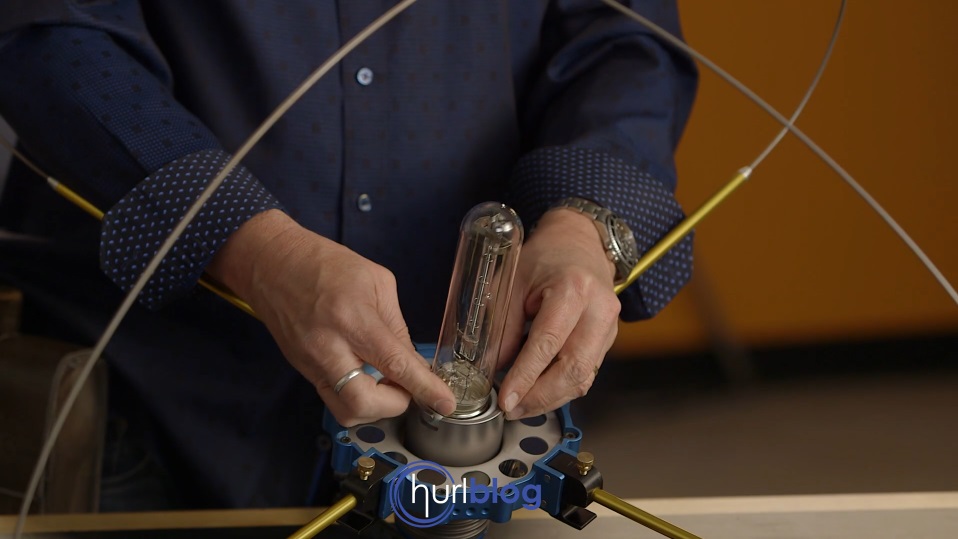
Now screw the bulb into the center.
If you want to use a standard household bulb, they come with mogul adapters that screw into the light itself.
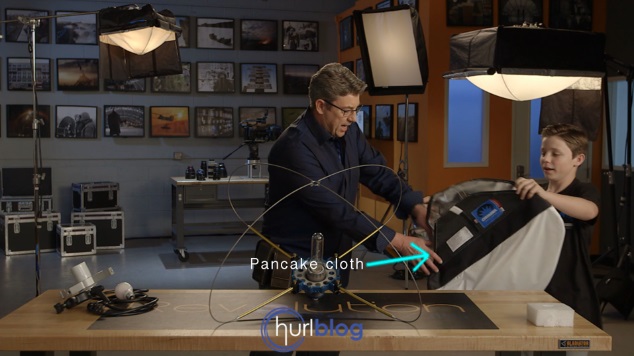
Now it’s time for the pancake cloth.
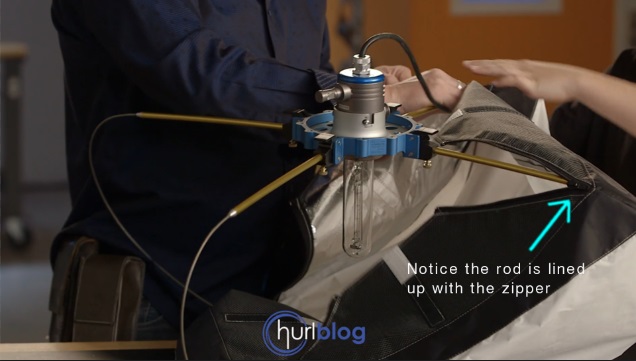
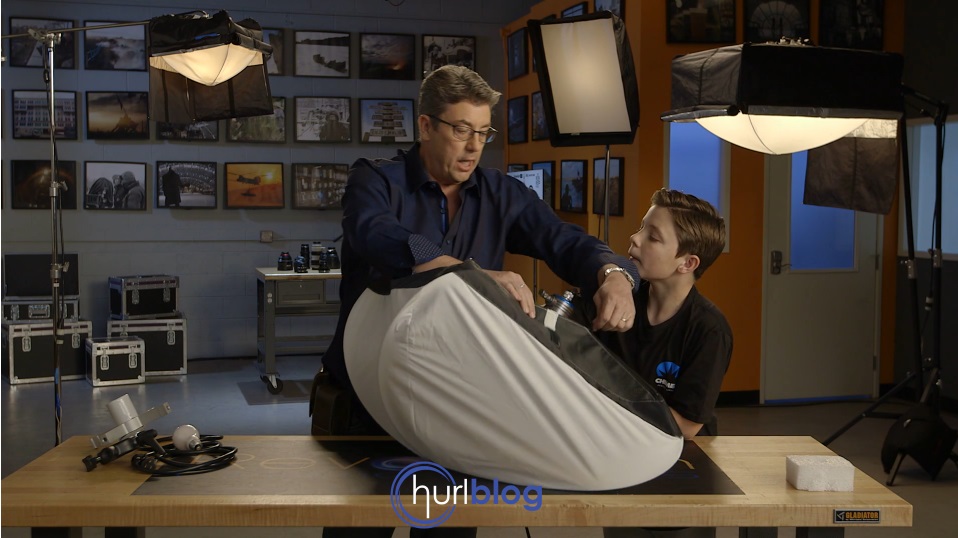
Place the pancake cloth over the frame. You have to line up the zippers with the wires for the pancake cloth to fit correctly.
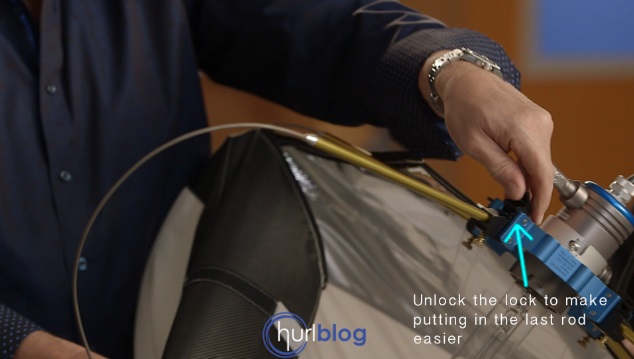
The final rod is always the difficult one to slip the cloth over. To get the rod in, unlock the corresponding lock at the base. Then push the rod into the pancake cover. Once the pancake cover is completely on, lock the lock that was unlocked.
Then relock the base where you unlocked it, and close the zippers.
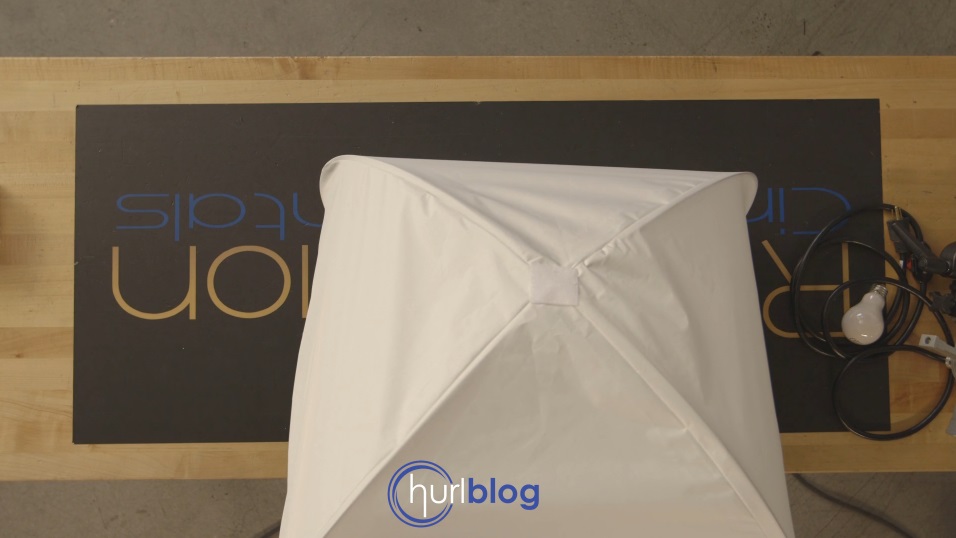
This is what the pancake looks like flipped over.
Now we are going to put side flaps on to this medium pancake. To do that, we need a C-Stand. Set a C-Stand and then extend the arm out.
Then screw in the Chimera clamp to the c-stand and tighten the knob on the Chimera clamp.
Then raise your c-stand up.
Make sure all pieces on the Chimera clamp are lined up on one side.
Then attach the Chimera base knob into the Chimera clamp and tighten the knob on the other side.
The amazing thing about this clamp is that it allows you to move and tilt the Chimera for all sorts of unique lighting applications.
Now that the clamp is in place, we attach our side flaps.
The Chimera has Velcro on top of the black side. Attach the Velcro of the side flaps to the four Velcro spots of the Chimera to secure the side flaps.
Using the Chimera as a Top Light
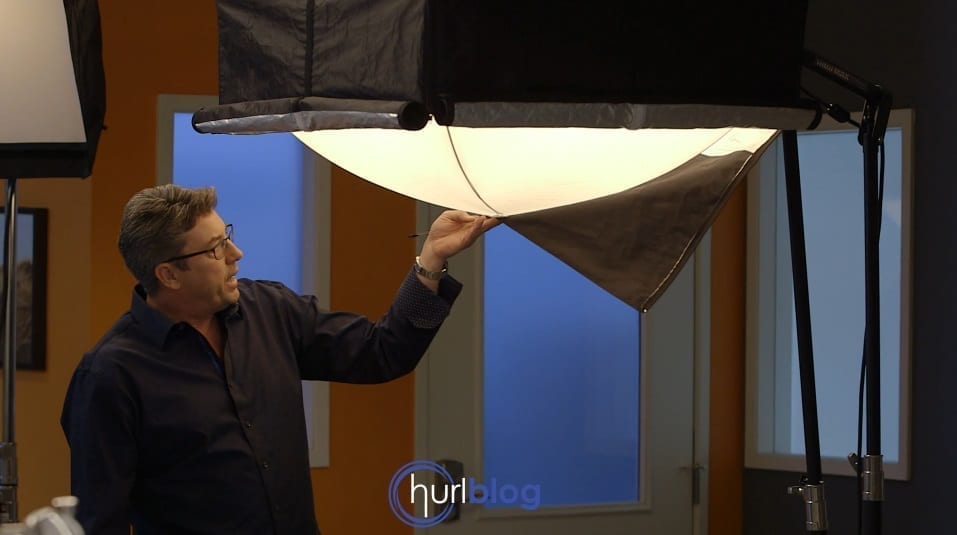
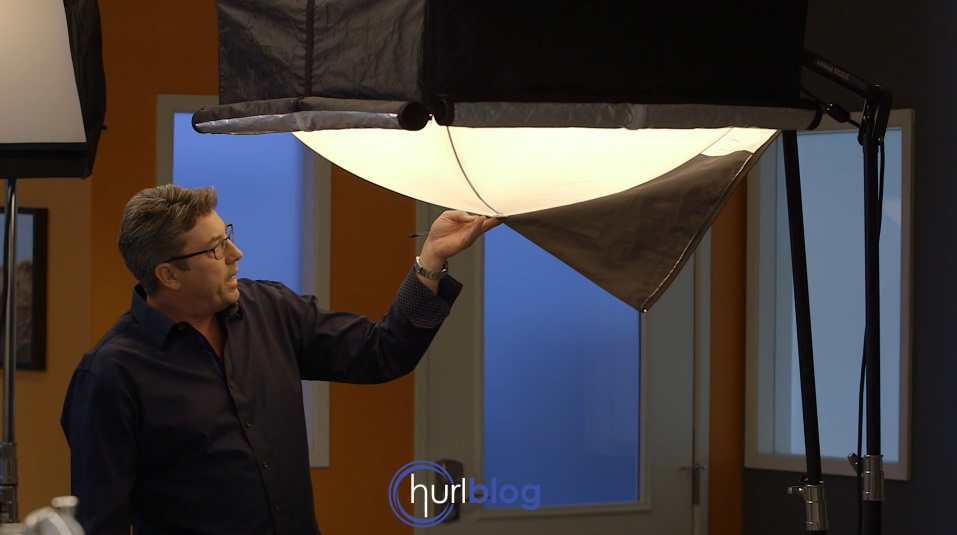
We raise the Chimera up and fly it over Myles. It creates a beautiful top light, and the light is contained on Myles because of the side flaps. We don’t have light flying all over the place. It stays on Myles.
I use these top lights because they make the perfect 360 degree shot maker. I can come all the way around the talent and there aren’t any shadows that fall onto them. Also, the light still has nice contrast and nice shape.

Notice that as I walk around Myles, I’m not creating any shadows on him. The light on Myles still has nice contrast and shape.
The side flaps of the Chimera also have the ability to fold onto themselves, so if Miles steps to his left:
You can unzip the side flaps, and roll the flap onto itself.
Then we can rotate the Chimera so that the rolled up flap side faces toward Myles. This gives him a little more light on his right side.
Notice that the light still isn’t flying all over the place because the flaps shape the light perfectly.
Using the Chimera as a Key Light
Top lights are awesome, but that’s not the only thing this baby does. You can use this as a beautiful, creamy key light. We lower the light and angle the open side onto Myles. Then I unroll the flap we had rolled up from before, and we have a concentrated key light. The flaps help keep the light controlled so that light isn’t flying all over the place.
Comparing the Chimera Pancake to the China Ball
Let’s see how the china ball does when we compare it to the Chimera Pancake. We bring a china ball in and bring it up to 120% on the dimmer.
All videos were edited on HP Z840 workstations using HP Z24x DreamColor monitors.
The china ball works as a good key light, but there’s a lot less light control. There’s light flying all over the place. If you put this in a small room, interview style, you’re going to be trying to flag this thing with black bedsheets and anything you can use to try and control this light so that it doesn’t bounce all over your walls.
Different Sizes for the Chimera Pancake
The Chimera Pancake comes in three different sizes. Check out the sizing chart from Chimera’s site, which lists the sizes of the Chimera in inches and centimeters.
Conclusion
In conclusion, the Chimera Pancake:
● Is easy to assemble.
● Has adjustable side flaps that allow you to shape and control your light so that light is contained and not bouncing all over the room.
● Comes in three sizes, small, medium, or large.
● Can be used as a top light, which is great for a 360 degree shot.
● Can be used as a key light.






This looks interesting and the prices seems affordable. The specs say a maximum of 400 watts of “hot light”. I assume that means tungsten. What other lamps might you put into this? Perhaps a multi-socket with several CLF lamps or LED lamps.
Thanks for bringing this fixture to our attention.
You can put up to a 2k tungsten globe into their sockets. They are very impressive, incredibly bright and deliver light control.
Great post! I love the posts on different lighting and lighting fixtures. I recently ran into a situation for a music video shoot where I would’ve killed for 2 of these as I was trying for soft light for 2 people spaced 8 ft apart where it wasn’t going to throw light all over the wall behind them. I ended up using a medium chimera with egg crate with decent results, but 2 of these would’ve been miles better. These seem like they would be great in small rooms. Thanks for the info, great article!
Thank you so much of your kind words Brad. Yes, these babies are a powerful light with many applications for a very cheap price.
I’ve been meaning to get one of these for sometime…Blackwrapping china balls on set gets a bit tedious… This may seal the deal for me! Quick question – what is the unit that is attached to the household bulb? I’m assuming that attaches to the chimera rods as well?
Thanks for the post!
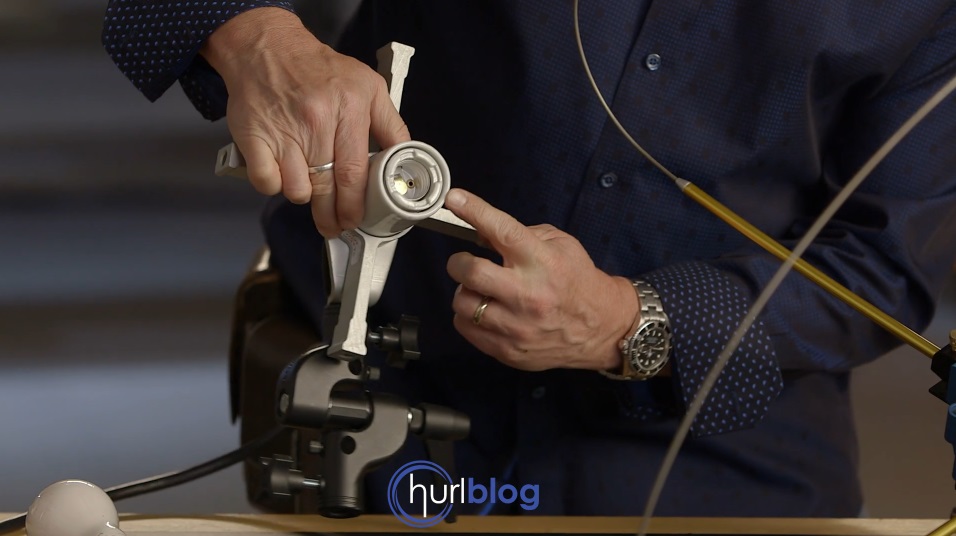
Yes, that aluminum 4 prong fixture is where you can put a household bulb in with an adapter or one of the Chimera bulbs. I updated the post with all the links to the specific bulbs and fixtures.
http://www.bhphotovideo.com/c/product/168155-REG/Chimera_5510_Mogul_Base_Lamp.html/pageID/accessory.
Hi, just wanted to pass along one of the base options for holding the bulb and robs. Based on my talk with B&H this morning.
Great blog post and site.
Shane:
I have used the Chimera pancake— the original lightbulb housing with the mogul bulb adaptor you showed first for sixteen years and it is the best key light to go for though situations when camera mobility is required and no light stand is desired in the shot. I love it!
Yet, for 16 years I have been connecting the wireframe the wrong way: wires to the wider holes on the rods no the tips, what an idiot!
Thank you for correcting the errors of my way!
That’s why I keep coming back to your site, to be educated!
Best wishes,
Carlos.
Thank you so much Carlos. I laughed out loud when I saw this.
In the bulb you’re using, doesn’t its external protective glass cover, which isolates the separate internal bulb, help to greatly reduce the sensitivity to hand oils that can reduce the lifespan in other bulbs that do not have this type of protective cover?
Master Miles. Nice video