Baked in Looks – Create 3D LUTs with DaVinci Resolve Part 1

On every project throughout my career, I have collaborated with each director to create and to bake in a unique LOOK. Now what does this mean? It is about purposely designing a look for the feature or TV pilot.
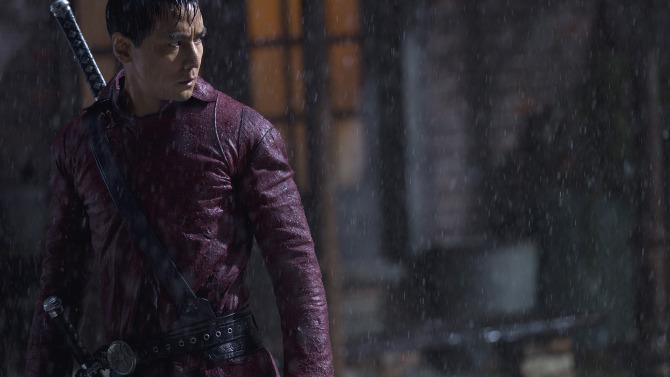
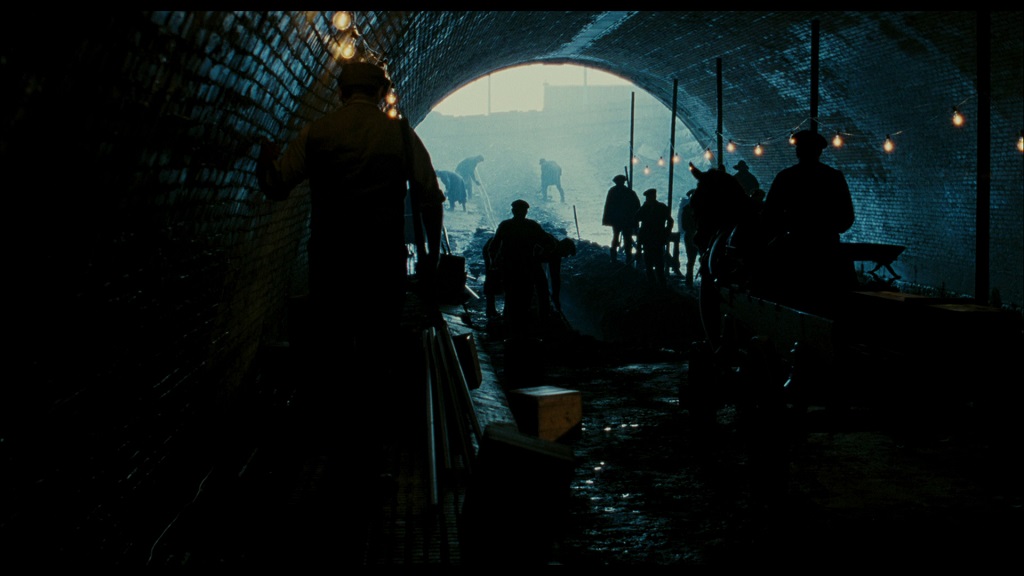
Courtesy of AMC via Variety: Into the Badlands
If that LOOK is messed with, things will quickly fall apart. Now you ask yourself, is it a good idea to bake in looks? Yes, it is. I love to give myself wiggle room in post but at the same time deliver the vision of what the director and I have discussed and created. I have successfully done this on 20 feature films and it all starts with camera and lens tests. When I am shooting film, I do extensive tests on the emulsion along with the lenses to dial in that look and feel.
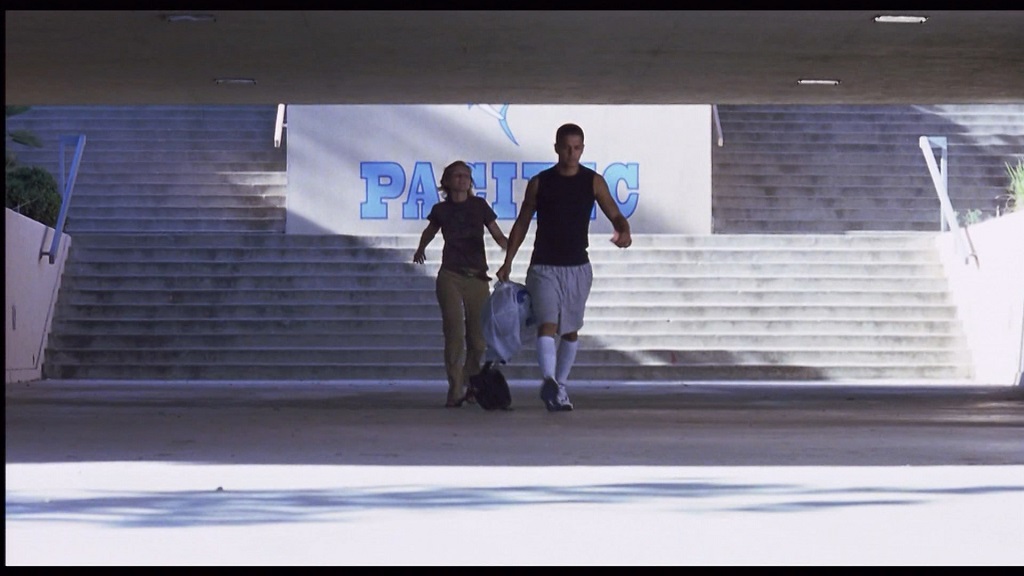
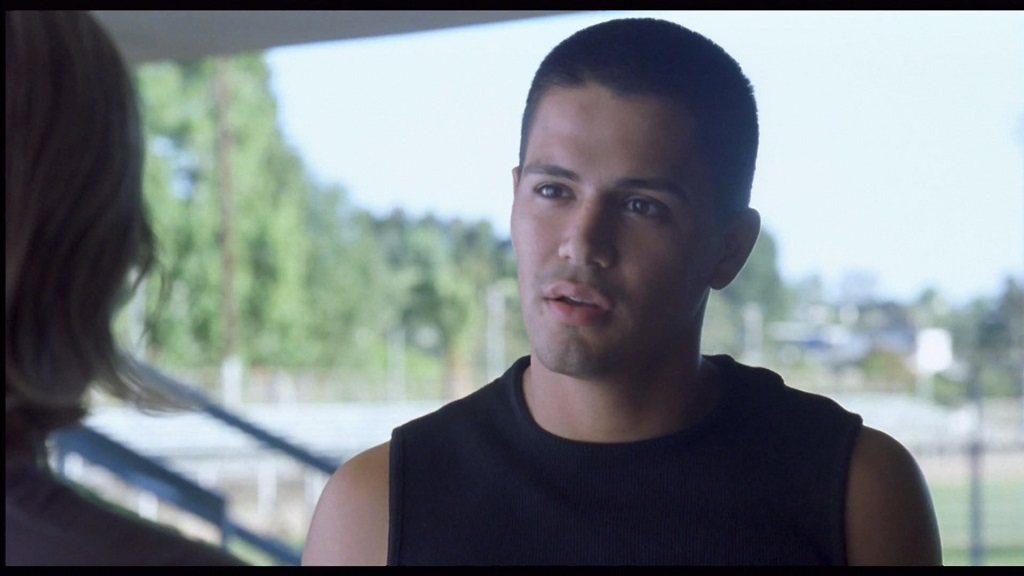
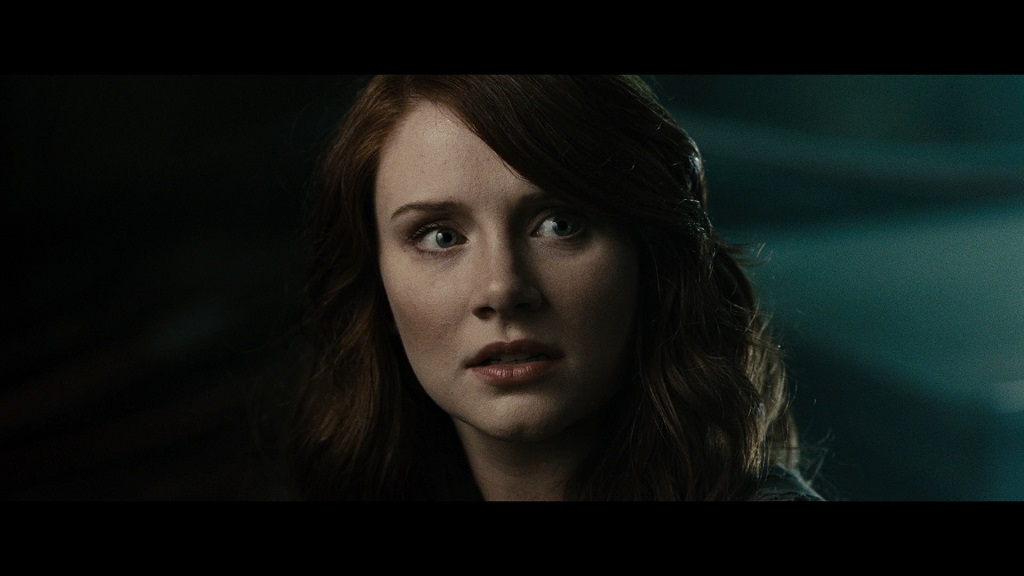
The Look of Crazy/Beautiful
On this feature, I used Kodak 5277 320 ASA film stock and rated it at 40 ASA. OK, start to do the calculations on that. This is over exposing three stops. This was the look that director John Stockwell and I agreed upon. We wanted a bleached out cyan world, which was our interpretation of what the Pacific Palisades looked like. With this, there was no going back. We knew that we had committed and it was baked in, beautifully.


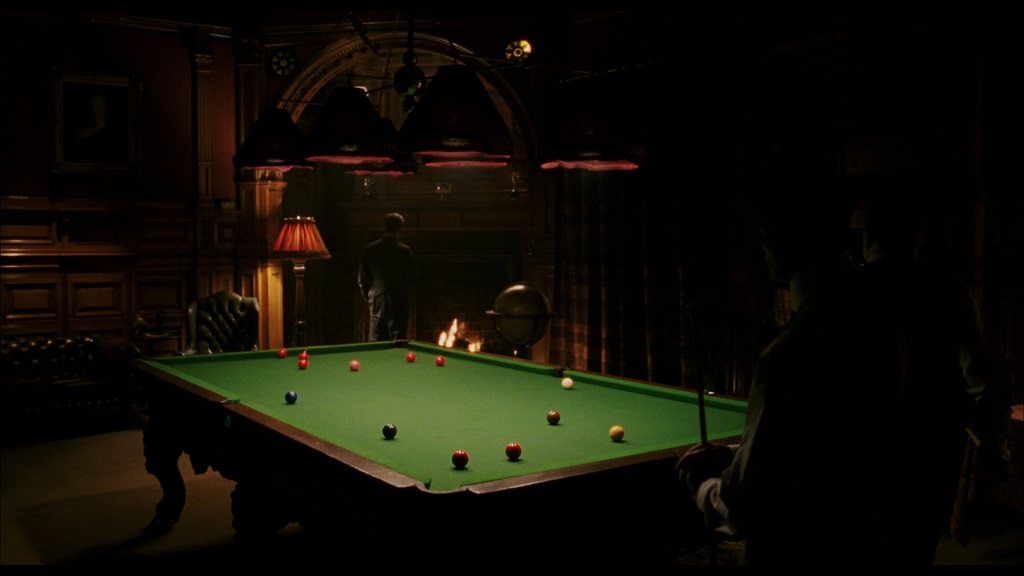
The Look of The Greatest Game Ever Played
This was a look that Bill Paxton and I also baked in with the use of vintage lenses and a lighting style. If messed with, things immediately fell apart. That was the recipe for success on that project.


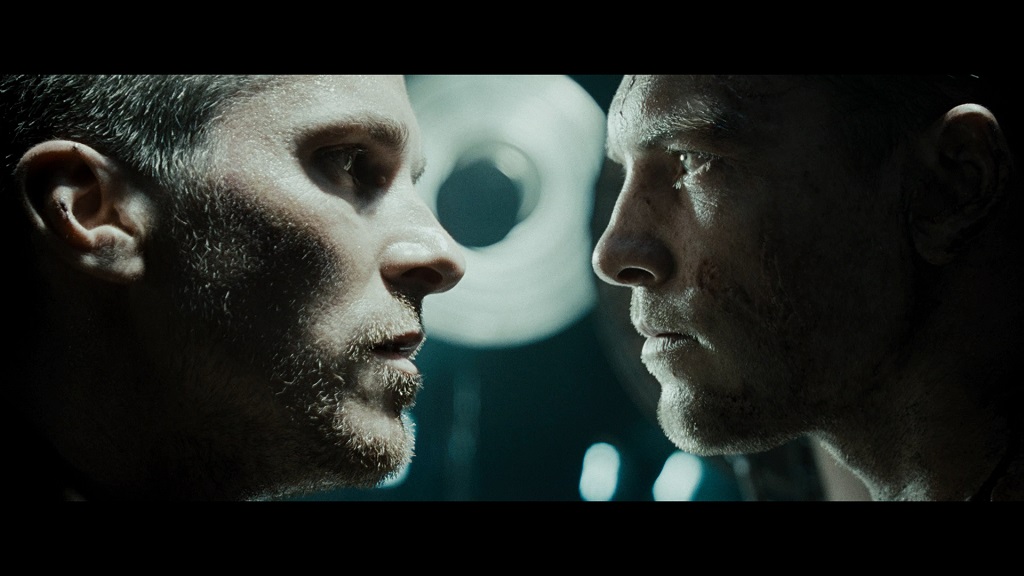
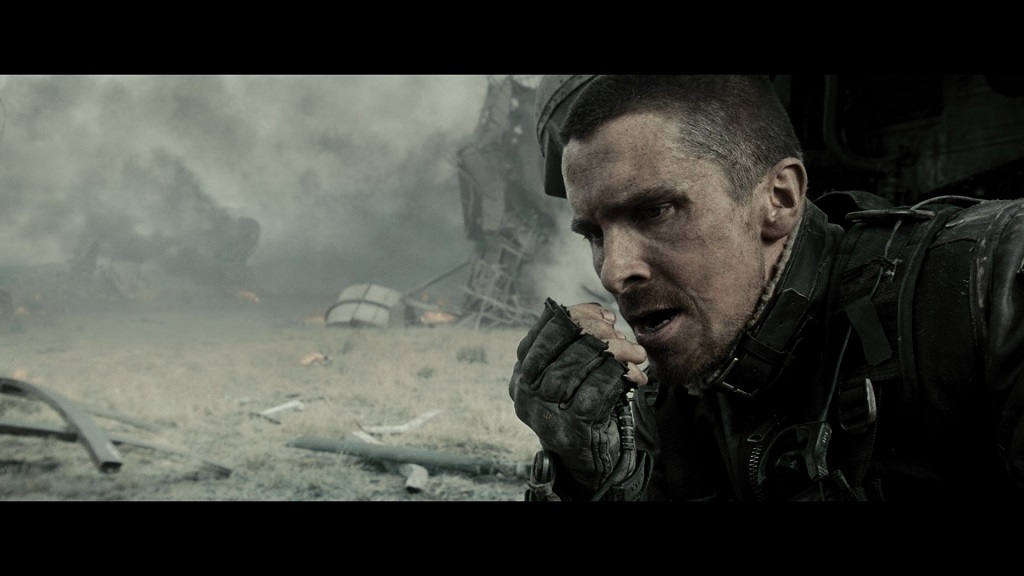
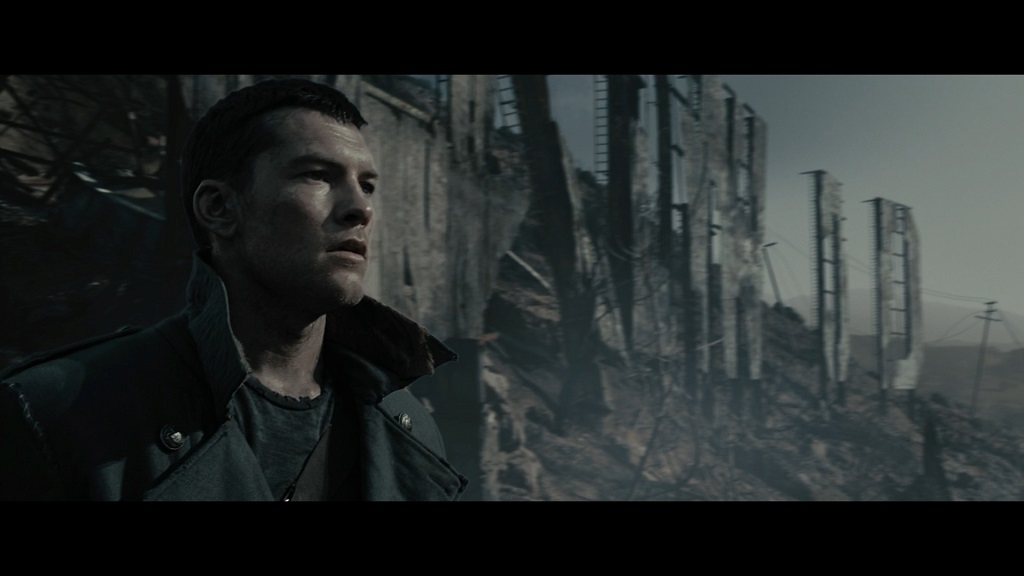
The Look of Terminator Salvation
I used what was called the Technicolor “Oz” process on this project. The Oz process was developed by Mike Zacaria and Bob Olson.
● From the American Cinematographer: Silver Retention & Technicolor’s ENR, OZ Process
● From the Hurlblog: Importance of Camera Tests
I took Kodak 5245 50 ASA, Kodak 5246 250 ASA and Kodak 5219 500 ASA daylight and tungsten balanced film stock, processed it normally and then sent it through a black and white fixer, which is used to process black and white emulsion, not color. What did this do? At the end of the developing process, the negative would retain 75% of its silver, where in the color developing stage the silver is stripped from the negative.
This was an extreme look and was unlike anything you had seen. I wanted to go away from what the Terminator 1 and Terminator 2 color palettes had been in the ‘80s and ‘90s and create a unique feel baked in of what McG and I thought the world would look like after nuclear destruction.
Why the explanation?
Now we are in the digital sensor age and the LUTs (look up tables) are your testing ground and your look that gets baked in. This is how you light and expose effectively on set. I use these LUTs at the director’s monitor as well, so he or she sees exactly the look I am going for and can comment if something is a little dark, or too blown out, for their personal preference. It gives you a great dialogue into the look and mood you are creating.
Setting Yourself Up for Success in Different Environments with LUTS
I try to create LUTs that can be used in many different lighting scenarios:
● Day Interior
● Day Exterior
● Night Interior
● Night Exterior
● Additional custom scenarios when needed
I also like to create LUTs under different color temperature lights. If I am going to do a ton of night work under sodium vapor street lights, then I will create a LUT that will specifically work for sodium vapor street lights, something I did with Need for Speed. On my current project, I developed certain times of the day LUTs, which really help with selling late afternoon, early morning, dawn and dusk. You can go crazy with this, but I find that when I light to a LUT, I take more risks as a cinematographer. Edge walking is where I like to be. THE CLIFF!
Stay Tuned for Part 2, 3 & 4
We will dive into the next 3 parts to this series where we will cover:
- Part 2: How to setup DaVinci Resolve for success before you start to create your 3D LUT
- Part 3: How to Create a 3D LUT in DaVinci Resolve, discussing the Exporting Process and Importing into your device
- Part 4: How I Use LUTs on Set
For now, take a look at the LUTs I have been using exclusively on “Into the Badlands” with the RED Dragon & Weapon.


Very informative post Shane, thanks for sharing this (and so much more knowledge)! In the article you’ve mentioned that you can use the Shogun as a recorder for the C500. To my knowledge the Shogun doesn’t support the C500’s output as of yet since it only outputs raw data, and will only be supported in the 6.5 update which is still in development. How are you going about this?
Malcolm, I mis-spoke and meant to have it read that I use it with the C300 and I am looking forward to seeing the future updates for a C500 workflow. For our needs at HV, we’re working in a ProRes workflow, it saves us a little time keeping everything in ProRes, as we can preview files quicker and send them around within our team.
Hi Malcolm,
C500 support is coming in an update to AtomOS. We have just released a beta for AtomOS 6.4 that adds raw to ProRes for Sony FS Raw (FS7/FS700) .
We will continue to keep everyone updated on the timelines for AtomOS.
Thanks Malcolm,
-Atomos